So I originally had said in my review of the GoPro Hero3 Black that the GoPro wasn’t very well suited for shooting a concert. Well, I’m happy to report that the GoPro Hero4 Black is a much better solution. The Hero4 Black has settings for spot metering, low light and you can even limit the ISO! That’s basically an invitation to record a concert right there.
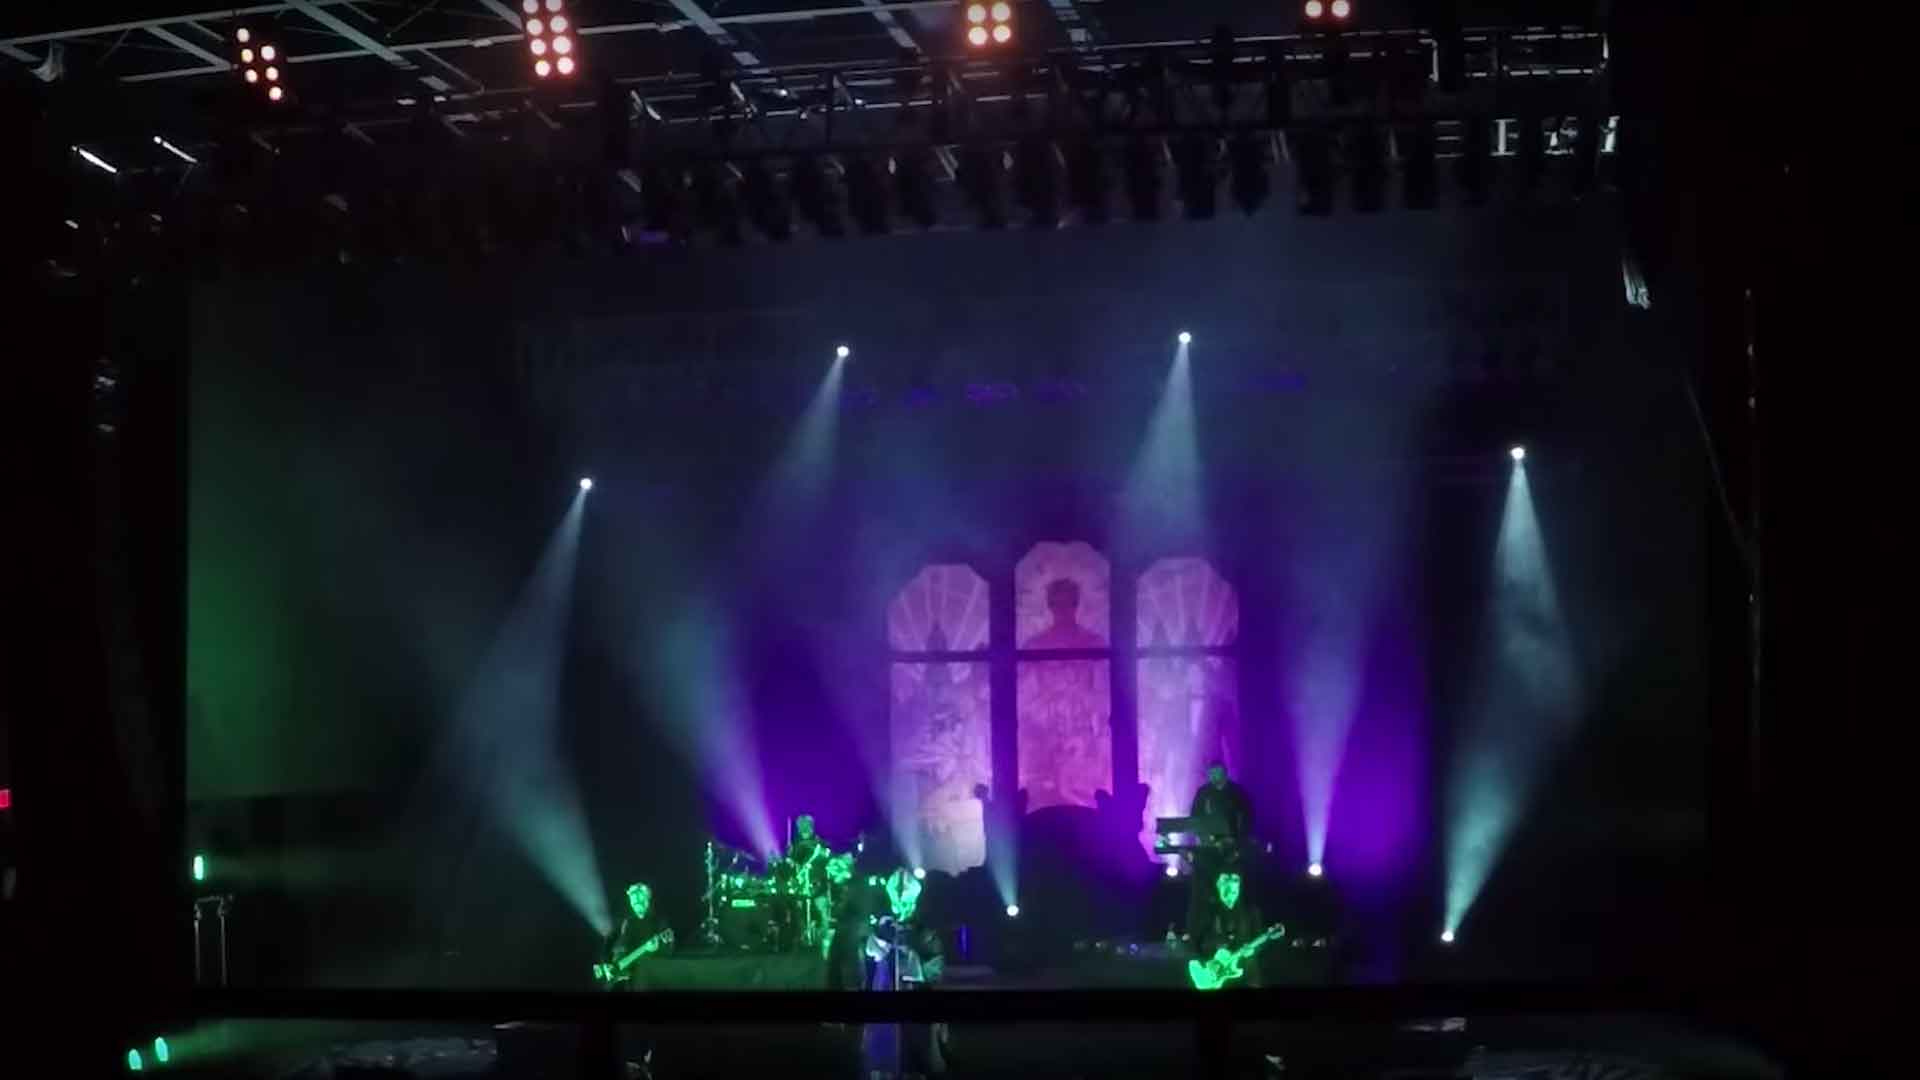
I recently had VIP tickets to see the band Ghost at Stage AE in Pittsburgh and I thought it would be a great test for using my newly acquired GoPro Hero4. I made sure to get seats that were in the first row in the section that faces the stage square on. There’s obviously no zooming with a GoPro, but I still had hopes that I’d bring home a good quality recording of the entire show recorded from a stationary angle.
Last time I attempted this, I used the chest mount and the skeleton housing. This time around, I went with minimal equipment.
The equipment I used for the recording was the following:
- GoPro Hero4 Black Edition
- GoPro 3.5mm Mic Adapter
- GoPro Battery BacPac
- Olympus ME-51S Microphone
- Class 10 65 GB Micro SD Card
I also found a kit on Amazon with a ton of accessories for only $38. There are a number of mounts in the kit that might be worth checking out depending on how you plan to use your GoPro.
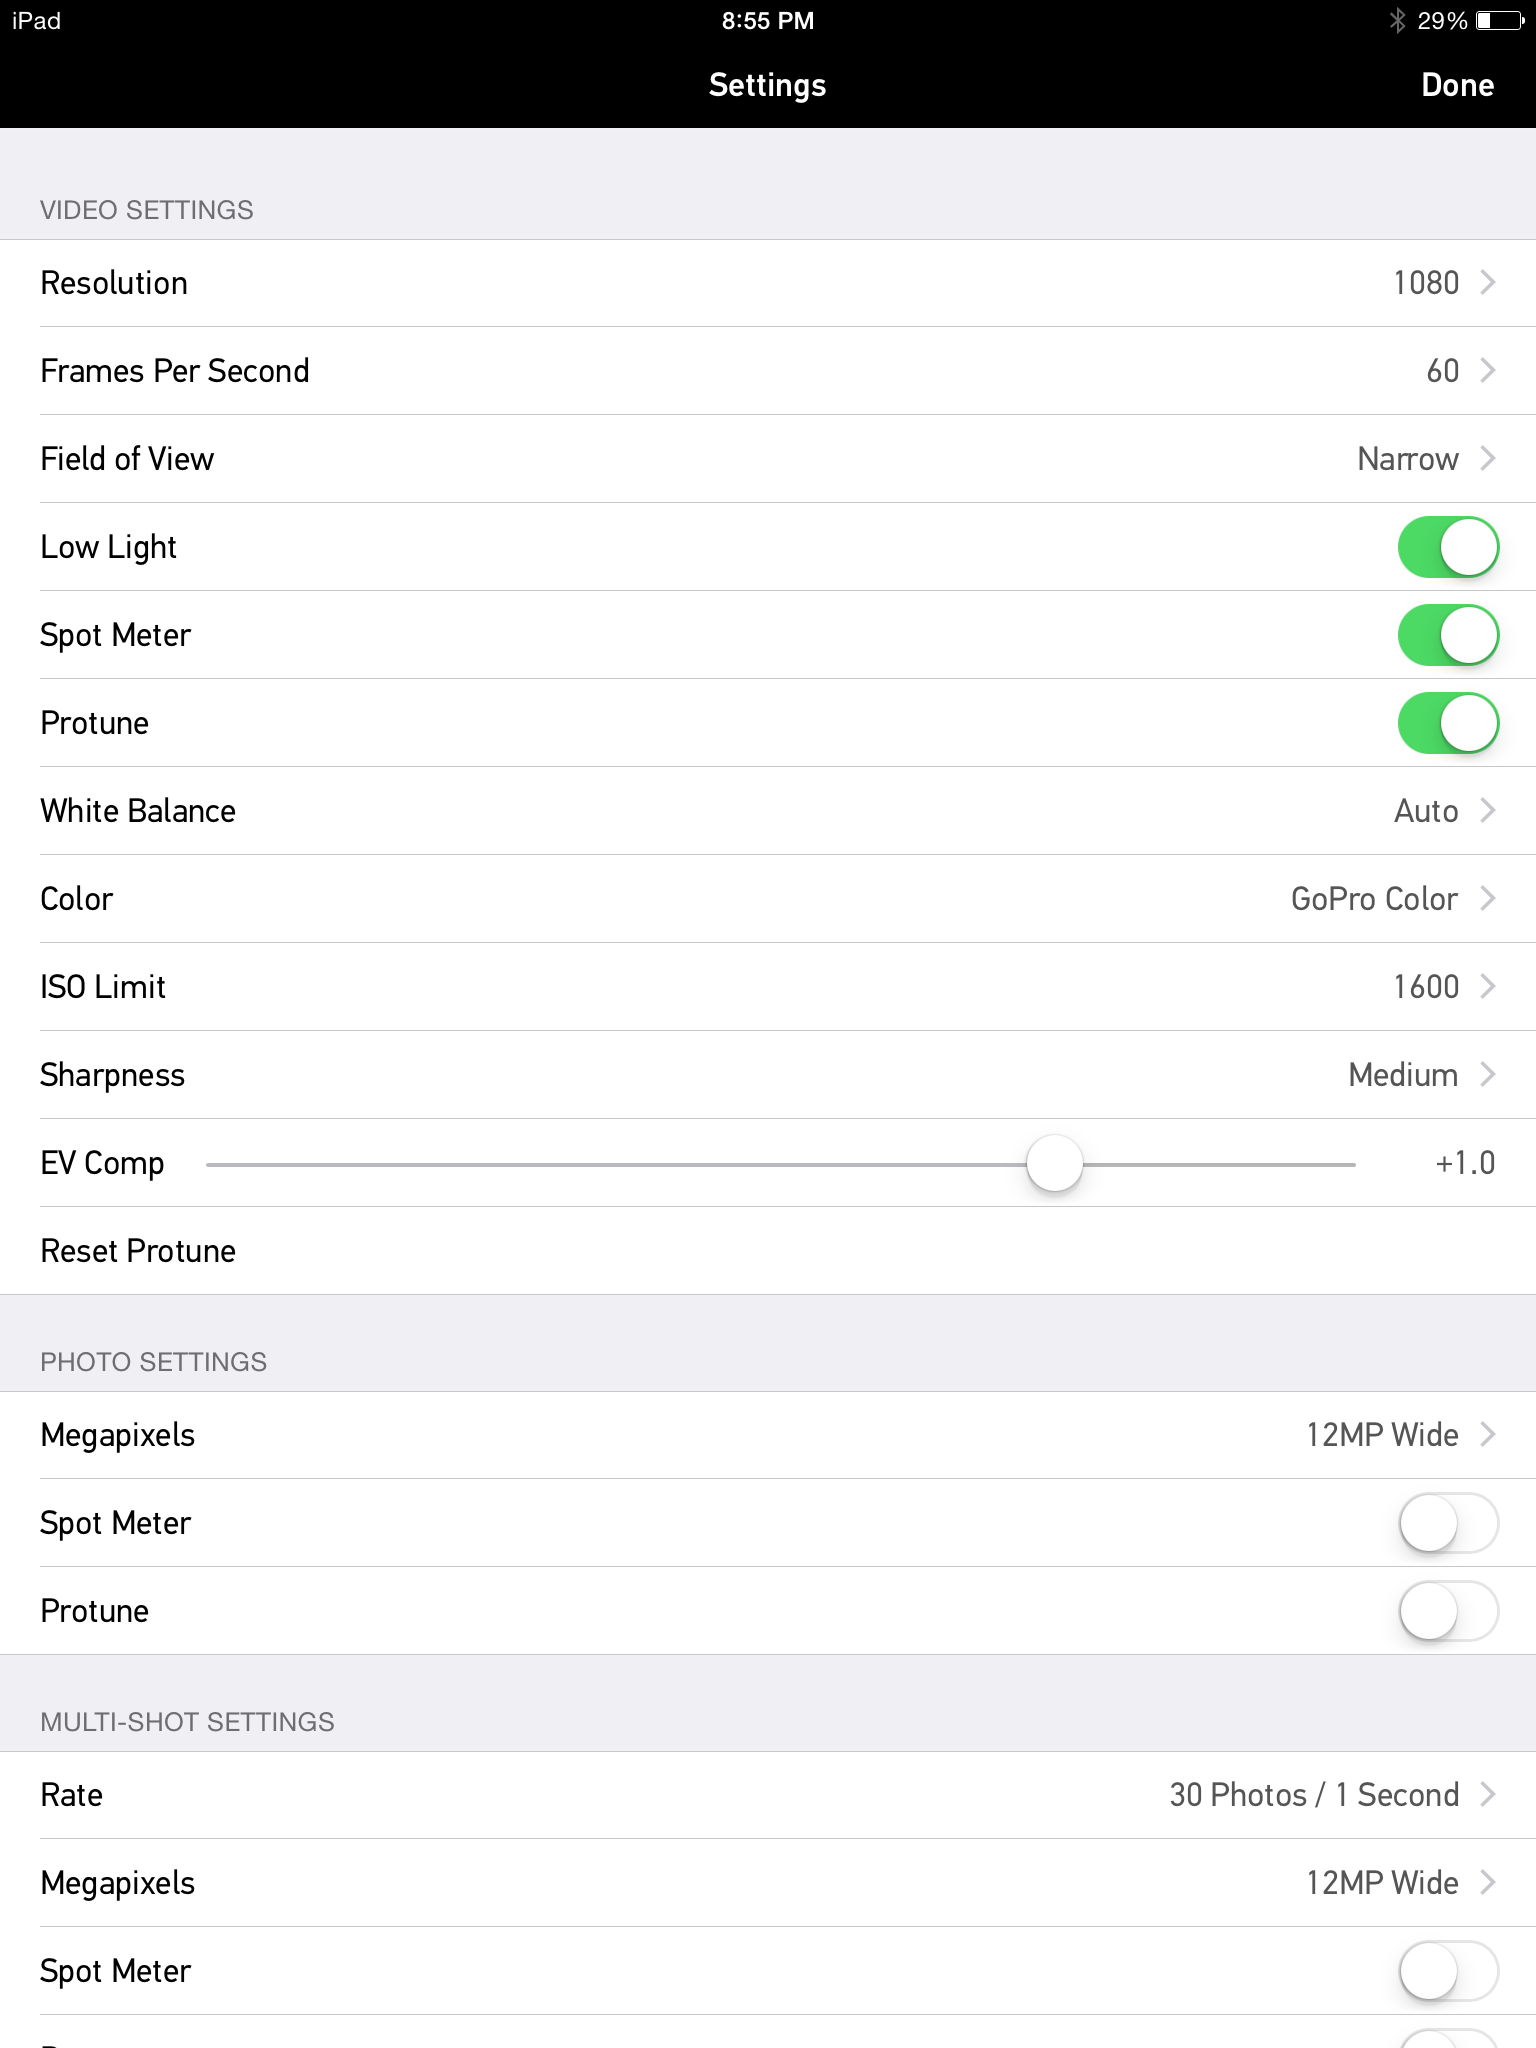
The GoPro settings I used for recording the concert were the following:
- 1080p
- 60 frames per second (should have used 30 frames per second)
- Field of View – Narrow (trying to “zoom” as far as I can)
- Low Light – On
- Spot Meter – On
- Protune – On
- White Balance – Auto
- Color – GoPro Color
- ISO Limit – 1600
- Sharpness – Medium
- Ev Comp – +1.0
Here’s a screen shot of the settings as they appear in the GoPro App:
If you are recording a concert, the settings you need to focus on are FPS, Low Light, Spot Meter, Protune, ISO limit, Ev Comp and (optionally) resolution. Here’s the breakdown of the settings and why they matter:
Resolution – 1080p – I chose this resolution mainly because if the recording had worked out the way I wanted, I could burn the show to a Blu Ray. In hindsight it would have been worth shooting at 4k, as the additional resolution would have given me the option to scale (zoom) the footage to 1080p. The wide angle lens on the GoPro can be a problem when the shot is a bit too wide, so cropping/scaling 4k video to 1080p would help with that problem. It’s worth trying next time around.
Frames per Second – I mistakenly used 60 fps, which is a higher shutter speed than I needed. Using higher shutter speeds means less light enters the camera, which forced me to use a higher ISO, which resulted in more noise in the video. Using 60 fps did give me a higher bitrate, for what it’s worth. Here’s a breakdown of the Hero4 resolutions and bitrates.
Field of View – Narrow. I chose this in the hopes that the wide angle lens wouldn’t be as wide as usual. Shooting in 4k was probably the better solution for this (see the resolution explanation above).
Low Light – On. The GoPro Hero4 finally has a setting for low light situations. It’s a unique setting in that it allows the camera to change the frames per second on the fly to adjust for sudden changes in brightness levels in whatever you are shooting. It’s a bit like lowering shutter speeds on a regular still camera. In other words, if the scene suddenly darkens, the camera can drop the frame rate to allow the camera more time to capture light. lighting that is constantly changing is a situation you run into at nearly every concert, so this a good setting to use.
Spot Meter – On. Spot metering is often used in the photography world. It basically tells the camera, “instead of basing the exposure setting on the overall scene, base it on a much smaller area” (usually the center of whatever the camera is pointing at). This is a good setting to use for a concert because you often have situations where the overall scene is very dark, but there are specific areas in the scene that are very bright. Ordinarily the camera would view a scene like that as being very dark, so it would compensate by boosting the overall exposure. You’ve probably seen a lot of bootlegs where the band member’s faces are completely washed out while the background is properly exposed – this is why. Spot metering helps with this by looking at a much smaller area to base the exposure on.
Protune – On. You need this on to access more of the advanced controls (such as ISO).
ISO Limit – ISO is basically just sensitivity to light. Higher ISO settings mean dark scenes are still properly exposed, but usually at the expense of video quality (more noise is added). By limiting the ISO, you can tell the camera, “don’t go any higher than this.” I chose 1600, which is high enough for a low light situation without adding too much noise. If I had used a slower frame rate (like 30 fps) I could have gone with a lower ISO as well.
Ev Comp – +1. Another “still camera” type of setting. Without getting too technical, this setting says, “add a little bit of brightness to the overall scene being recorded.” I chose +1 just in case my ISO was a little bit low.
I’m still working on figuring out the best additional equipment to bring along for recording a concert. Last time I attempted this with my Hero3 Black, I brought along an external mic, the GoPro BacPac battery, the skeleton housing, and a chest mount. I wasn’t too thrilled with my “human tripod” chest mounted footage last time, so here’s what I tried this time around:
The Hero 4 is so small that security barely even noticed that I had it in my hand (especially since I didn’t use any housing at all). The BacPac battery was stuffed into the front of my jeans and the mic adapter and external mic were in the top pockets of my leather jacket. I don’t know if they would have cared about any of that stuff, but better safe than sorry.
Once we found our seats, I was easily able to put the GoPro directly on the metal rail in front of our seats. Here’s a photo of how I had the GoPro originally set up (I should have just stuck with this plan)
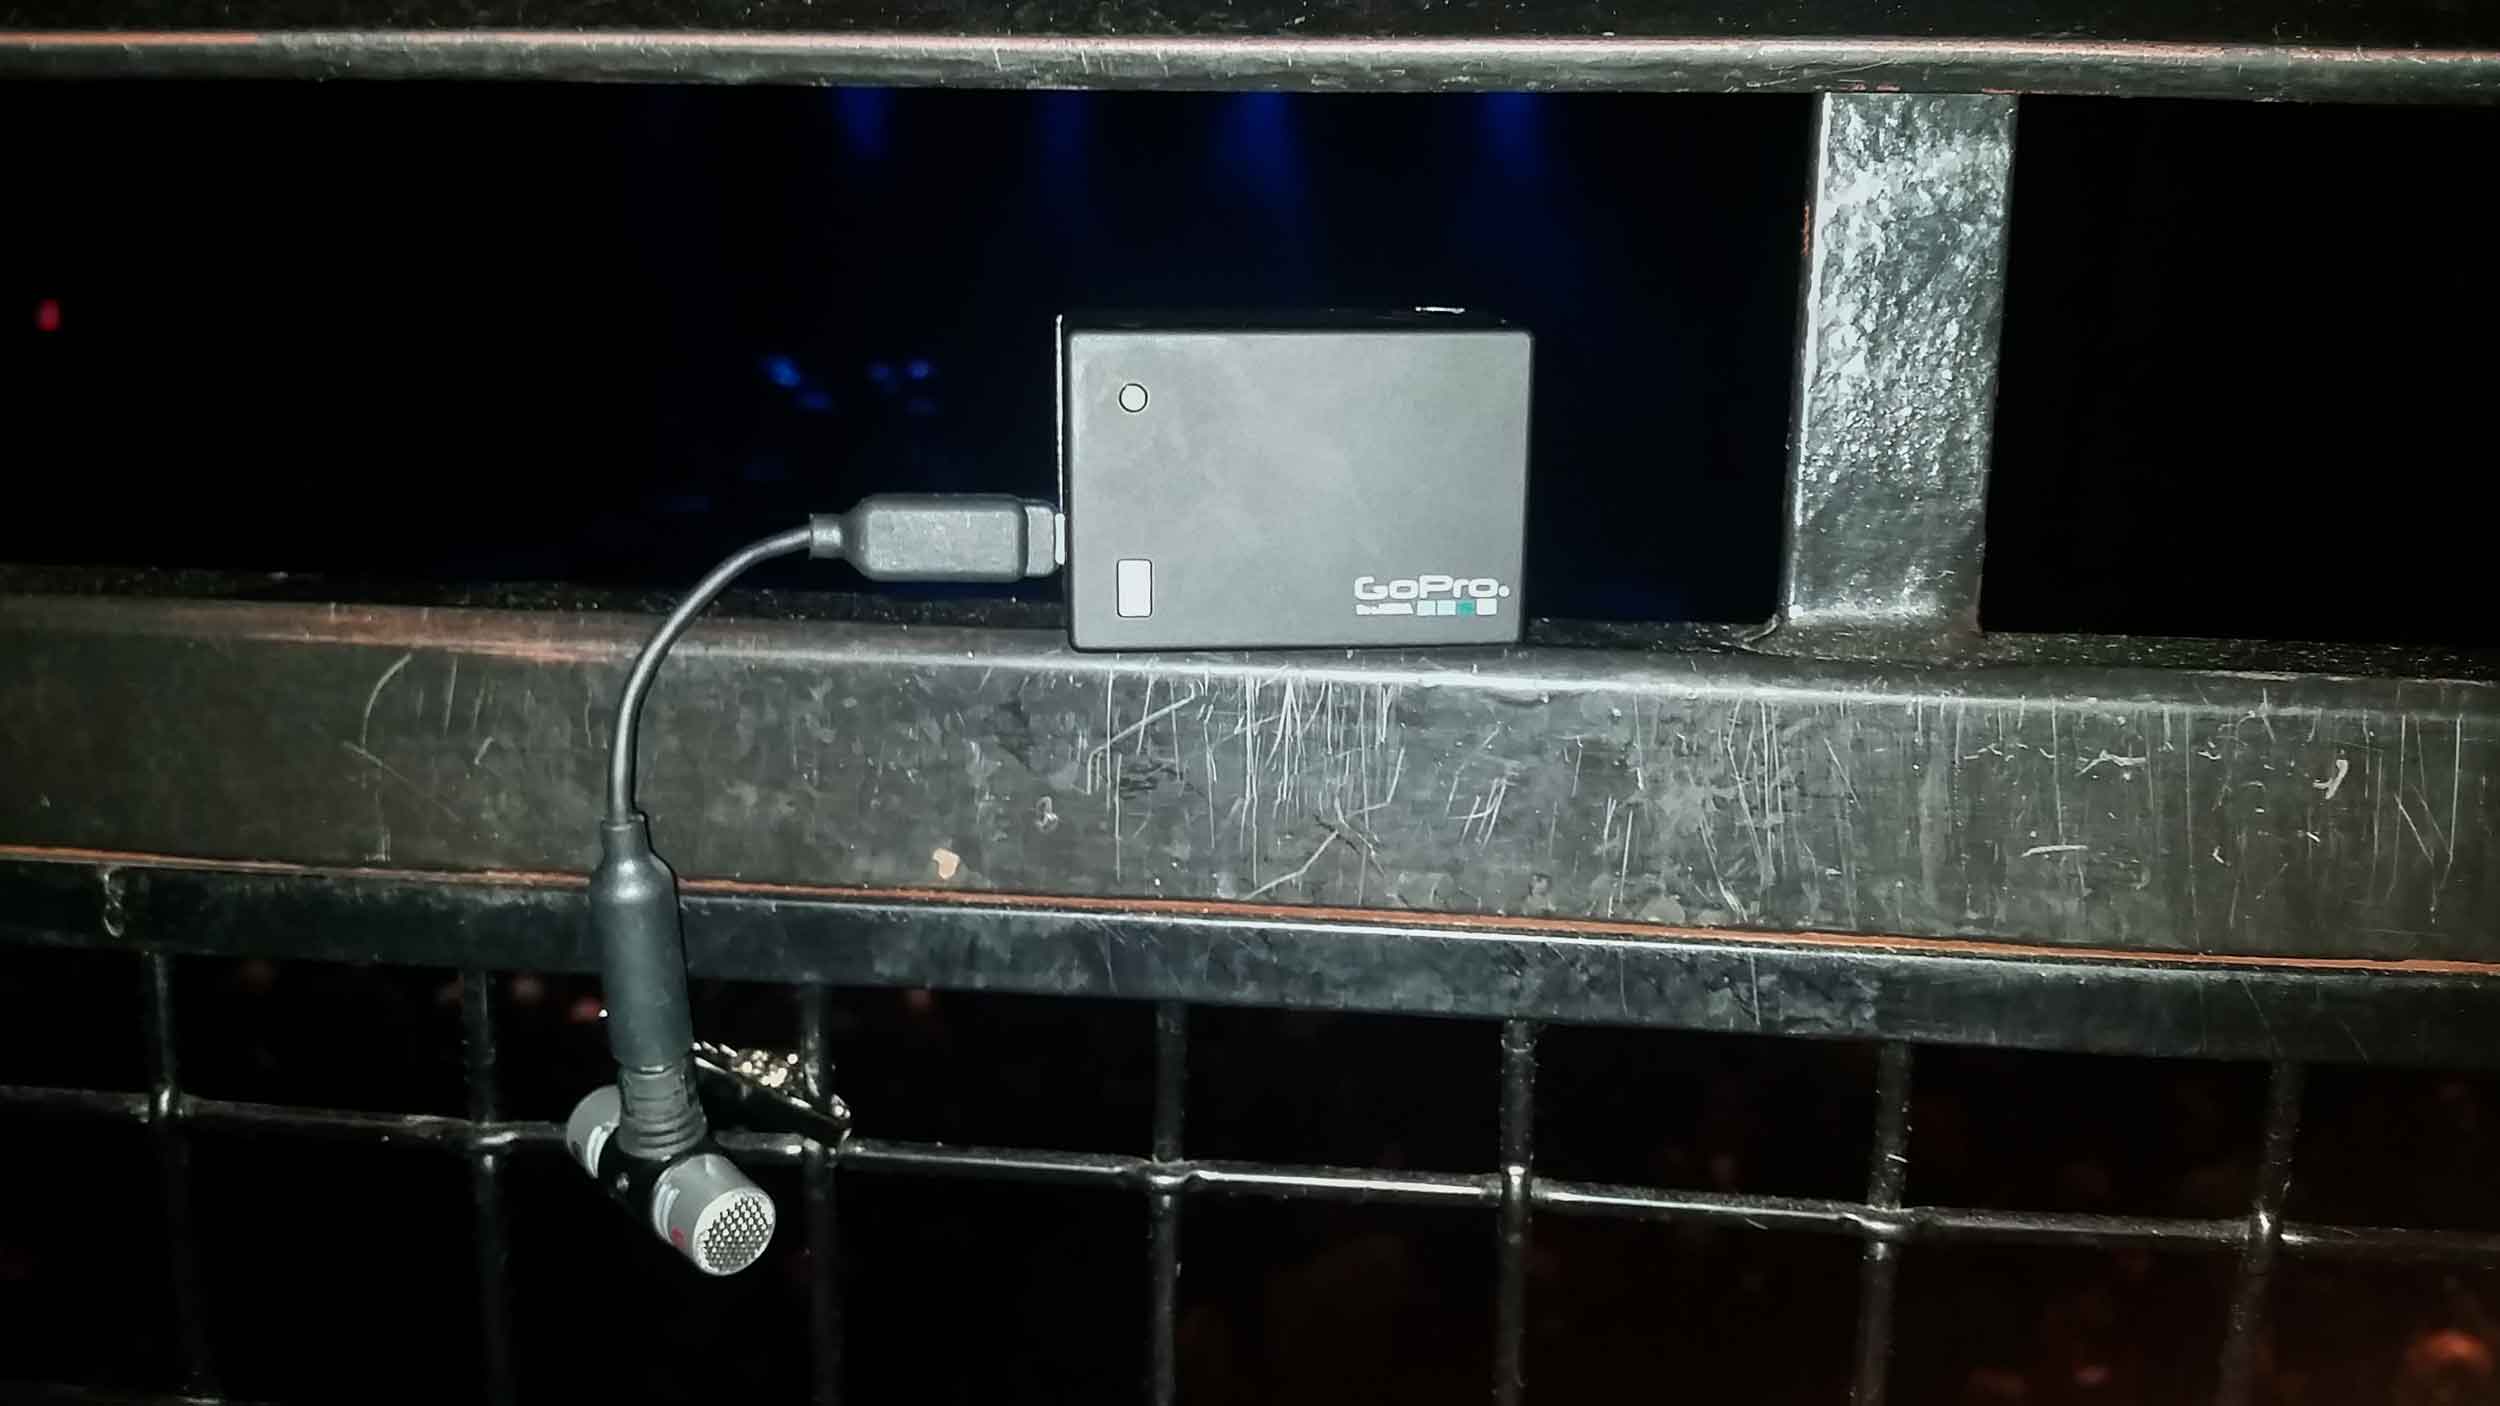
Here’s where I made a mistake. If I kept the GoPro on the rail, it was at a perfect angle to shoot the stage, but it could also easily get knocked off and end up on the floor below me, which would have been a $400 camera falling to its death. That scared me a bit, especially when some girl walked by and her purse brushed against the camera, nearly knocking it off. So I decided instead to put the GoPro on the floor. See the footage at the end of this post to see how that turned out…
The good news is that I’m getting closer to a solution that works. Just like with the Hero3 footage I shot last year, I’m very happy with the audio provided by the Olympus ME-51S. The battery BacPac from my Hero3 fortunately also works with my Hero4 and kept the camera rolling for the duration of the show (it just needs to be charged off camera) and the video quality from the Hero4 is very clean – much cleaner than the footage from the Hero3.
Next time I attempt this, I plan to bring in some velcro straps to secure the GoPro to the rail. The other issue I’m having is that the GoPro has just too wide of a lens to shoot a concert from the distance I was from the stage. One solution that I’m anxious to try is shooting at 4k, then scaling the resulting footage to 1080p. Another solution might be the Back-Bone Ribcage mod kit, which would allow me to put all kinds of different lenses on the GoPro. Of course, then I’d need to somehow get those lenses into the venue, but that’s another issue…
Here’s the resulting footage – notice that the camera was able to record the entire show and that the overall quality is quite good. I just wish I had previewed the footage using the app before I committed to putting the camera on the floor, but I was worried about battery usage. Oops.
Sorry to those in Germany who might be trying to watch the footage – YouTube decided to block it in your country.
Have you tried recording a concert with a GoPro, or do you have any suggestions for what I might have done differently? Feel free to leave them in the comments below!


