If you are new to photography, you’ve probably seen plenty of images that look “professional” and think to yourself, “whoever took that photo has a very nice camera and really knows what they are doing with it.” You know the type of photo I mean: super sharp foreground, nice blurry background (often referred to as “shallow depth of field” or “bokeh”), the subject of the photo just seems so much more vibrant and “alive” than your typical photo. I remember when I’d see photos like that and think, “it must be a special lens, how else could they have done that?” That was before I learned the power of the mighty f stop. Want to learn how to quickly and easily make your photos look more professional with minimal effort? Sure you do. Read on…
If you don’t know what f stops are, I won’t get too deep into the techy details. The numbers refer to the aperture of the lens. In other words, how large the hole that opens on the lens is when the shutter on the camera is released. It’s similar to the pupil of your eye. The more light needed by your eye, the larger your pupil dilates. Similarly the more light needed by the camera, the larger the hole (aperture) is on the lens. One confusing aspect of the f stop is the larger the number, the smaller the hole. So if someone says they used the “lowest aperture I could to allow for more light” they are talking about a number such as 2.8, 3.5 or 4.0, which is actually the largest aperture the lens is capable of. They might also say they used a “fast lens”. Anytime you hear the term “fast lens” it means the lens is capable of a low f stop, or a very large aperture. If you want to read a bunch of techy jargon, you can check out this page. But that’s not the point of this post, the point here is to show you that if you understand f stops, you’ll make a huge leap in creating more visually stunning images. And it’s so easy!
The fastest and easiest way to obtain shallow depth of field (bokeh, or a nice blurry background) without spending a ton of money on a lens is through the use of f stops. The best thing about f stops is that if you have an SLR, you have the ability to change them. To try this on your own just put the camera in aperture priority mode (usually the A setting on the camera’s dial). Doing this will allow you to change the f stop and have the camera do the rest of the heavy lifting. Now set the f stop as low as it will go. Find something you’d like to shoot a photo of. Make sure there’s an obvious foreground and background and make sure you have enough light that your camera’s shutter speed doesn’t drop below 1/60 unless you are using a tripod. If you are shooting a person or an animal, lock your focus on the eye then compose the shot. Take the shot and look at how the foreground has been clearly separated from the background. That’s called “shallow depth of field” and that’s all your low f stop at work! Pretty sweet, huh?
Take a look at this photo I posted on ViewBug. Not a bad photo. In fact the judges on Viewbug voted it “well done”. It looks like I used an expensive lens and probably an expensive camera. I didn’t. The photo was shot with a Nikon D3000 that I picked up used from Adorama for under $200. The lens I used was a hand-me-down Nikon 50mm from the mid 70’s. That’s a manual focus/manual f stop lens. But, that lens goes down to f/1.4! If you ever see a lens with f stops in the 1.anything range, that’s a good lens. Both Canon and Nikon sell a 50mm lens that go as low as F/1.8 for around $100.
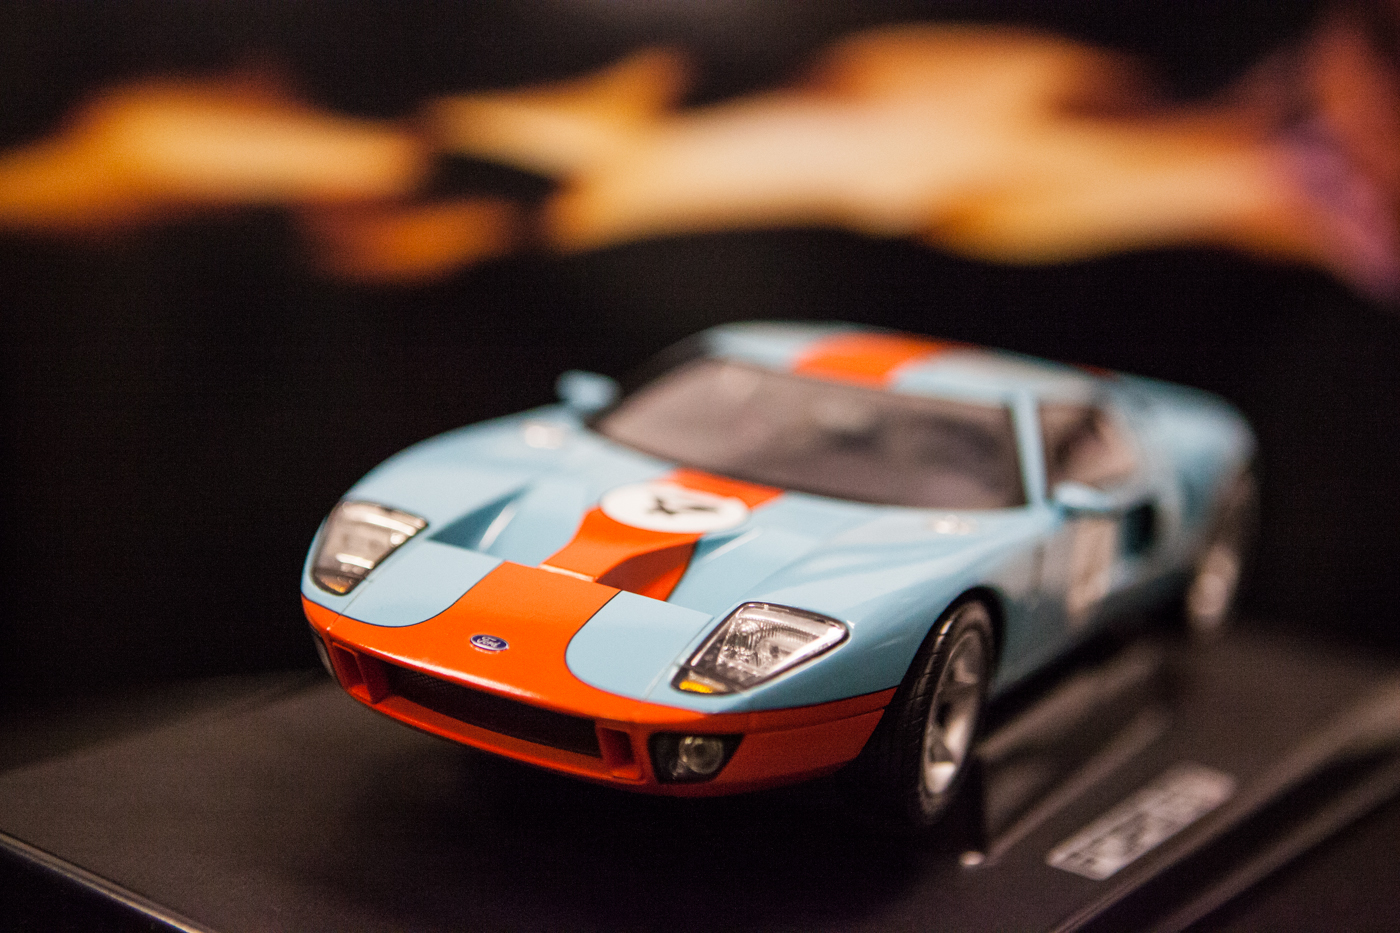
The two car shots shown here were taken using different f stops. Look at the background in each photo. At the lower f stop (f/2.8) the car has a nice, gradual drop off in focus and the background has become more of an abstract element. That’s what people are referring to when they say “nice bokeh”. It’s that abstract background element that adds to the overall impact of the photo. Do a search on the word “bokeh” on Google images to see more of this. Your eye is naturally drawn to the most focused portion of the photo. The photo with the higher f stop (f/22) looks more like a snapshot. It looks more like a photo taken with a point and shoot or maybe an iPhone. The depth of field is higher (everything is in focus) and it’s just sort of….blah. Nothing really exciting going on there.
Now that you know that low f stops make backgrounds blurry, you might have guessed that high f stops do the exact opposite. Higher f stops typically give you a higher depth of field (the background and foreground are both in focus). Sometimes you need that to be the case, such as in a landscape photo. Higher f stops also come into play when taking photos using a long exposure (less light comes in the camera allowing the shutter to stay open longer). The sunset image shown here is a good example of using a high f stop to keep everything in focus, as well as allowing for the use of a long exposure.
There are certainly other ways to obtain shallow depth of field (zoom lenses will also get you there) and there’s a lot more to f stops than this post addresses. But I wanted to share what was, for me, a huge discovery in how to quickly and easily give my photos more life and more impact. This was a real “aha!!” moment for me when I first starting learning photography. I hope this post has helped you too!


