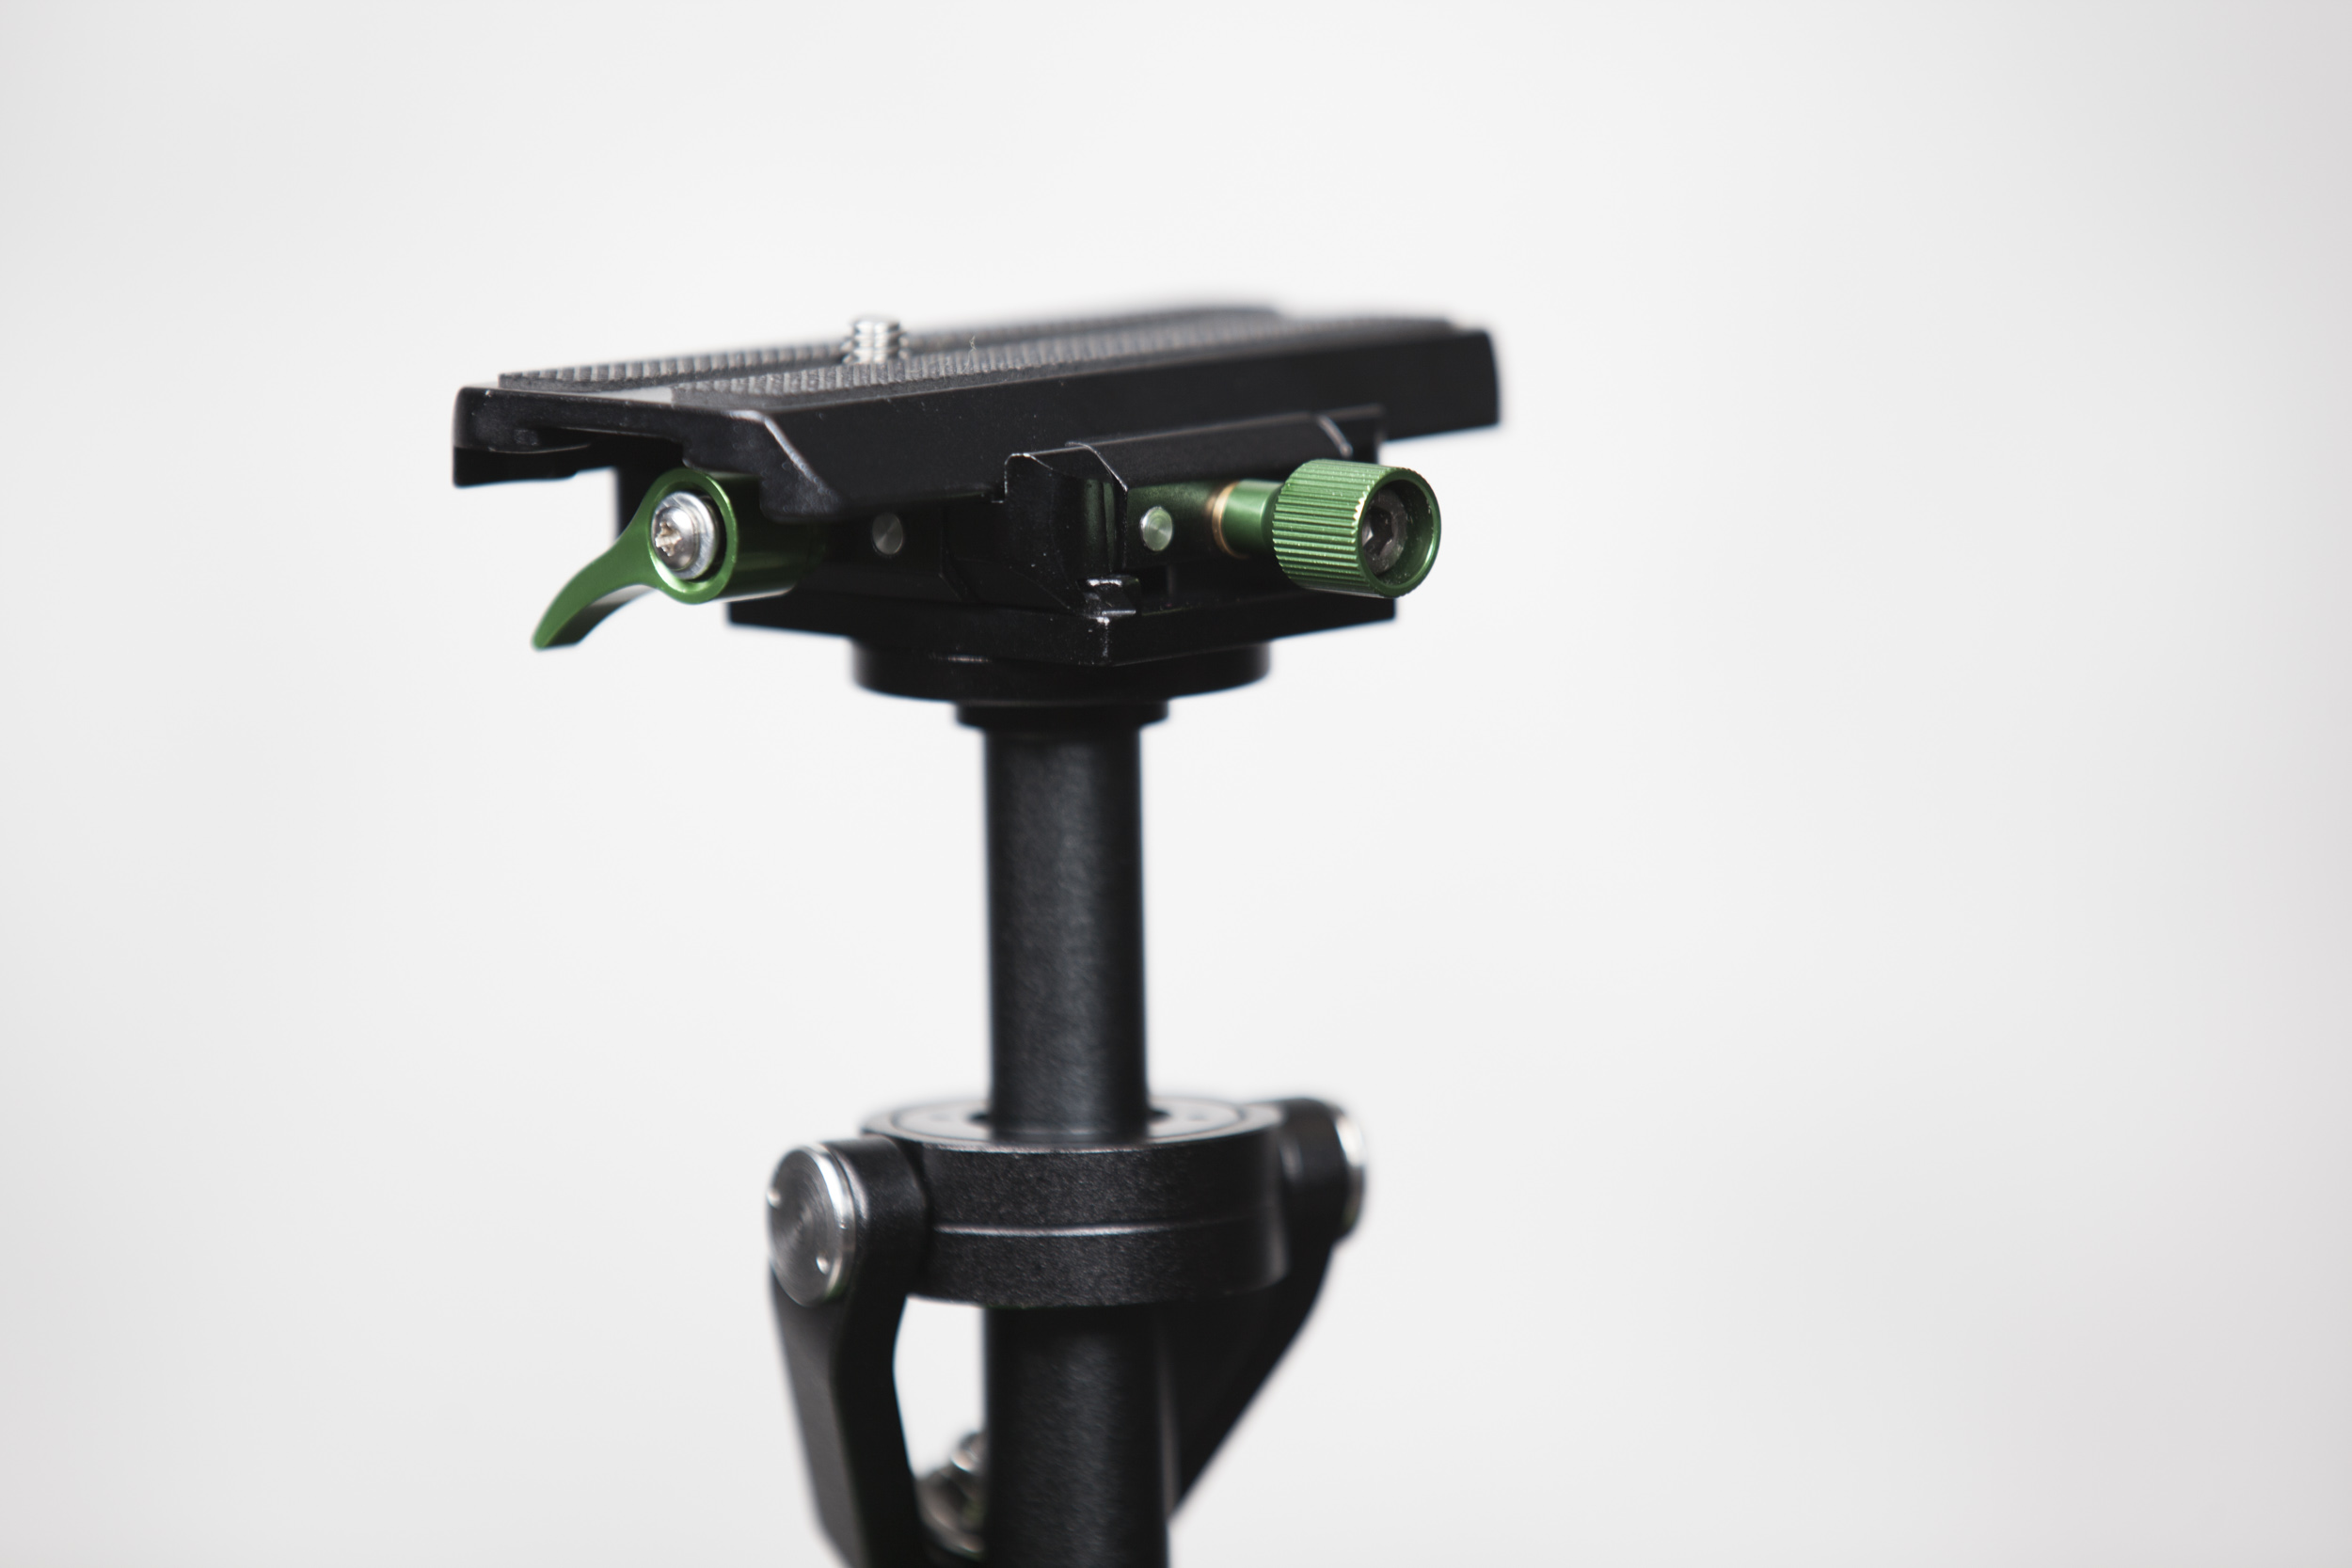
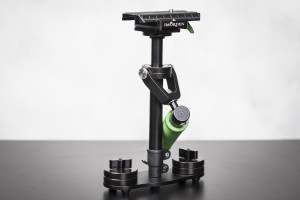
I recently got my hands on the Imorden S-40A stabilizer. There are two variants of this particular stabilizer – one is the “A” model (which stands for “aluminum”) and one is the “C” model (which stands for “carbon fiber”). The S-40A is a little bit heavier than the S-40C, and based on various reviews I’ve read it seems to be the preferred model.
I like this stabilizer quite a bit, as it’s easy to set up, does the job well, is inexpensive, and works with my Sony A7R with the 16-35mm lens attached. The stabilizer can handle up to 3 pounds, and my camera with the 16-33mm lens attached weighs in at just around 2.6 pounds. You can pick up one of these from Amazon for $159.95 – http://amzn.to/22xMpNK
Here’s a list of pros on the S-40A:
- Price ($159.95 on Amazon)
- Easy to setup (took about fifteen minutes)
- Good, solid build quality
- Light, but with enough weight to achieve good stabilization
- Guide markers on the release plate – helpful when trying to recall what position worked last time you used the stabilizer
- Smooth motion – everything feels well lubricated and all movements are smooth
There is one minor con, however:
- The quick release plate could actually use another quick release plate on top of it. Basically, once you dial in the existing release plate, it would be nice to lock its position down, then have the ability to attach a smaller quick release plate that could remain on the camera. If that type of system existed, you could quickly attach or detach the camera at will throughout a shoot, not worrying about having to re-calibrate each time.
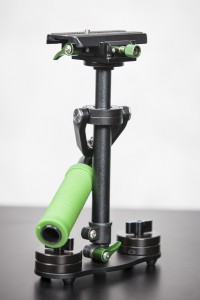
The Imorden S-40A Stabilizer. This image shows several of the adjustment knobs that are easily accessible on the stabilizer.
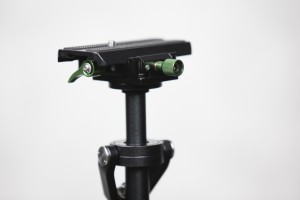
The Imorden S-40A Stabilizer’s quick release plate. The stabilizer could actually benefit from one more quick release plate on top of this one.
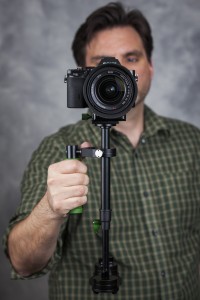
The Imorden S-40A Stabilizer being used with a Sony A7R and a Sony 16-35mm lens. This setup worked well for me.
The stabilizer works well, though it does take some practice. Here are a few tips I’ve picked up in the short amount of time that I’ve had it:
- True for any stabilizer really, but you should first and foremost adjust your camera to your liking before attempting to balance the stabilizer. Remove the lens cap, position the LCD the way you like it and make sure (if you are using a zoom lens) that the focal length is where you want it. I set mine to 16mm, as wider lenses tend to work better with stabilizers than long lenses. Every little adjustment affects the weight distribution, so you need to have everything dialed in before you start balancing the stabilizer.
- Don’t expect the stabilizer to follow your body movement. Instead, place your index finger, middle finger and thumb just above the gimbal and lightly guide the stabilizer in the direction you want to head. Otherwise your camera will end up spinning in various directions, leaving you annoyed and frustrated.
- I have the counter weights set parallel to the position of the camera. I’ve seen other uses set the weights so they are perpendicular. Honestly, I’m not sure which is better (or if it matters) but keeping them parallel to the position of my camera worked well for me.
I put together a quick ten minute video that runs though the setup of the S-40A stabilizer (using a Sony A7R/16-35mm lens). You can view the video below:
I also recently used the stabilizer for a video shoot of some real estate. This was my first real test of the stabilizer and while I need to work on my technique, it did a nice job. Below is a one minute snippet of the real estate footage I shot (straight off the SD card, no adjustments have been made to this footage):

