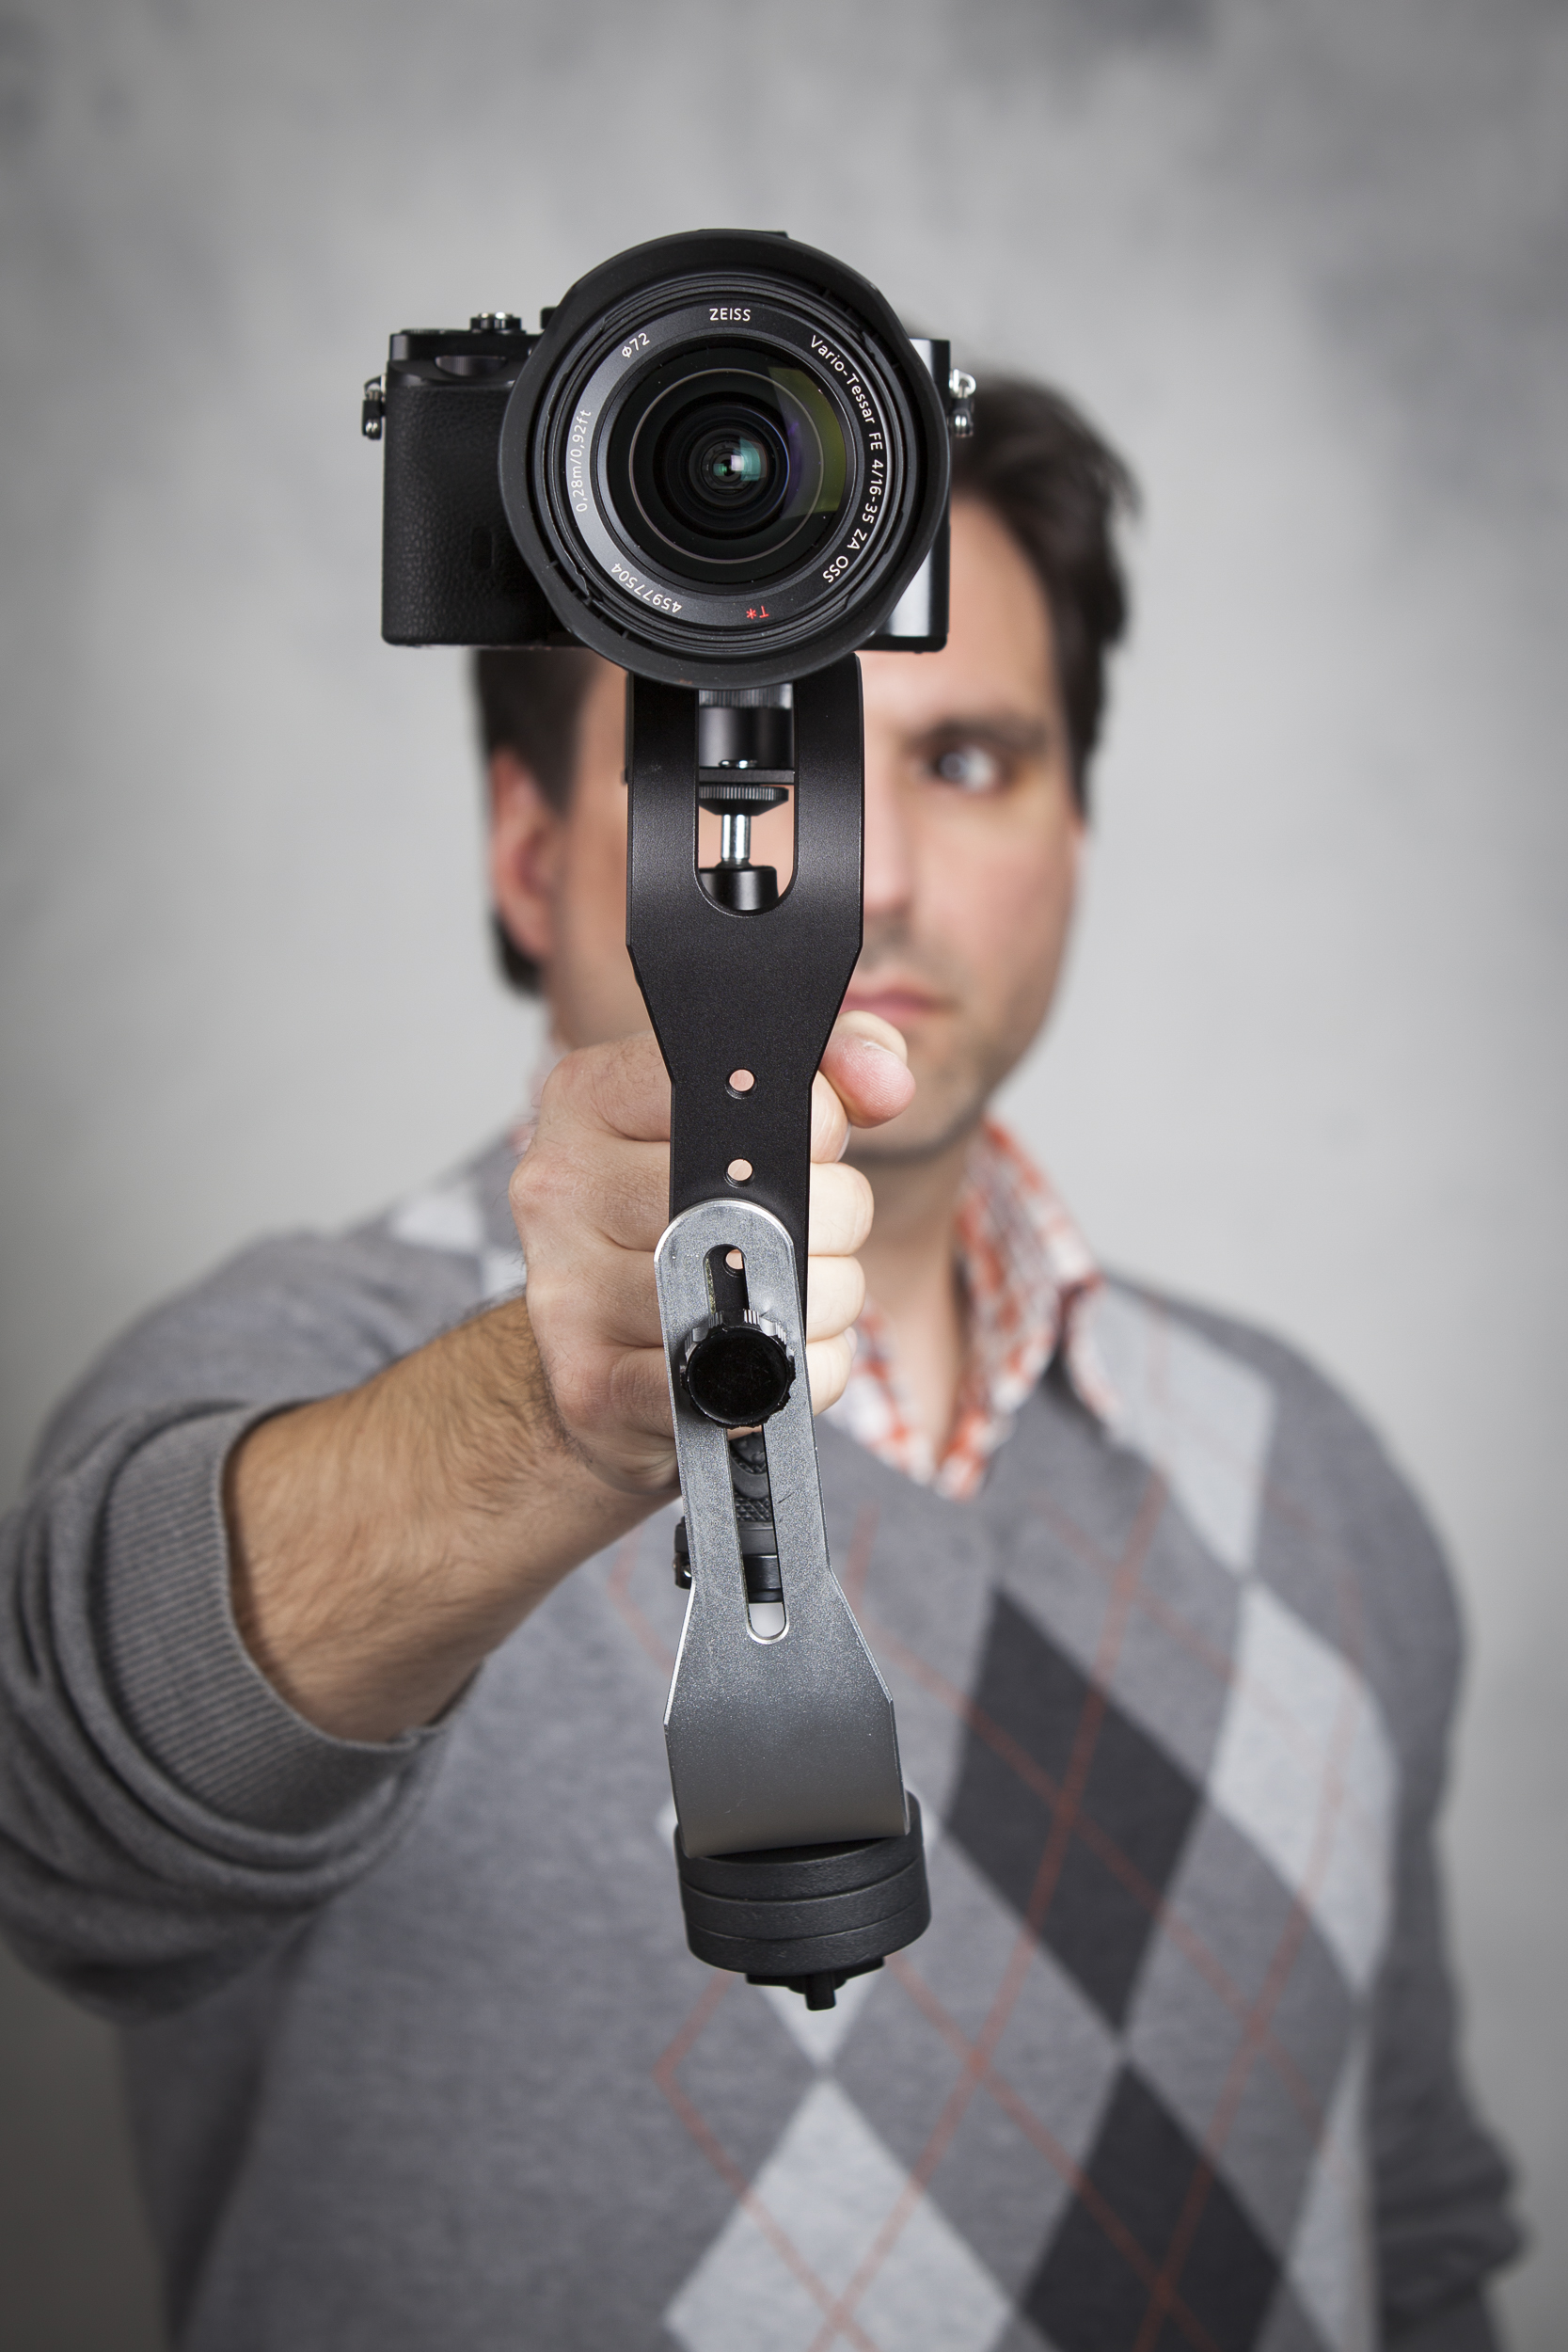
I finally got my hands on a stabilizer for my Sony A7R. I’ve already used the A7R to shoot plenty of video, but I needed something that would help me capture hand-held shots – something better than just holding the camera. Enter the Roxant Pro Steadycam camera stabilizer.
Pros: Price, ease of use and setup, works with heavier cameras, free “bonus” handle from Roxant was sent after purchase.
Cons: handle becomes loose (unscrews), gets knocked out of adjustment fairly easily, can’t use battery grip on the A7R (too heavy).
The first thing I have to say is that immediately after buying the steadycam from Amazon, the seller (Roxant) contacted me to thank me, and even offered me a new handle! They said they’d pay for the shipping, so how could I say no? The replacement handle is actually better than the “low profile” handle I originally got with the steady cam. Sweet!
Setup
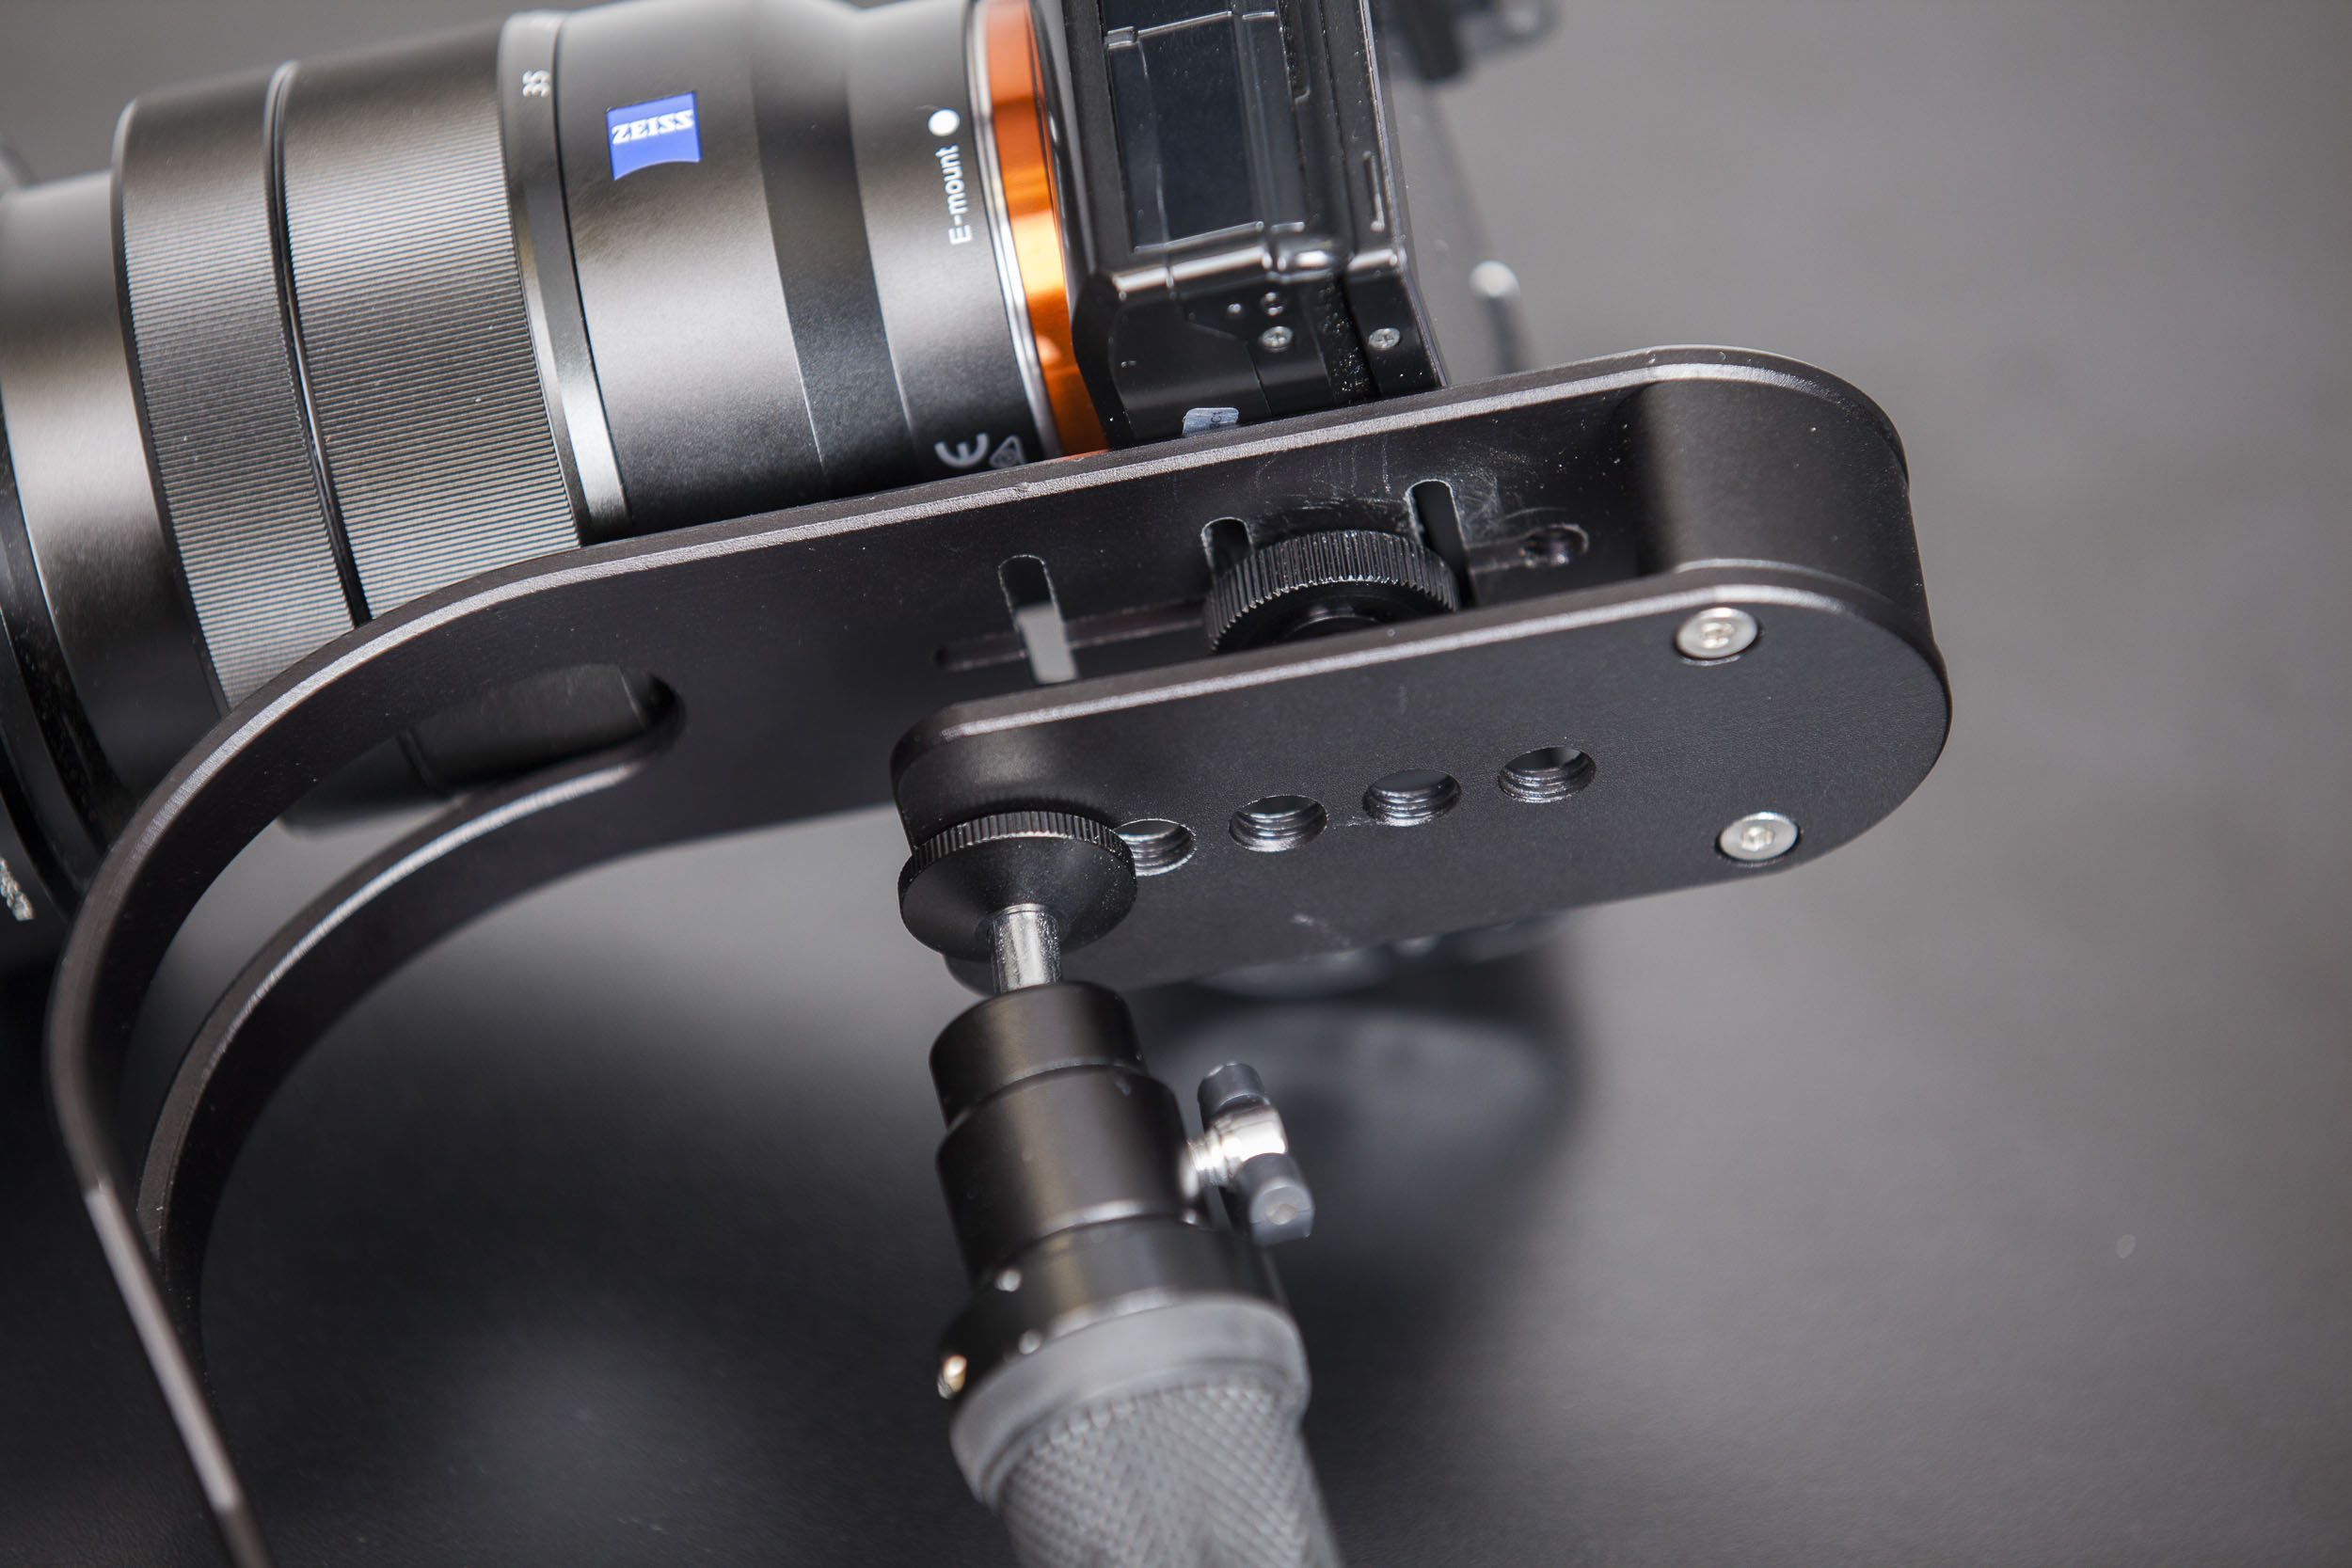
I’ve never used a camera stabilizer before, so this was new territory for me. The goal was to have the stabilizer work with my A7R and the Sony 16-35mm lens (with the lens staying at 16mm full time). The idea of a steady cam is essentially that no matter how you tilt or reposition the camera, it should return back to dead center without any intervention on the camera operator’s part. Sounds pretty simple, but it can take a while to find the “sweet spot” for each particular camera that’s attached to the steadycam. The Roxant Steadycam fortunately has several adjustment options to assist in achieving a good balance. You can adjust the handle position to be more towards the front or the back of the camera (there are five adjustment options). You can also adjust the camera’s actual position so it’s either further towards the front or closer to the back of the Steadycam, plus there are three “side to side” notches to allow the camera to sit either further to the right or further to the left. Then finally there is the arm with the attached counter weights, which can be adjusted either further up or down the lower arm, as well as left or right. You can also add or remove the counter weights to better match the weight of the camera you are using. All of the adjustments are made by hand tightening the various adjustments – no tools are needed.
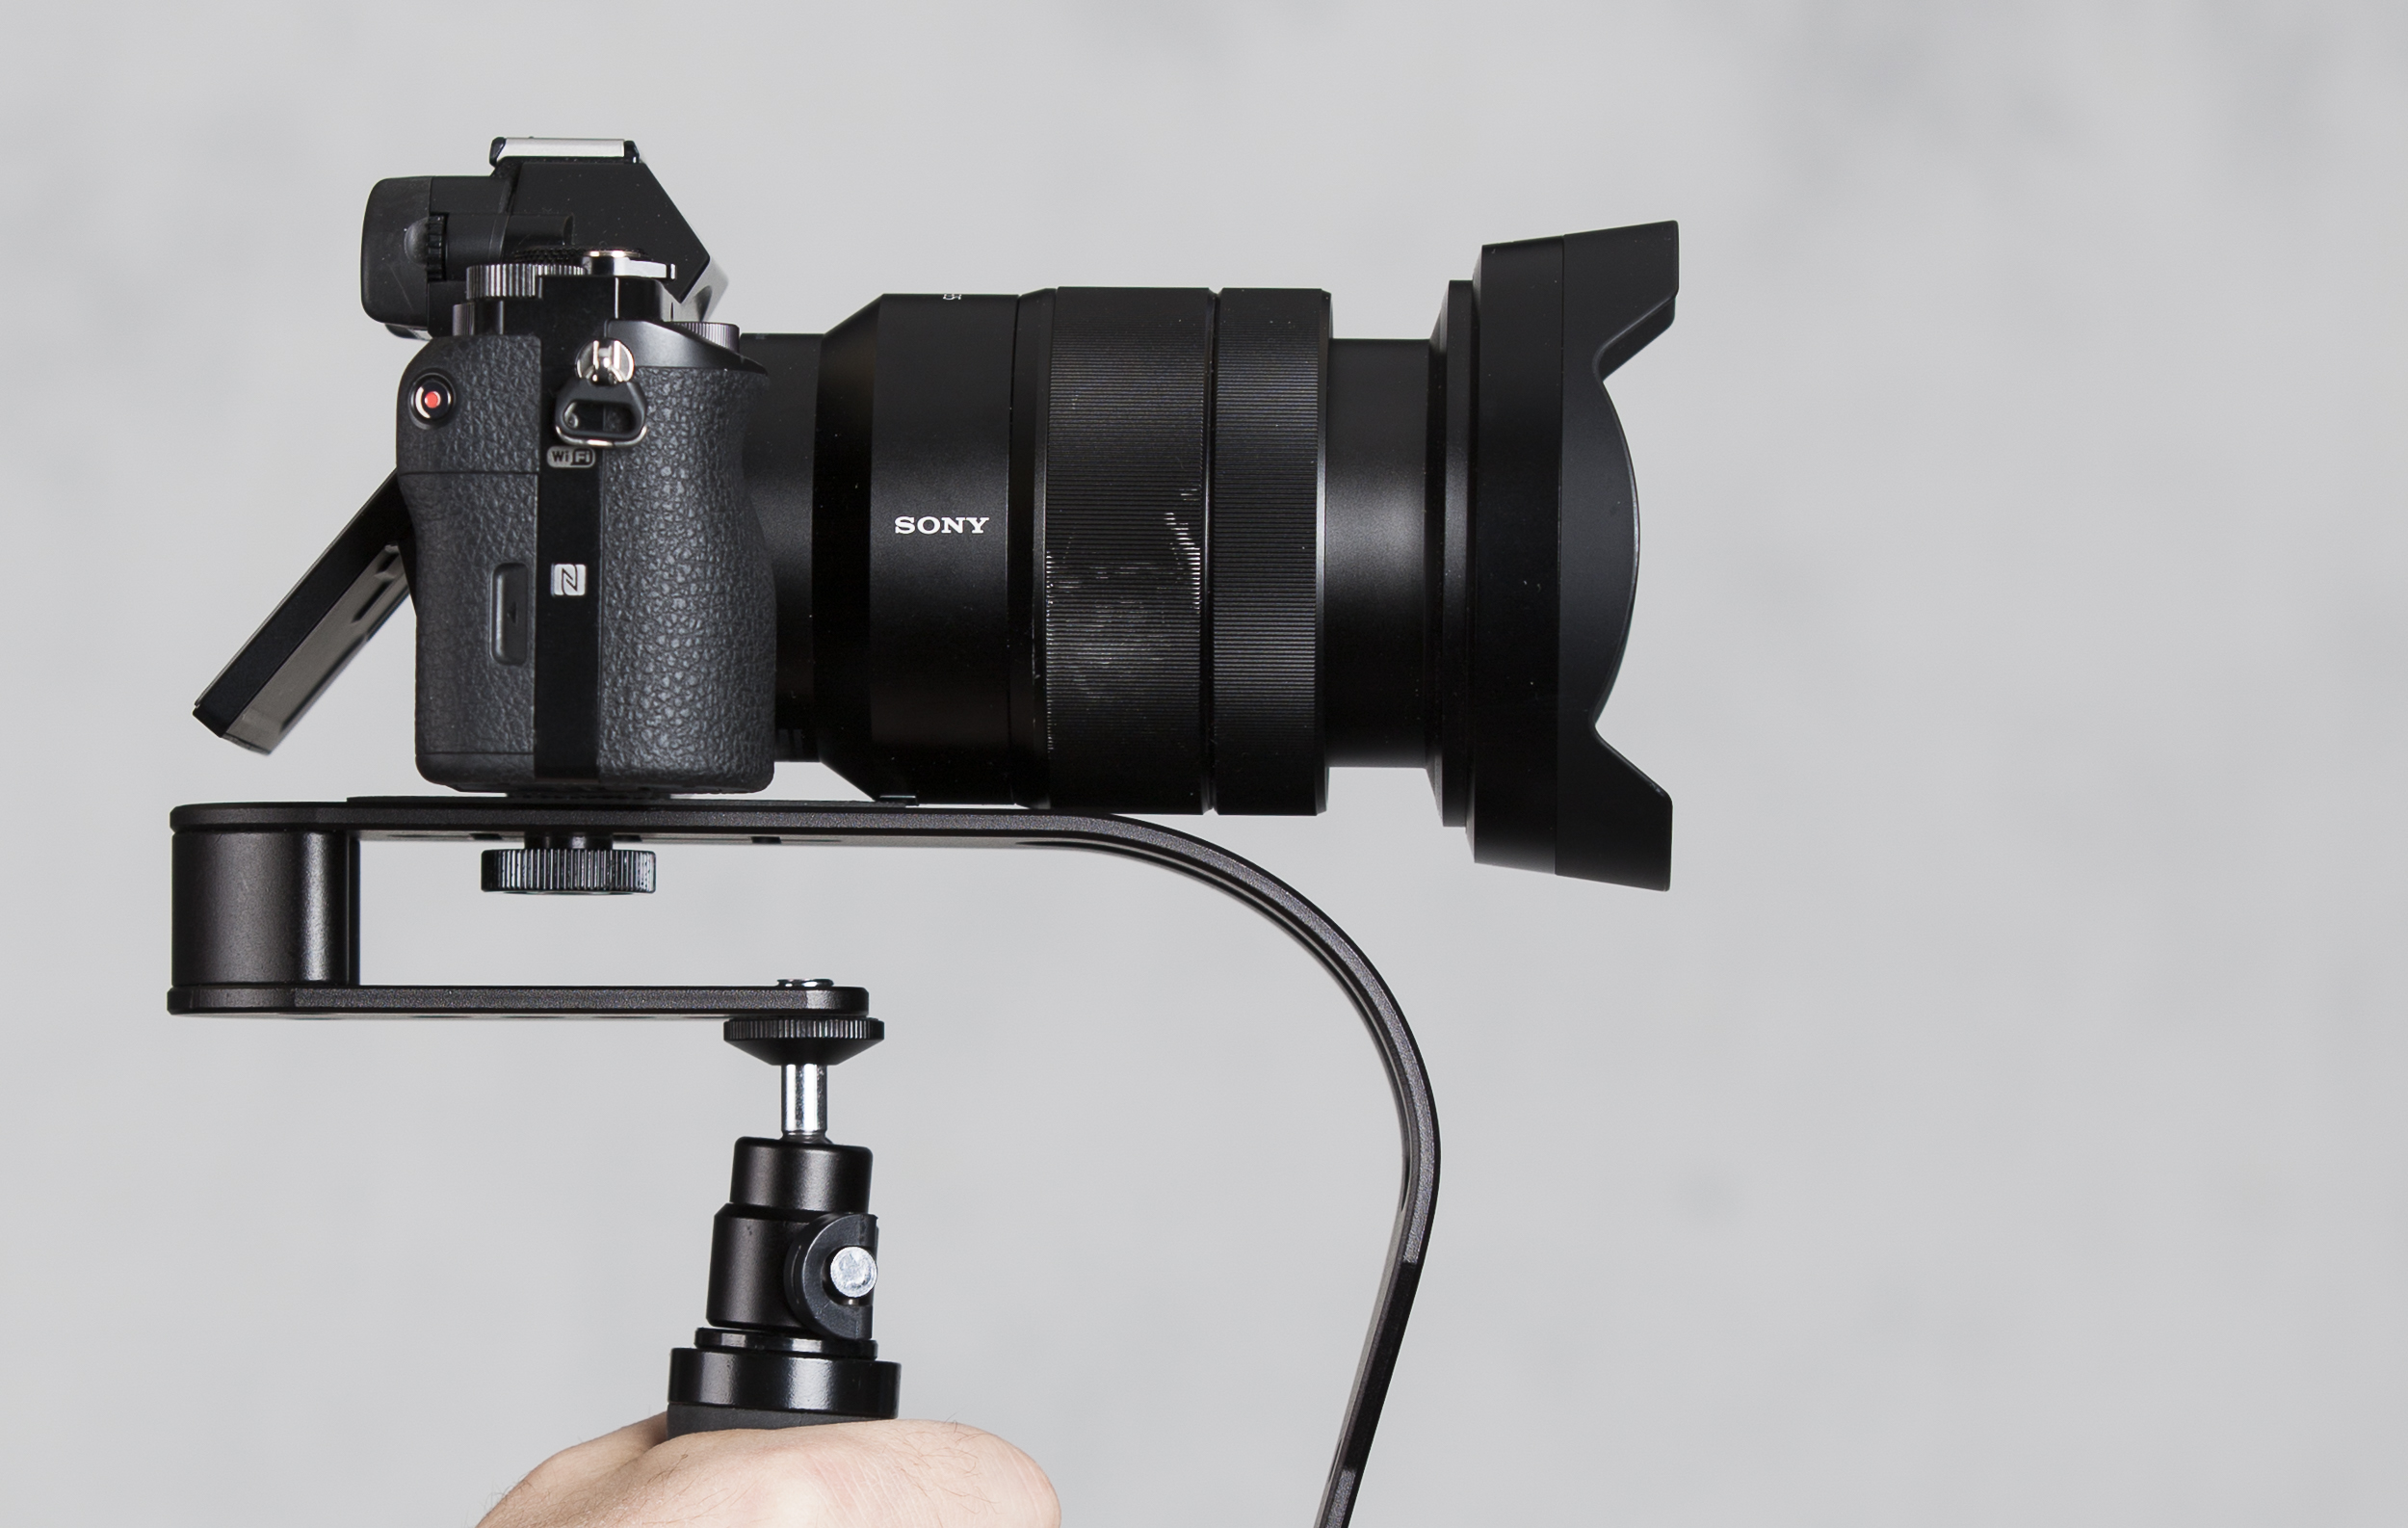
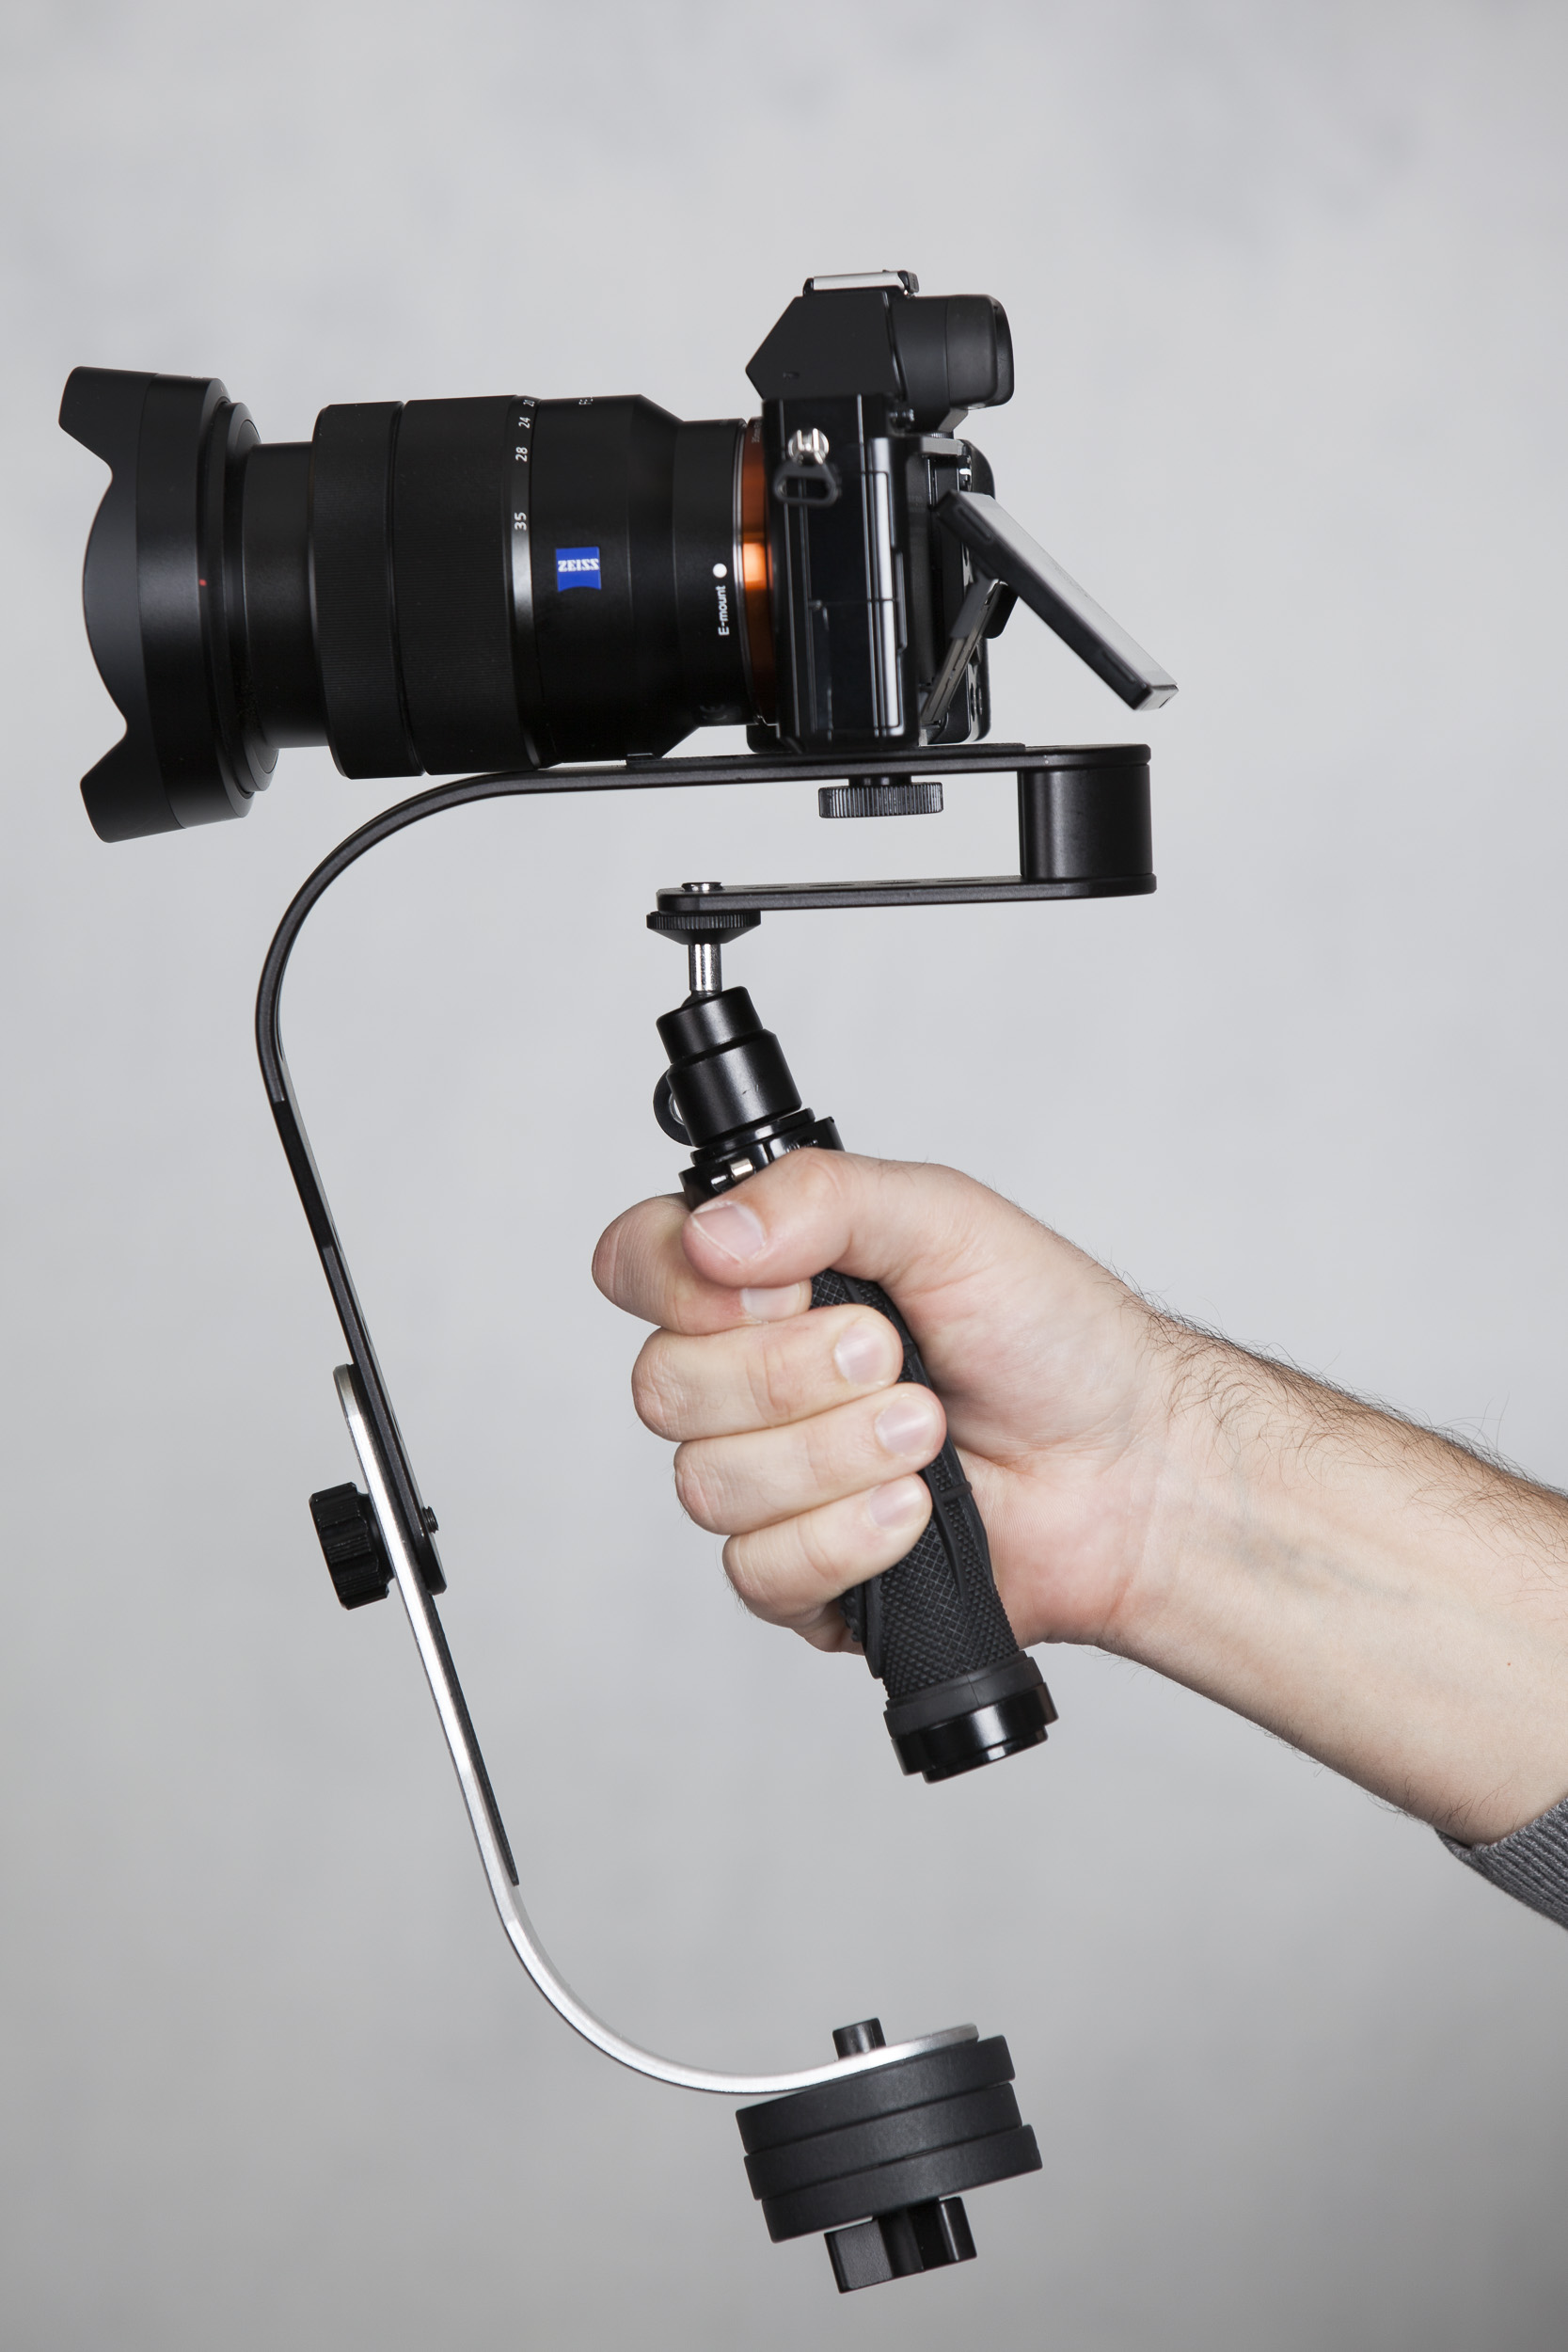
My camera setup is fairly heavy (for an A7R, anyway) since I’m using the full frame Sony 16-35mm lens. You can see in the photos in this post that I have the lower arm nearly as far down as it can go (using the last screw hole available) and the arm holding the counter weights sits slightly to the left (when looking at the back of the steadycam). The A7R itself has more weight on the right than on the left of the camera, so this adjustment makes sense. The handle is using the furthest forward option that the steadycam allows. The camera is sitting more towards the back of the steadycam.
Camera and handle positions I used on the Roxant Steadycam with a Sony A7R and a Sony 16-35mm lens.
The Roxant Steadycam setup that works for me with a Sony A7R and a Sony 16-35mm lens.
I had hoped to be able to use my camera’s battery grip to maximize my video recording time, but unfortunately the grip made the camera entirely too top-heavy. No matter what I did to counter balance the stabilizer, the camera would list heavily either to the left or to the right. Perhaps a longer arm or more counter weights would fix this issue, but honestly the entire setup was a bit heavier than I’d like with that grip on there anyway. Removing the battery grip got me closer to where I needed to be. After about an hour of tinkering, I finally got the steady cam pretty well balanced.
Getting the balance perfect takes a lot of time and patience, and even the slightest adjustment to the camera will alter the balance. You can actually alter the overall balance of the steadycam by adjusting the articulating screen on the back of the camera – the balance is that sensitive! Adjusting the zoom on the lens (if you are using a zoom lens) causes the steadycam to tilt either forward or back, so it’s recommended that you pick a fixed zoom and just stay there. Fortunately it’s not terribly difficult to adjust the steadycam if you do alter the zoom (you just need to move the camera either forward or back), but be aware that even the slightest change in zoom will knock your balance out of whack. One feature on the A7R that really helped with the adjustments was the digital level on the rear LCD. The Sony A7 line of cameras all feature a digital level, and it makes a huge difference when it comes to fine tuning those final adjustments.
Using the Steadycam
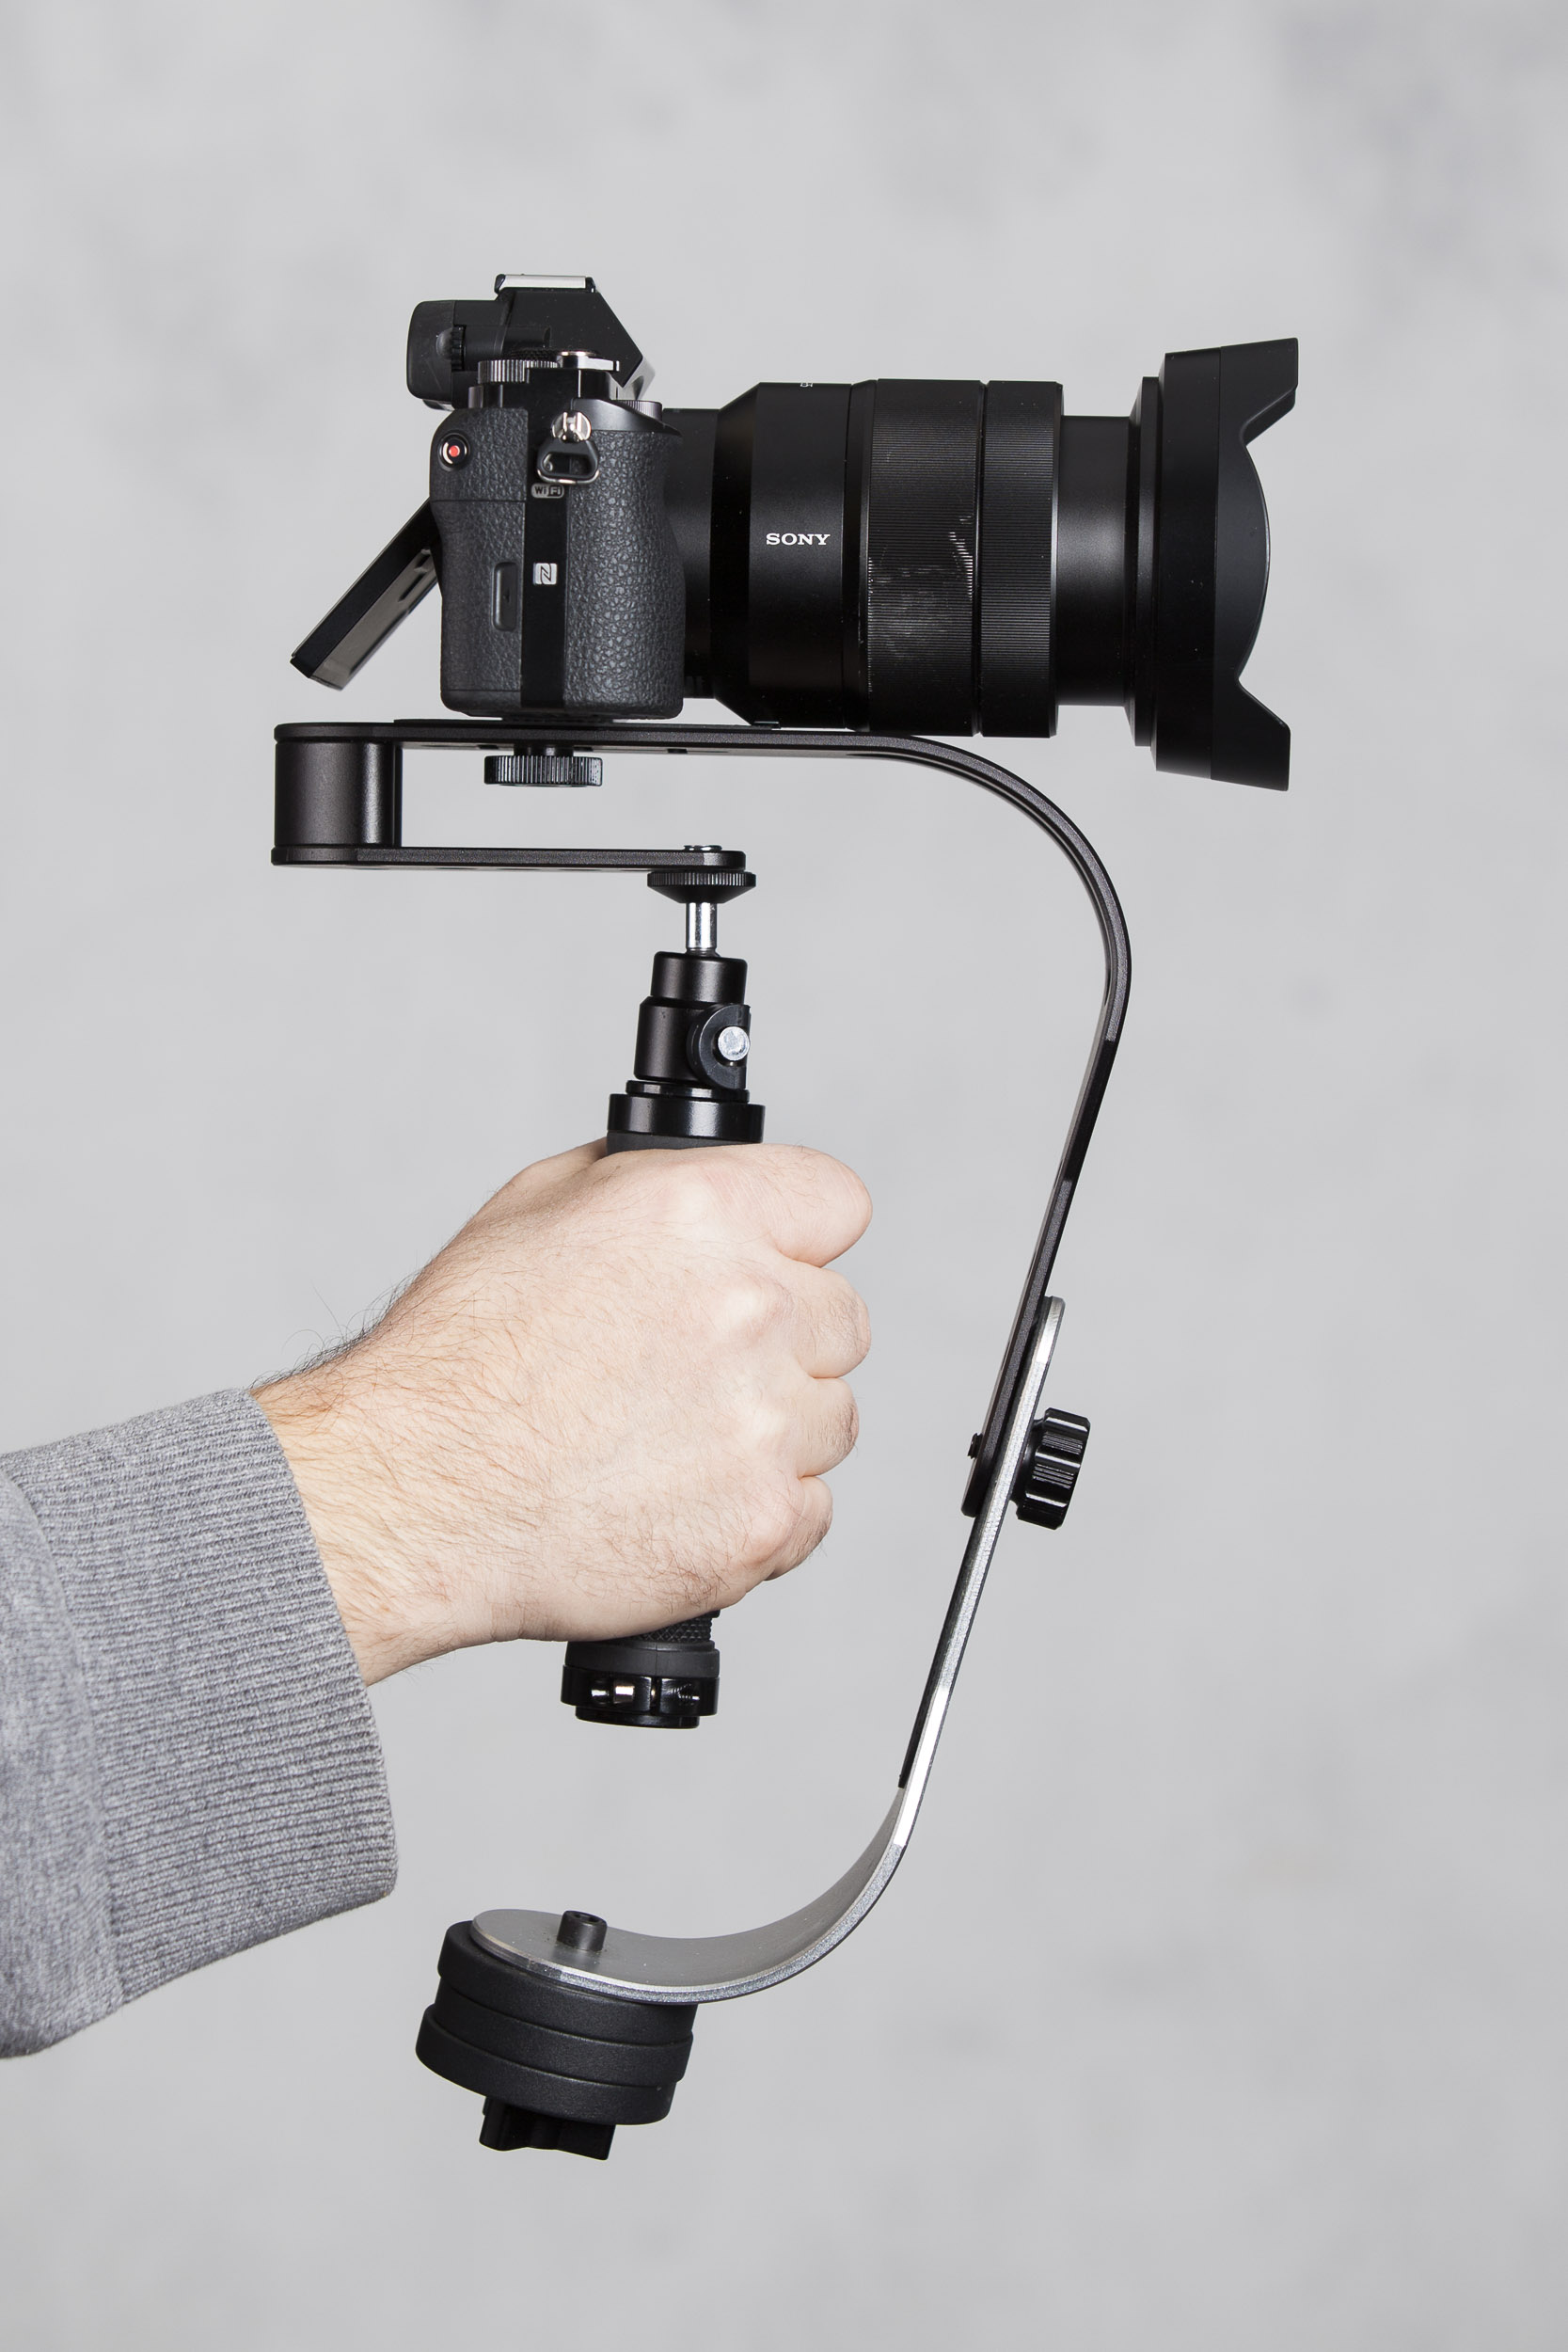
Once all the settings are dialed in, using the steadycam is pretty straightforward, but takes a good bit of practice. I found myself using two hands because the whole rig is pretty heavy, which tired my arm out quickly. I also tried to use my arms to assist in the stabilizing of the video by keeping them somewhat loose – I tried to employ more fluid motion rather than being rigid. It also seems to help if I keep my arms closer to my body whenever possible. I discovered fairly quickly that the steadycam would rotate clockwise or counter clockwise if I moved left or right too quickly, so I tried to keep my movements slow. You can mitigate this by locking the handle down using the provided locking screw, which will prevent the steadycam from rotating, but it also makes the shot less stable (see photo below). I try to keep the handle fairly loose, though you can actually adjust the locking screw so the handle is completely locked in any number of positions.
Roxant Steadycam with handle locked in position.
I’d say this steadycam is worth the investment at just around $65. It made my handheld video shots far more useful. The only negatives I experienced with it would be that it tends to get knocked out of whack pretty easily, and you need to keep an eye on the handle as it can sometimes work itself loose. Like all the other parts on the steadycam, the handle screws on, so I can understand how it would work itself loose after an hour or so of shooting. As far as the steadycam getting knocked out of whack – it does happen, but it’s an easy fix. Everything on this thing is hand tightened, so eventually something is going to come loose. Not a huge deal.
Roxant recommend using multi-purpose oil to lubricate the gimble, as it’s metal on metal. I actually just used motor oil and it was fine – it definitely makes a difference.
You can grab yourself a Roxant Steadycam over on Amazon. Have you used one? Let me know what you thought of it in the comments below!


