One of the bigger complaints about the Sony A7 line of cameras is the relatively short battery life. Unfortunately this is just the nature of the beast when it comes to these cameras, but there are a number of things that can be done to at least extend battery life. Here’s a few tips:
Turn on Airplane Mode
This should be the first thing you do. Similar to your cell phone, turning on Airplane Mode disables wifi and NFC on the camera which reduces power consumption. To enable Airplane Mode, go to MENU →  (Wireless) → Airplane Mode. An airplane mark will be displayed on the screen with Airplane Mode on. See the image below which shows where in the menu to enable Airplane Mode.

Adjust (or Turn off) Auto Review
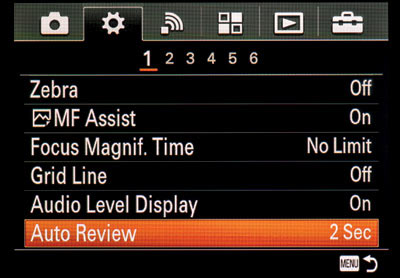
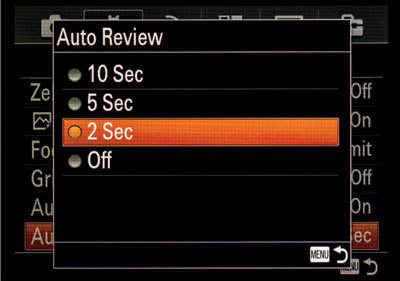
By default, your camera will of course immediately show you the image you just shot, but this can drain your battery. You can choose to adjust how long the image stays on your screen, or you can choose to turn the review option off altogether. Press Menu →  (Custom Settings)→ Page 1 → Auto Review. From there you can adjust your settings.
Turn off the EVF (Electronic View Finder)
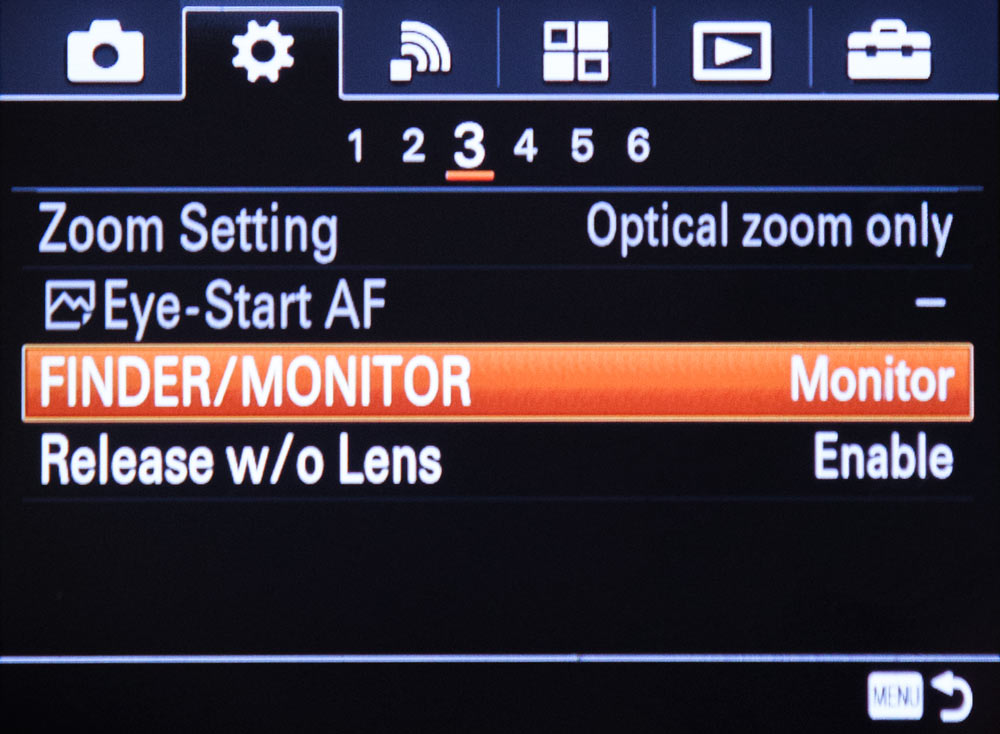
Seems counter-intuitive, but the EVF actually draws more power than the rear LCD. You can opt to turn the EVF off, which will get you a bit more battery life.
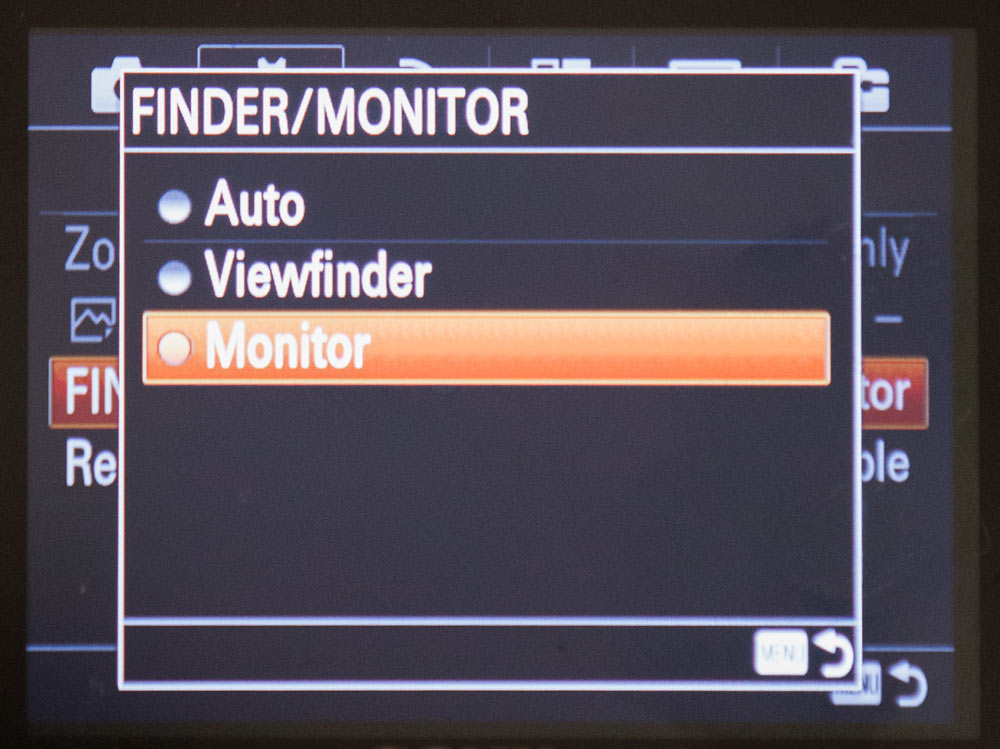
To turn off the EVF, press MENU → (Custom Settings) → Finder/Monitor → choose “Monitor.”
Turn off Pre-AF
Pre-AF (pre autofocus) is a sort of “continuous autofocus” mode in which the camera attempts to focus on whatever you point the camera at before you even touch the shutter. It can be a very handy feature during a “run ‘n gun” type of shoot, but otherwise it’s not entirely necessary and it does put more strain on your battery.
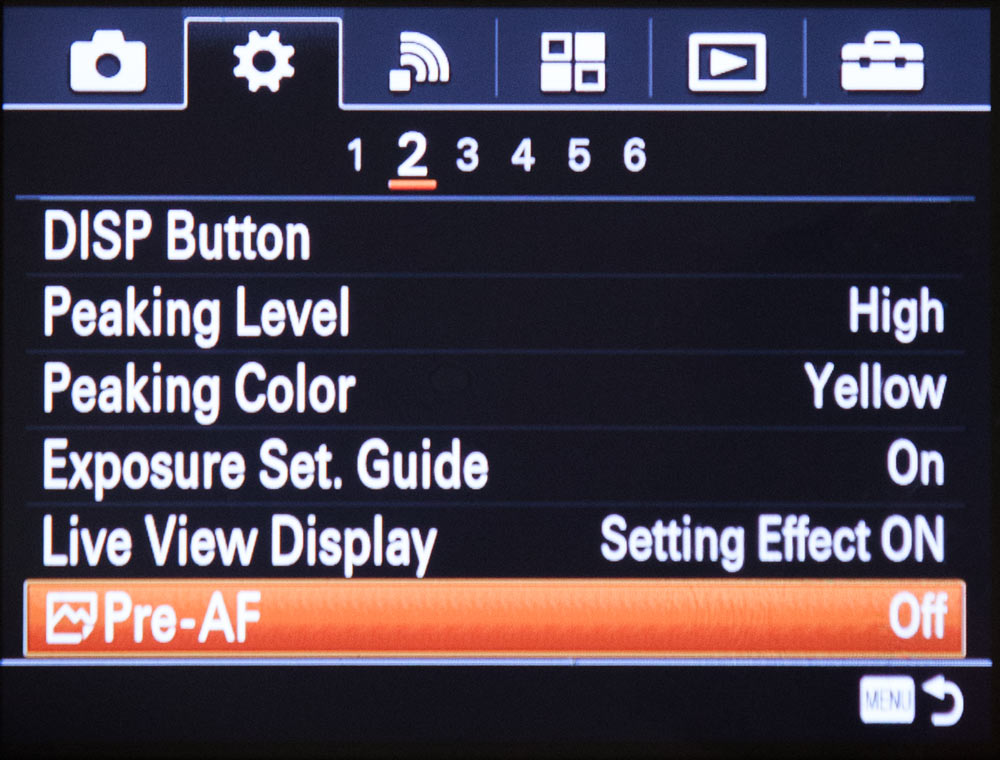
To turn off Pre-AF, press MENU → (Custom Settings) → [ Pre-AF] → Choose “Off.”
Shoot in Manual Focus
Ordinarily this would be an odd suggestion, but Sony’s focus peaking option makes manual focus much easier than it has been in the past.
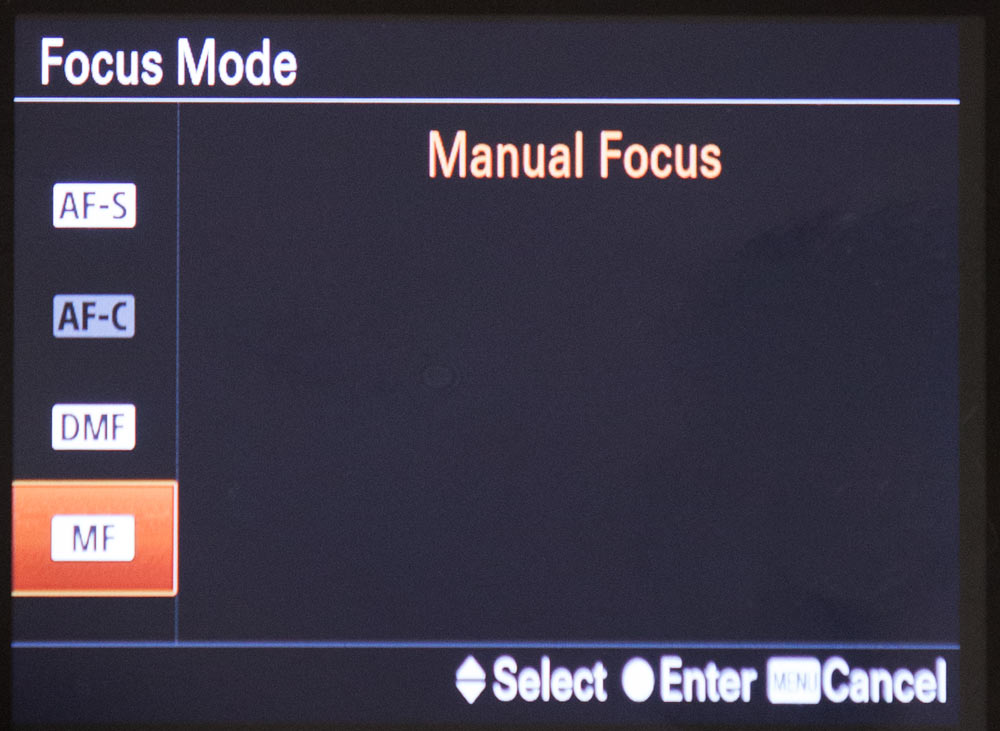
To enable manual focus, press MENU →  (Camera Settings) → Focus Mode → Manual Focus.
There are also any number of custom buttons you can assign to the camera to allow you to quickly switch from manual to auto focus.

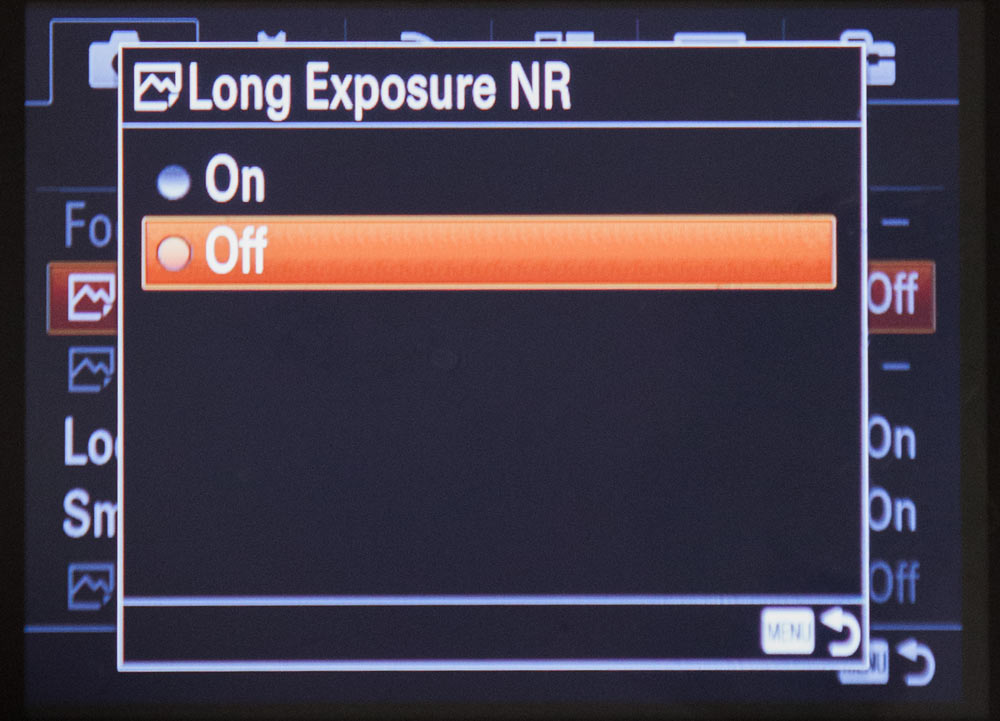
Turn off Long Exposure NR (Noise Reduction)
If you are shooting any long exposure shots, turn off Long Exposure NR. Not only does it eat up a lot of battery life, but it also slows you way down. The noise reduction process takes a long time – noise reduction is activated for the same duration that the shutter was open (so a thirty second exposure takes thirty seconds of processing) and processing doesn’t start until the image has been captured. Yuck. I also personally found that noise reduction doesn’t do anything to the photo that you couldn’t accomplish using your favorite photo editing application.
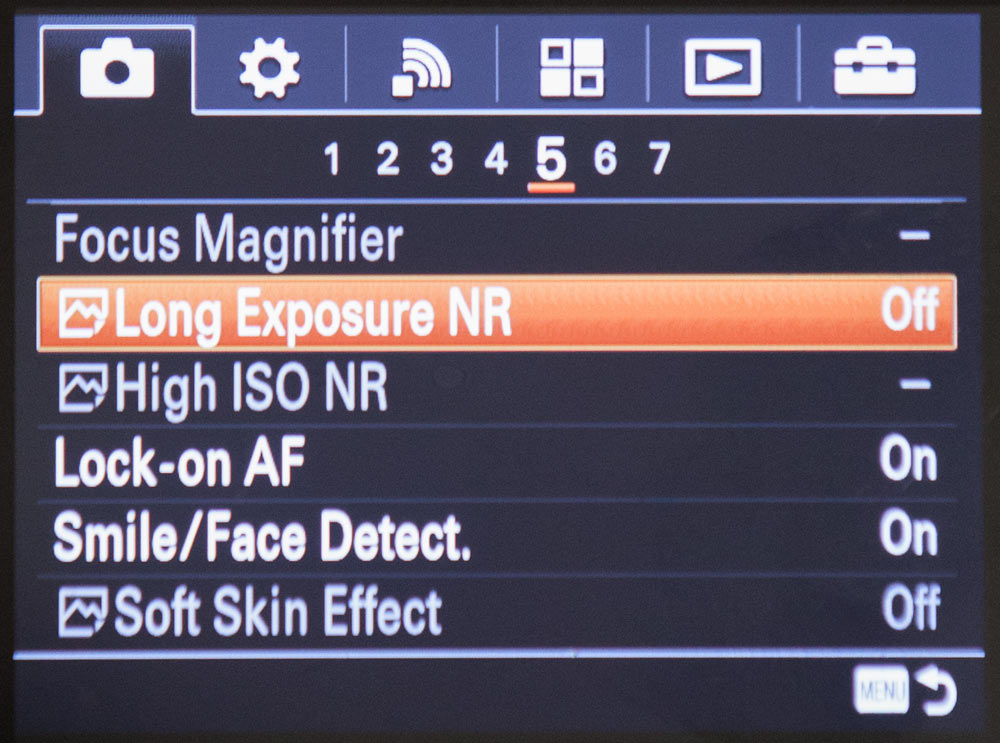
To turn off Long Exposure NR, press MENU → (Camera Settings) → [Long Exposure NR] → Choose “Off.”
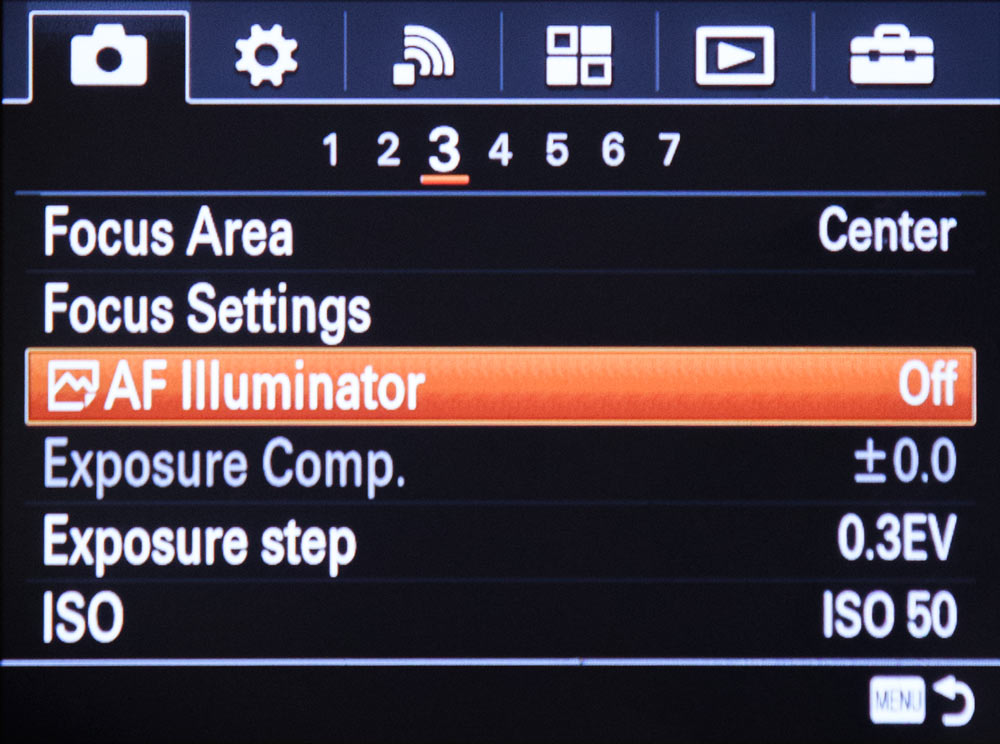
Turn off AF Illuminator
This one is probably minor, but if you are looking to squeeze every bit of power from your battery you might as well turn it off. The AF Illuminator emits a beam of light from the front of the camera, giving the autofocus sensor something to focus on when it seems to be having difficulty. The AF Illuminator only works when using autofocus, so if you are already in manual focus you can disregard this one.
To disable the AF Illuminator, go to MENU → (Camera Settings) → [AF Illuminator] → Choose “Off.”
Use a Battery Grip
Another route to take instead of trying to save battery power is to just add some more! I personally use a battery grip from a company called Meiki, which only cost me around $60 and has been doing a great job. You can read my review on it right here.
Use an AC Adapter
This is only ideal if you are shooting indoors (such as in a studio) but it replaces your batteries altogether. A company called “Big Mike’s” that makes one for only $25.
Use a Portable Power Supply
There are a number of portable power supply options for the Sony A7 line. Here are links to several of them:
Case Relay Camera Power System
This piece of equipment is interesting, as it relies on an external USB power source to keep your camera running without the need to constantly swap batteries. Perfect for timelapse shoots or videography. The system requires you to buy three separate components in order to get everything running, and I recently wrote a tutorial on how to set everything up. Here they are:
- Case Relay Power System ($99 on Amazon)
- Relay Camera Coupler for Sony ($34.99 on Amazon)
- 2.1 Amp (or more) USB Power Source. This is what powers your camera. This one from EasyAcc will get the job done – EasyAcc 20000 mAh Power Bank ($32.99 on Amazon)
- Optionally, if you want to mount the power bank to your tripod, the Tether Tools StrapMoore is what you’ll need ($18.95 on Amazon)
Atomos Power Station Video Dual Battery System
The Atomos Power Station Video Dual Battery System ($395 on Amazon) is another option for “all day power” – it includes 2x 7800mAh Sony L-Series Type Batteries, plus it can charge additional devices via USB ports built into the unit. It does add quite a bit of bulk to your camera setup, but it wouldn’t be a huge deal when mounted to a tripod. It is on the high end price wise.
Varavon a7S Battery Package (works with all A7 cameras)
The Varavon A7S Battery Package ($156.88 + shipping on Amazon) is essentially a rechargeable power block that uses a coupler in place of your Sony battery. Don’t let the “A7S” in the name lead you to believe it’s only for A7S cameras. I’ll work with any camera in the Sony A7 line. Basically you just charge it up, plug it into your battery slot, and you should have plenty of power for a long period of time (one review on Amazon claimed 15 hours of power). This package is another that would benefit from the use of the Tether Tools StrapMoore ($18.95 on Amazon).
That’s quite a few options for addressing the Sony A7 battery issue. Did I miss anything? Feel free to let me know in the comments below!


