Here’s what I learned when shooting photos of Multnomah Falls, one of the most commonly photographed sites in Oregon. When I visited in November, 2014 the sun was rapidly setting but there were still plenty of photographers firing away. Fortunately there is a very large area in front of the falls where you can easily set up a tripod (be sure you bring a tripod!). I’d recommend getting to the falls either early in the morning or closer to evening if you want to shoot some long exposure shots. You could also use a neutral density filter if you arrive in the middle of the day. Another advantage to getting here earlier or later in the day is that there should be fewer people standing on the bridge while you take your shots.
I’d also recommend some kind of rain sleeve for your camera. Multnomah Falls is a massive waterfall and as a result there a lot of mist flying around. I shot with the Sony A7R and my camera was pretty soaked by the time I left. Fortunately the A7R is weather sealed. If I shoot these falls again, I’ll definitely be packing some rain sleeves. Also bring some kind of lens cloth to wipe down your lens. Even with the rain sleeve (and even a lens hood), your lens will get wet. I was wiping mine down constantly the closer I got to the falls. I’d also recommend a wide angle lens (these falls are massive).
As far as shooting, it’s almost impossible to get a bad shot. This location is super easy to find (only a few minutes off of I-84) and it’s a short five minute walk from the parking lot to the base of the falls. As long as you are comfortable with shooting long exposures and you brought along a tripod, you should be all set. Of course you don’t have to shoot using a long exposure in order to get a nice shot, but if you are going for one of those “iconic” type of photos, long exposure is the way to go.
If you are up for a short hike, you can get even closer to the falls. The bridge you see in all the shots of these falls (Benson Bridge) is easy to get to and walk across. Keep in mind you will get even more wet if you choose to go this route. I got absolutely soaked. However, there are some cool photo opportunities from this angle. I was able to hold my camera over the edge of the bridge (using my camera strap around my neck) and I held it still long enough to get a nice long exposure. Here’s the shot:
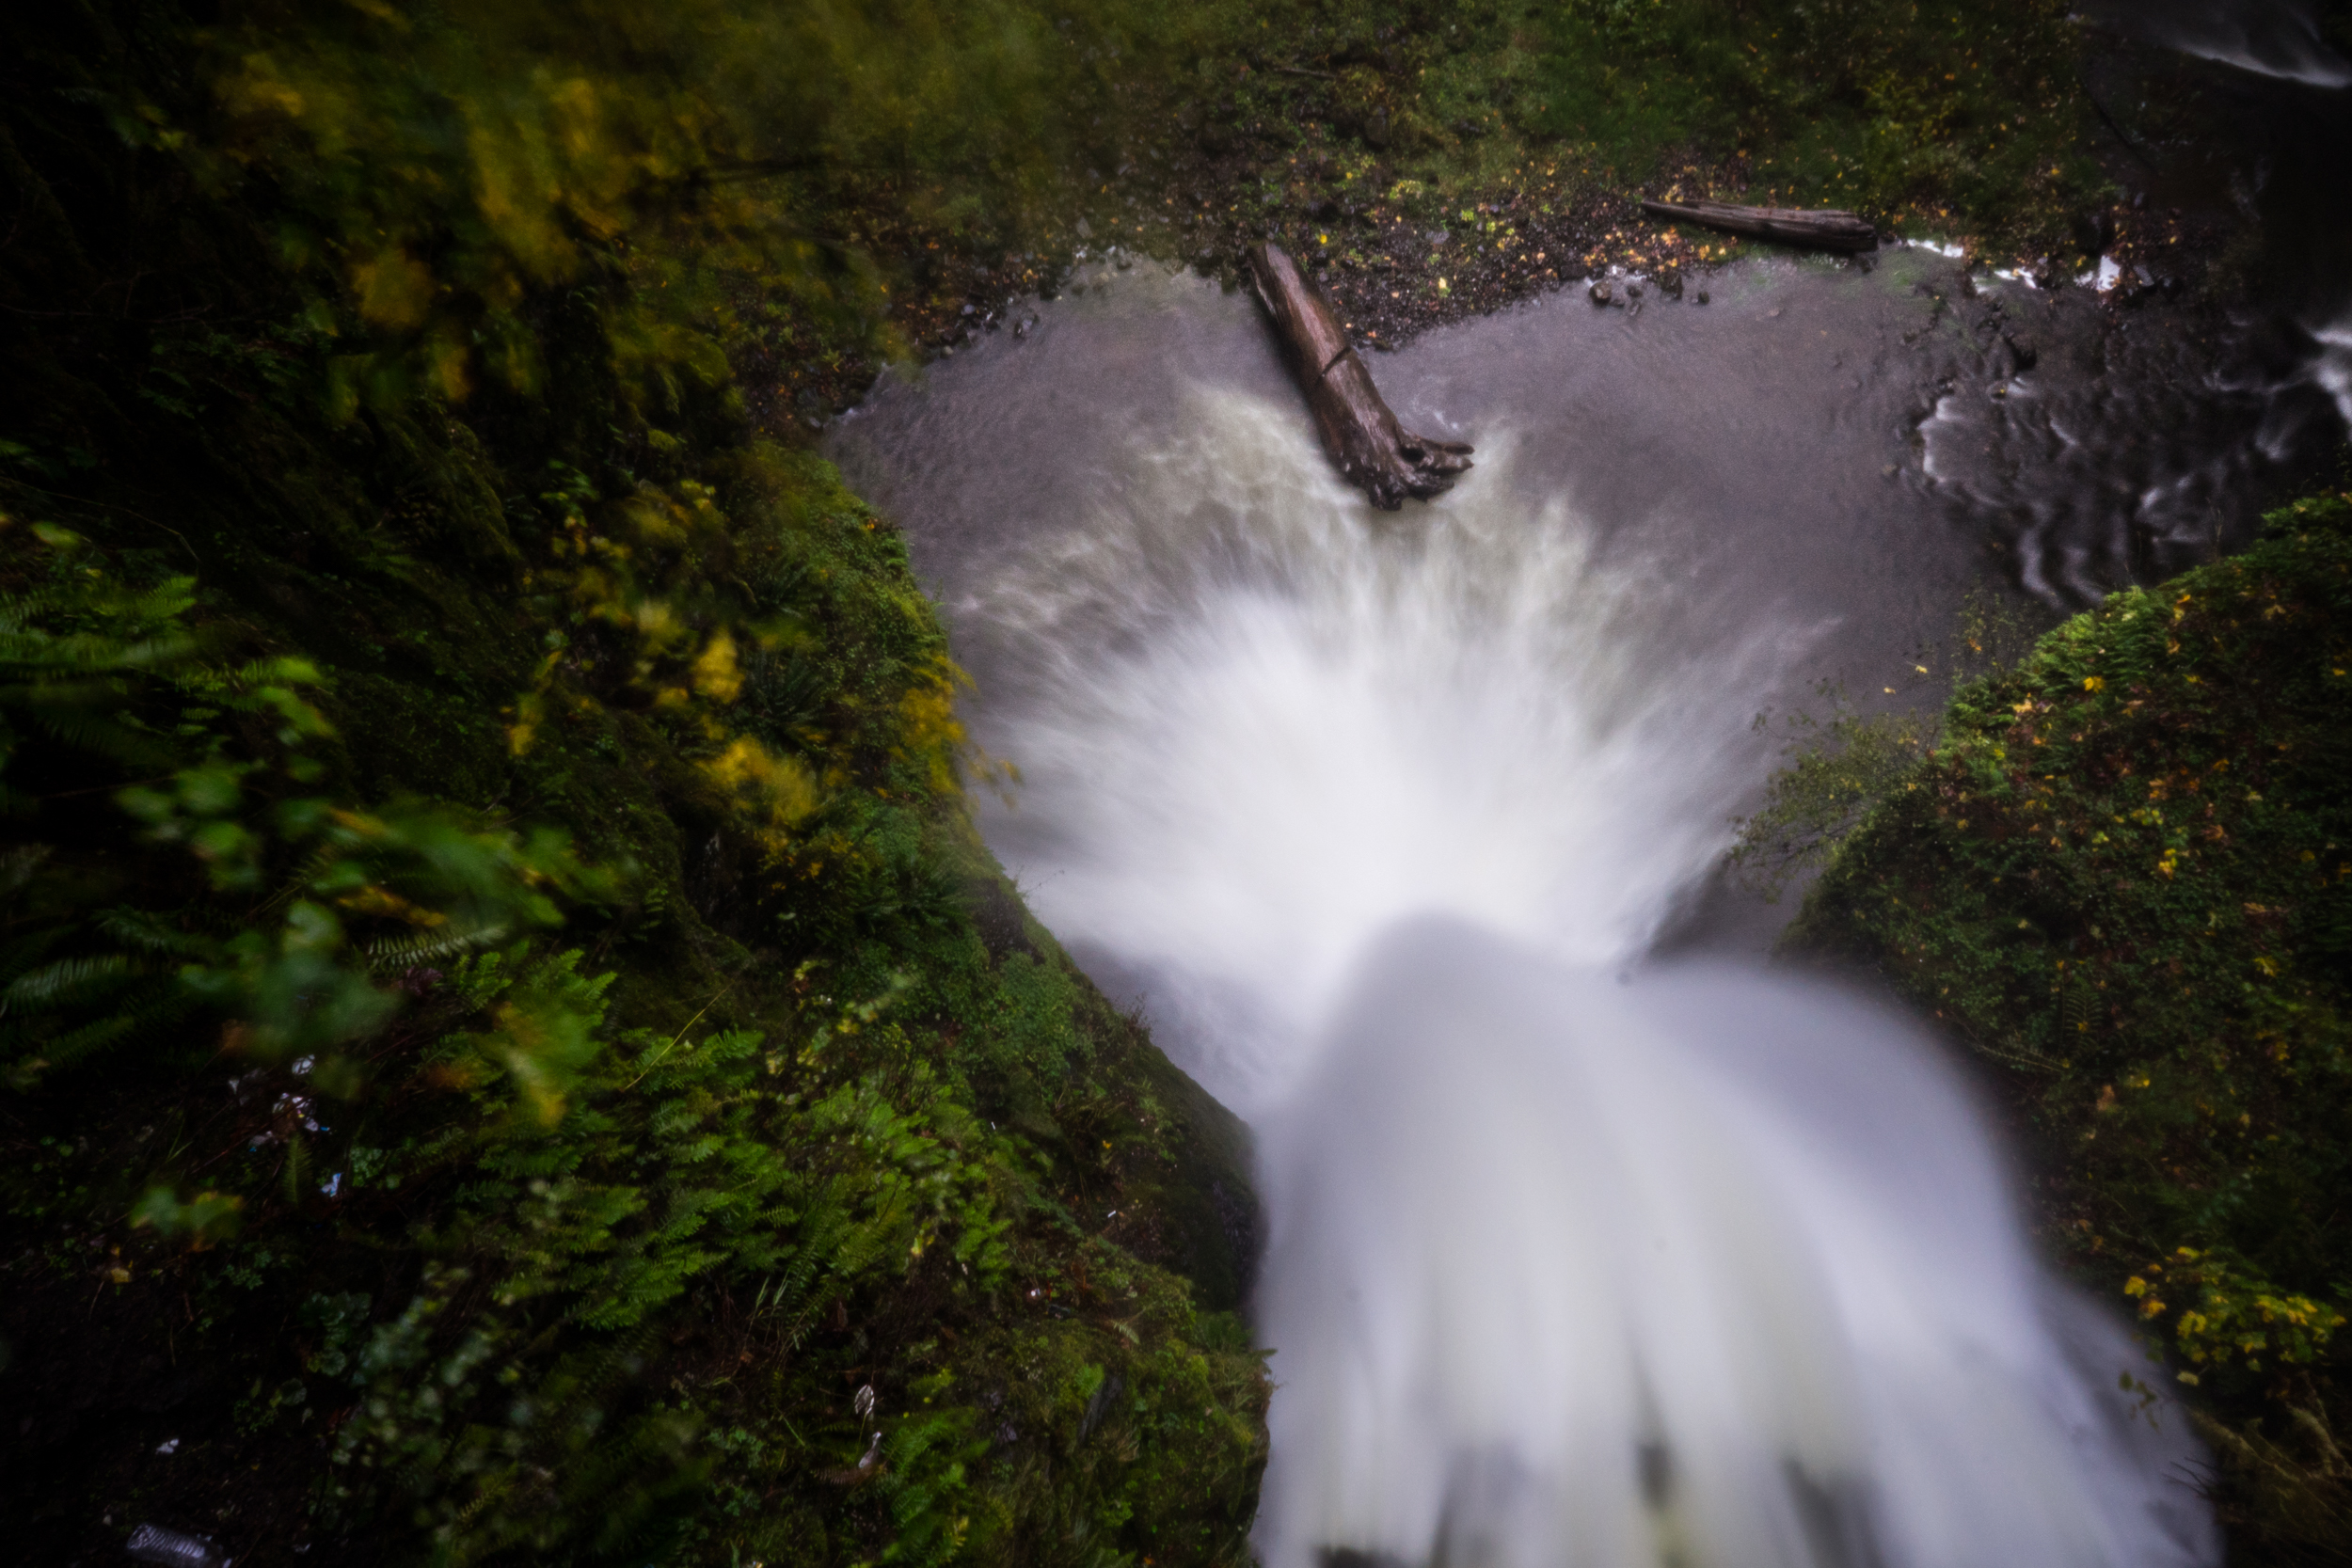
Multnomah Falls as seen from The Benson Bridge. ISO 500, 16mm, f/22, 3.2 sec.
Tripod Alternative
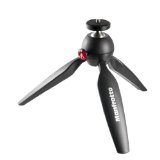 If you don’t feel like dragging around a large tripod on your visit to the falls, there’s still a way to get some nice long exposure shots. I actually brought the Manfrotto MTPIXI-B PIXI Mini Tripod instead. It was only $25, and it provides great stability in a tiny form factor. My only complaint is that you can’t shoot in portrait mode with it, which was definitely a problem when shooting a waterfall. But what a great tripod for hikes! My solution to the lack of portrait mode was to shoot several landscape shots and combine them later in Photoshop. I was happy with how that turned out.
Here’s the best shot of the falls that I got (or shots, considering this is three shots combined). This was also processed using Adobe Photoshop Lightroom 5.
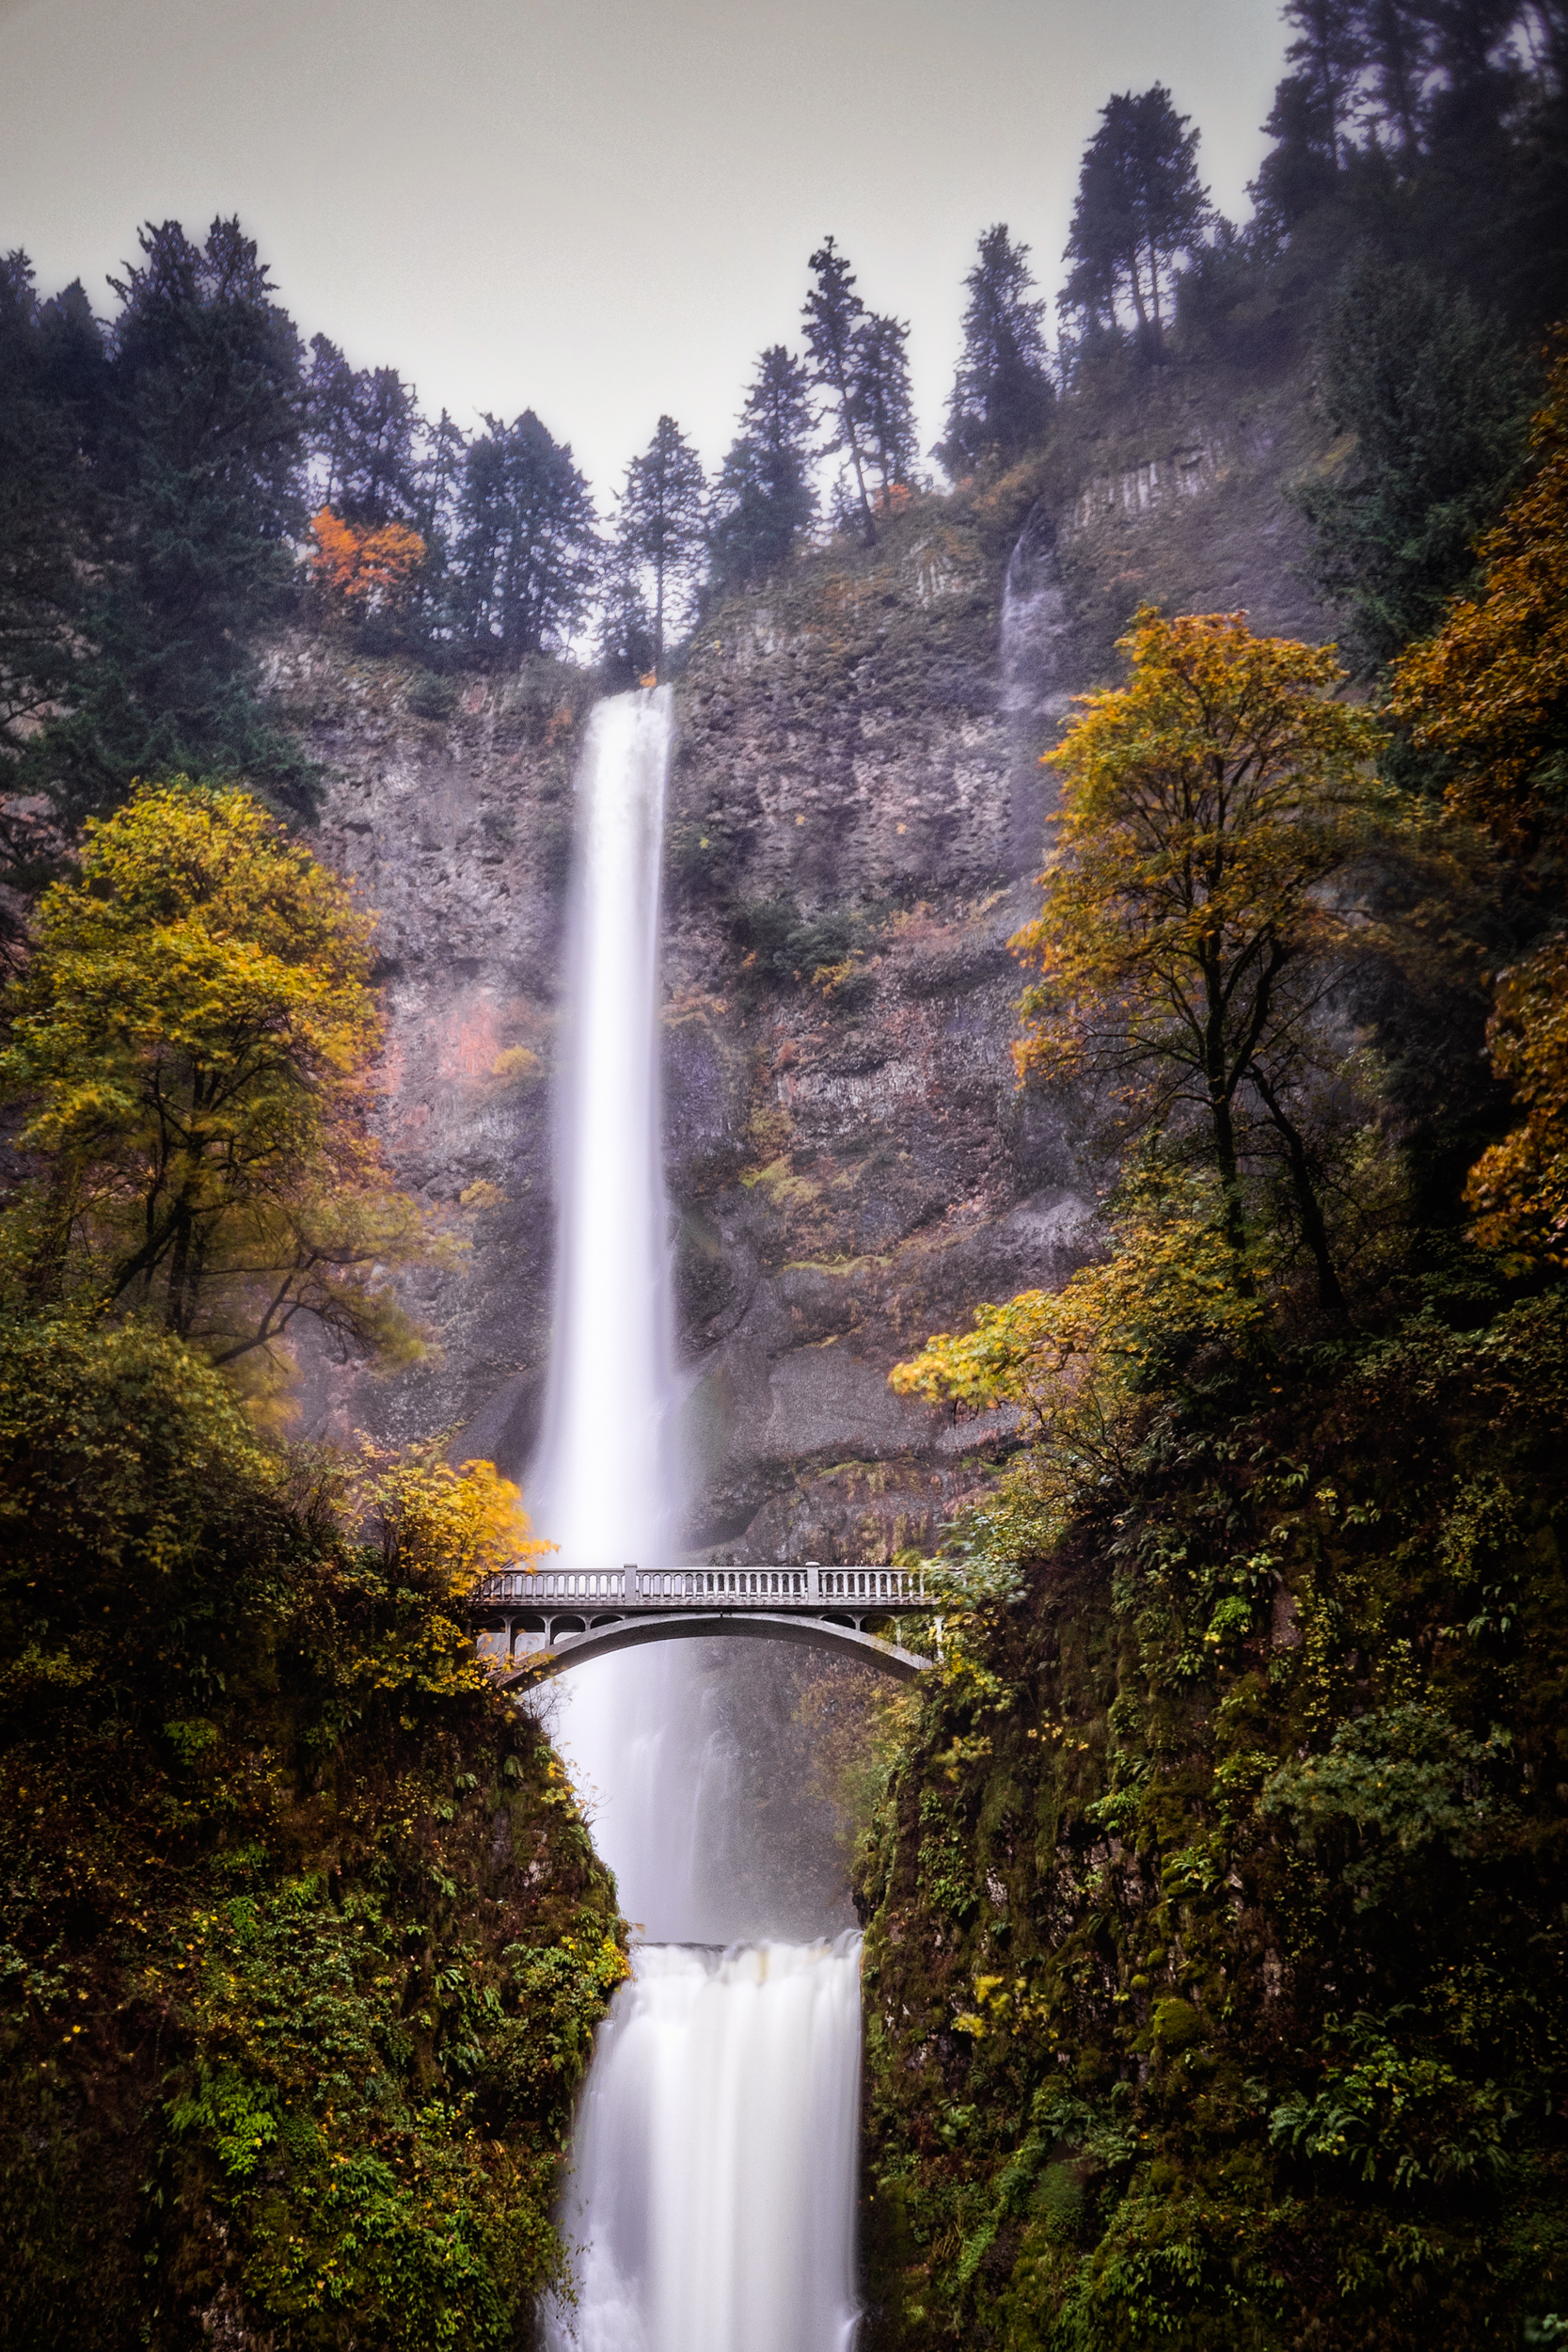
Multnomah Falls in Oregon shot by Tim Ford. ISO 400, 16mm, f/2.8, 1/40 sec.
Have you ever shot the falls? Did I miss anything? Feel free to share your thoughts in the comments below!


