Have you ever shot a photo and then, when processing it in Lightroom, wished the background elements could be blurred out a bit to make the foreground stand out more? Usually this requires exporting the image to Photoshop, but it’s actually possible to do this in Lightroom using local adjustments, and it’s also very easy. Here’s how:
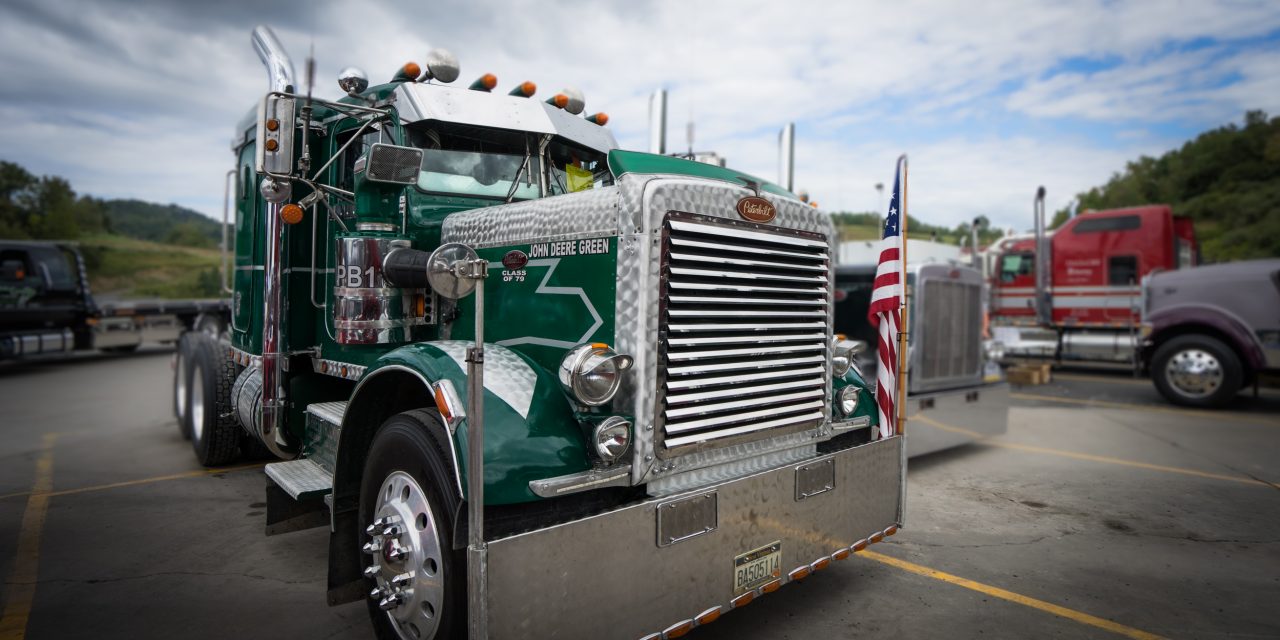
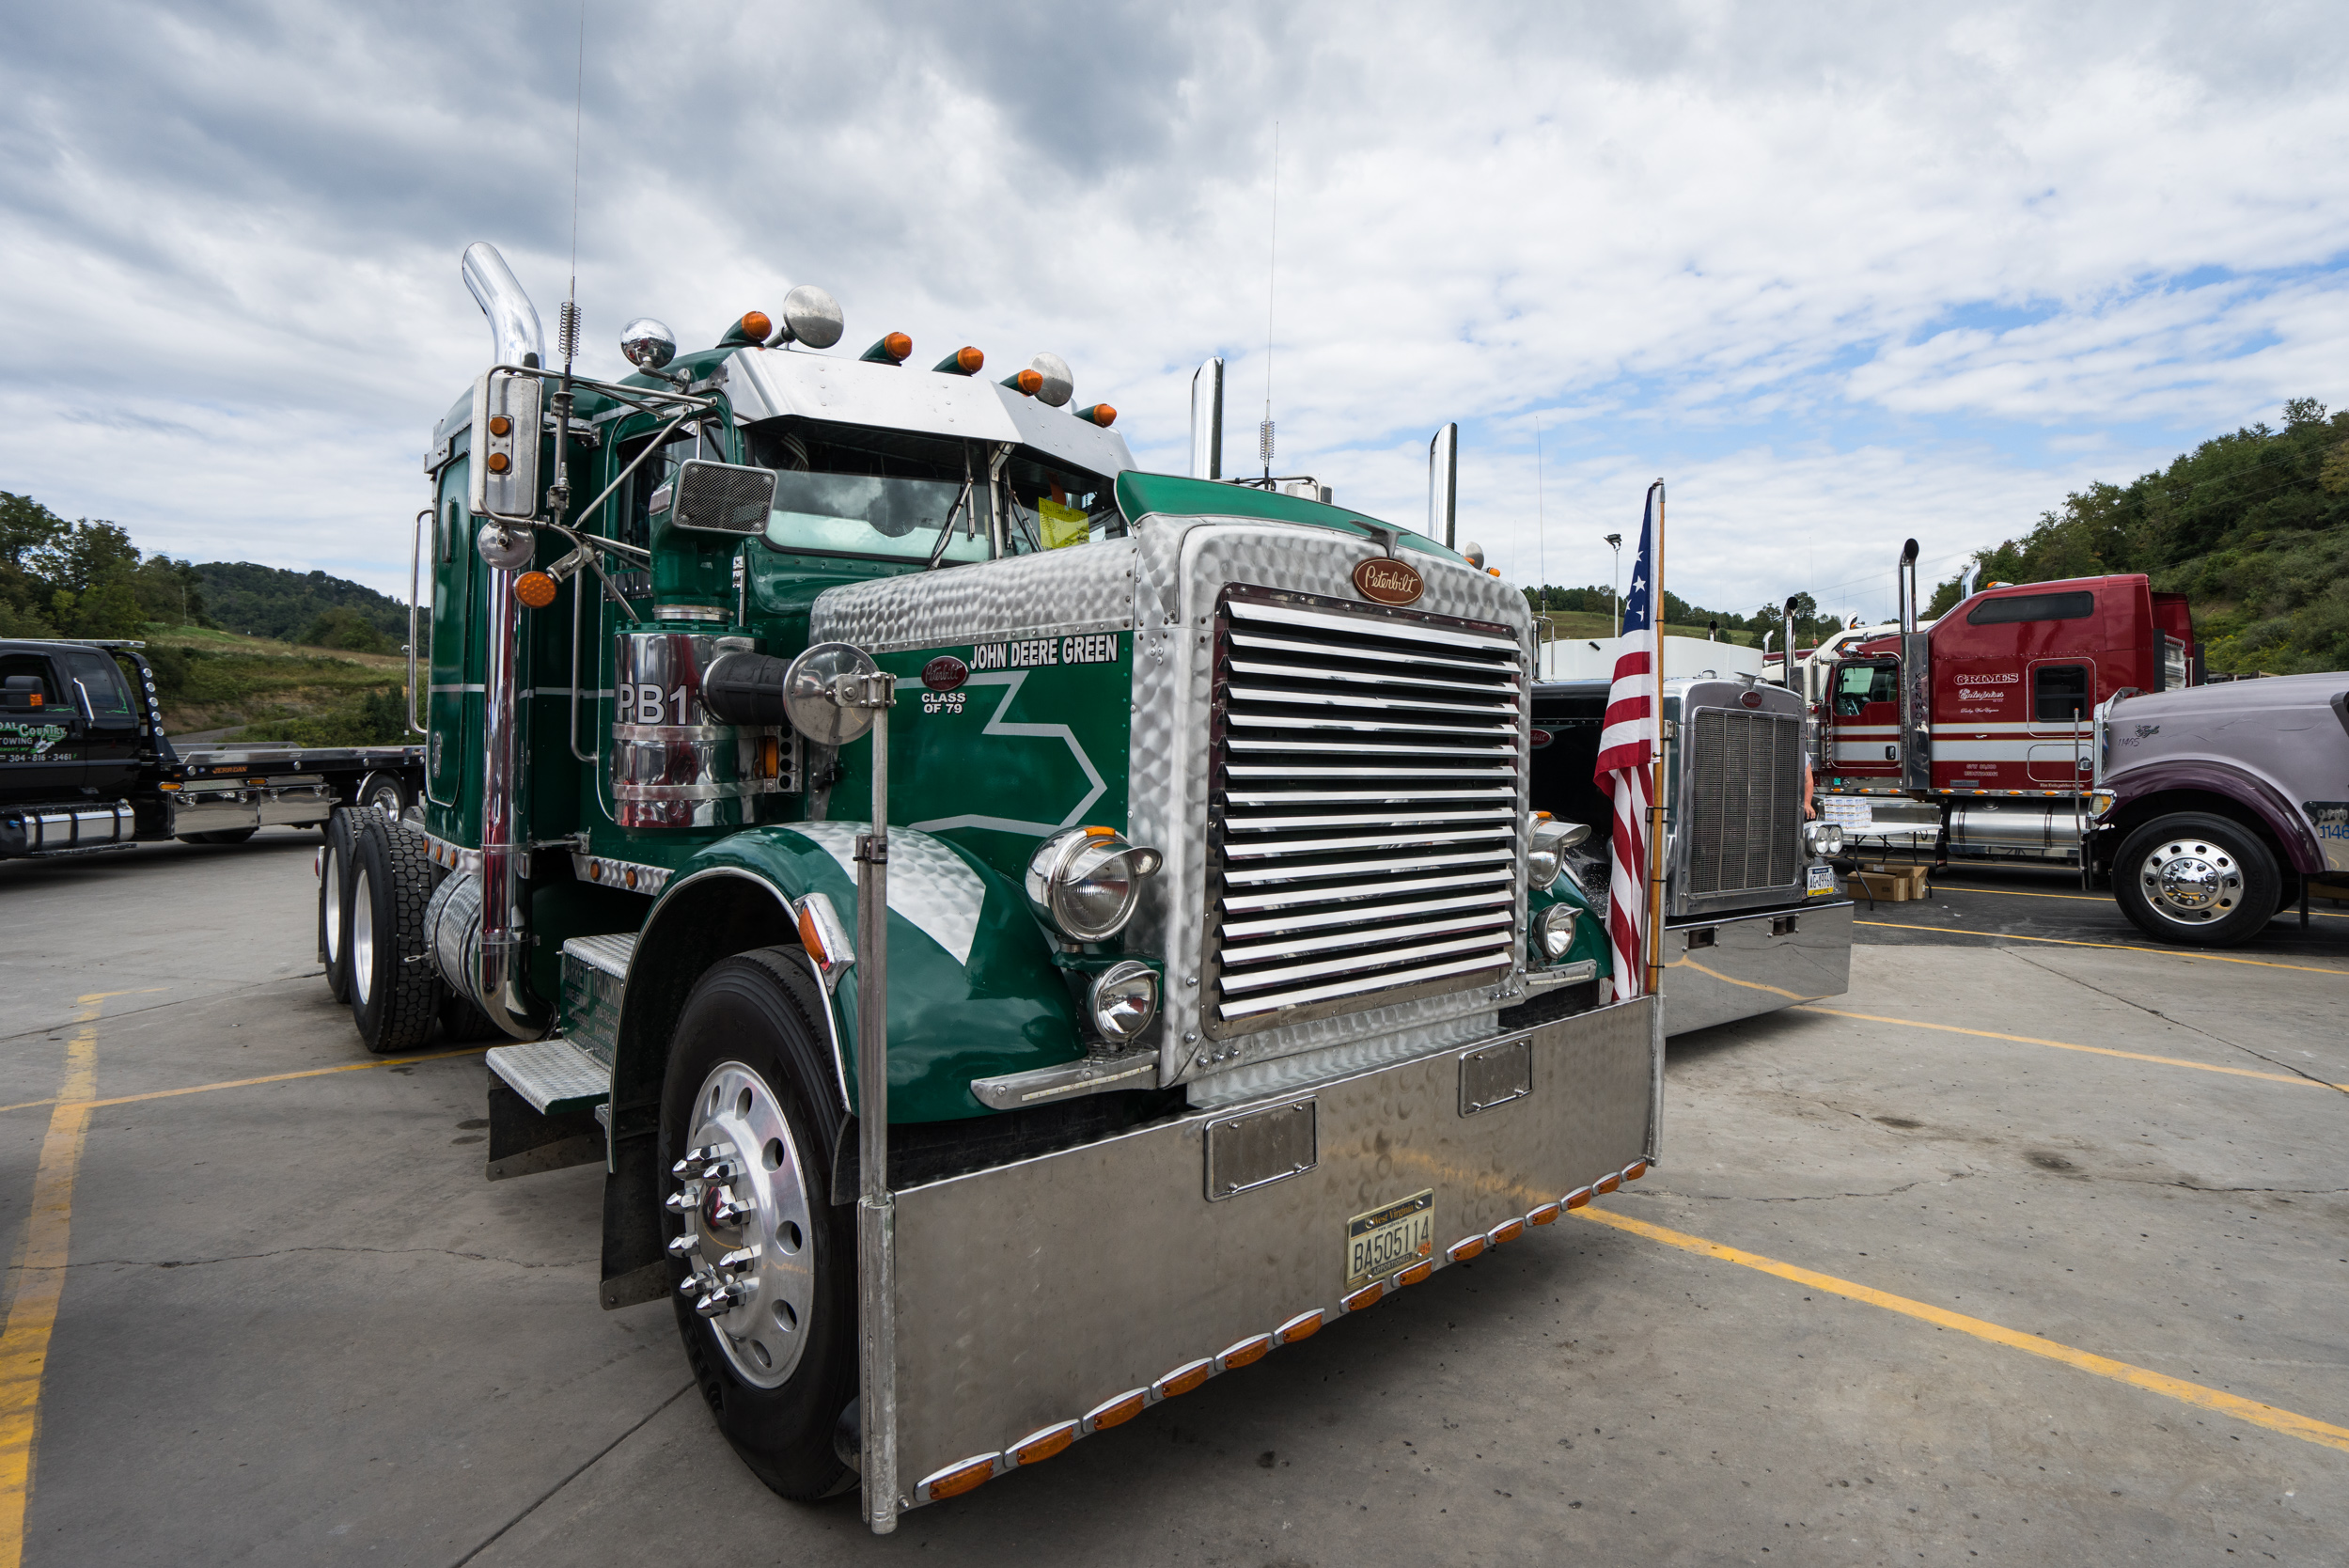
Here’s the photo where I’d rather have the background blurred out:
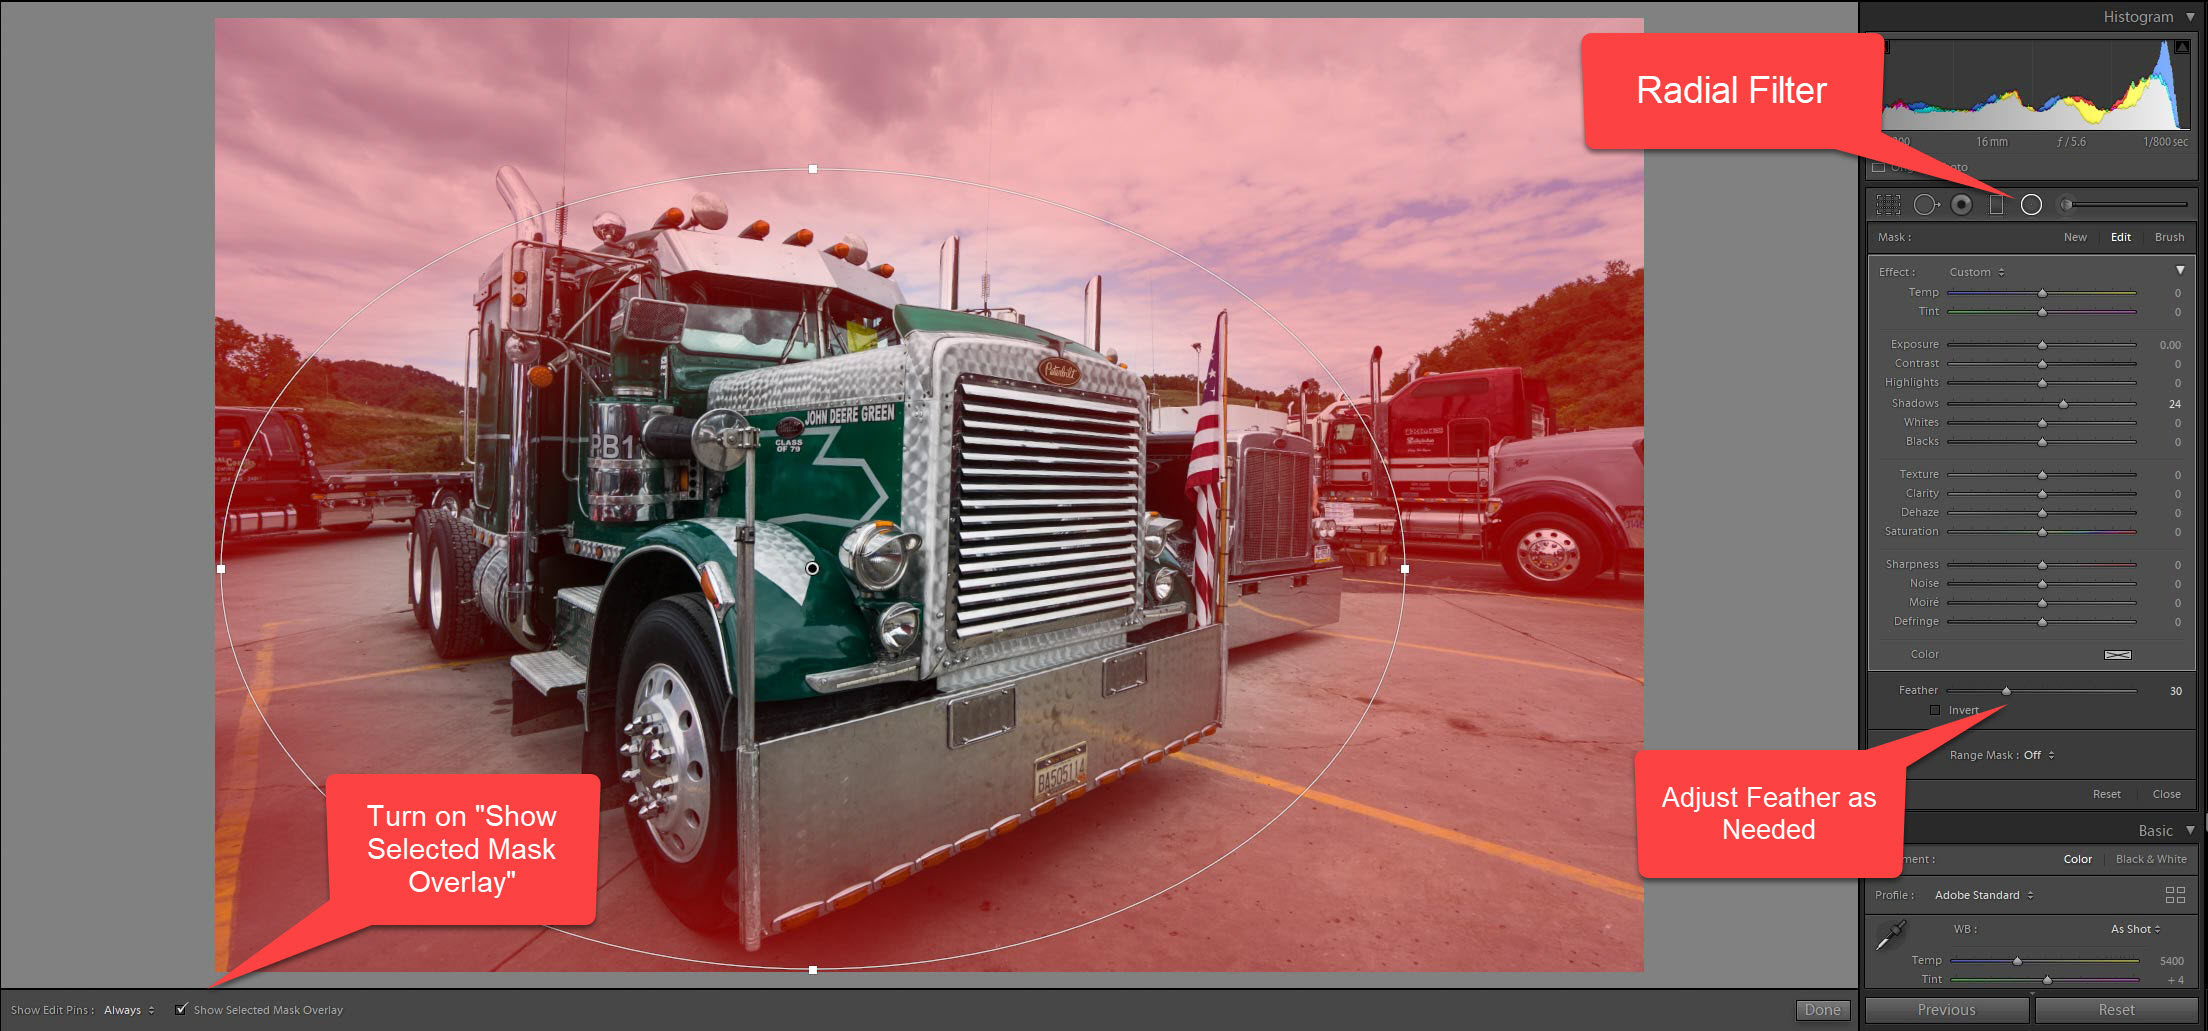
Step 1:
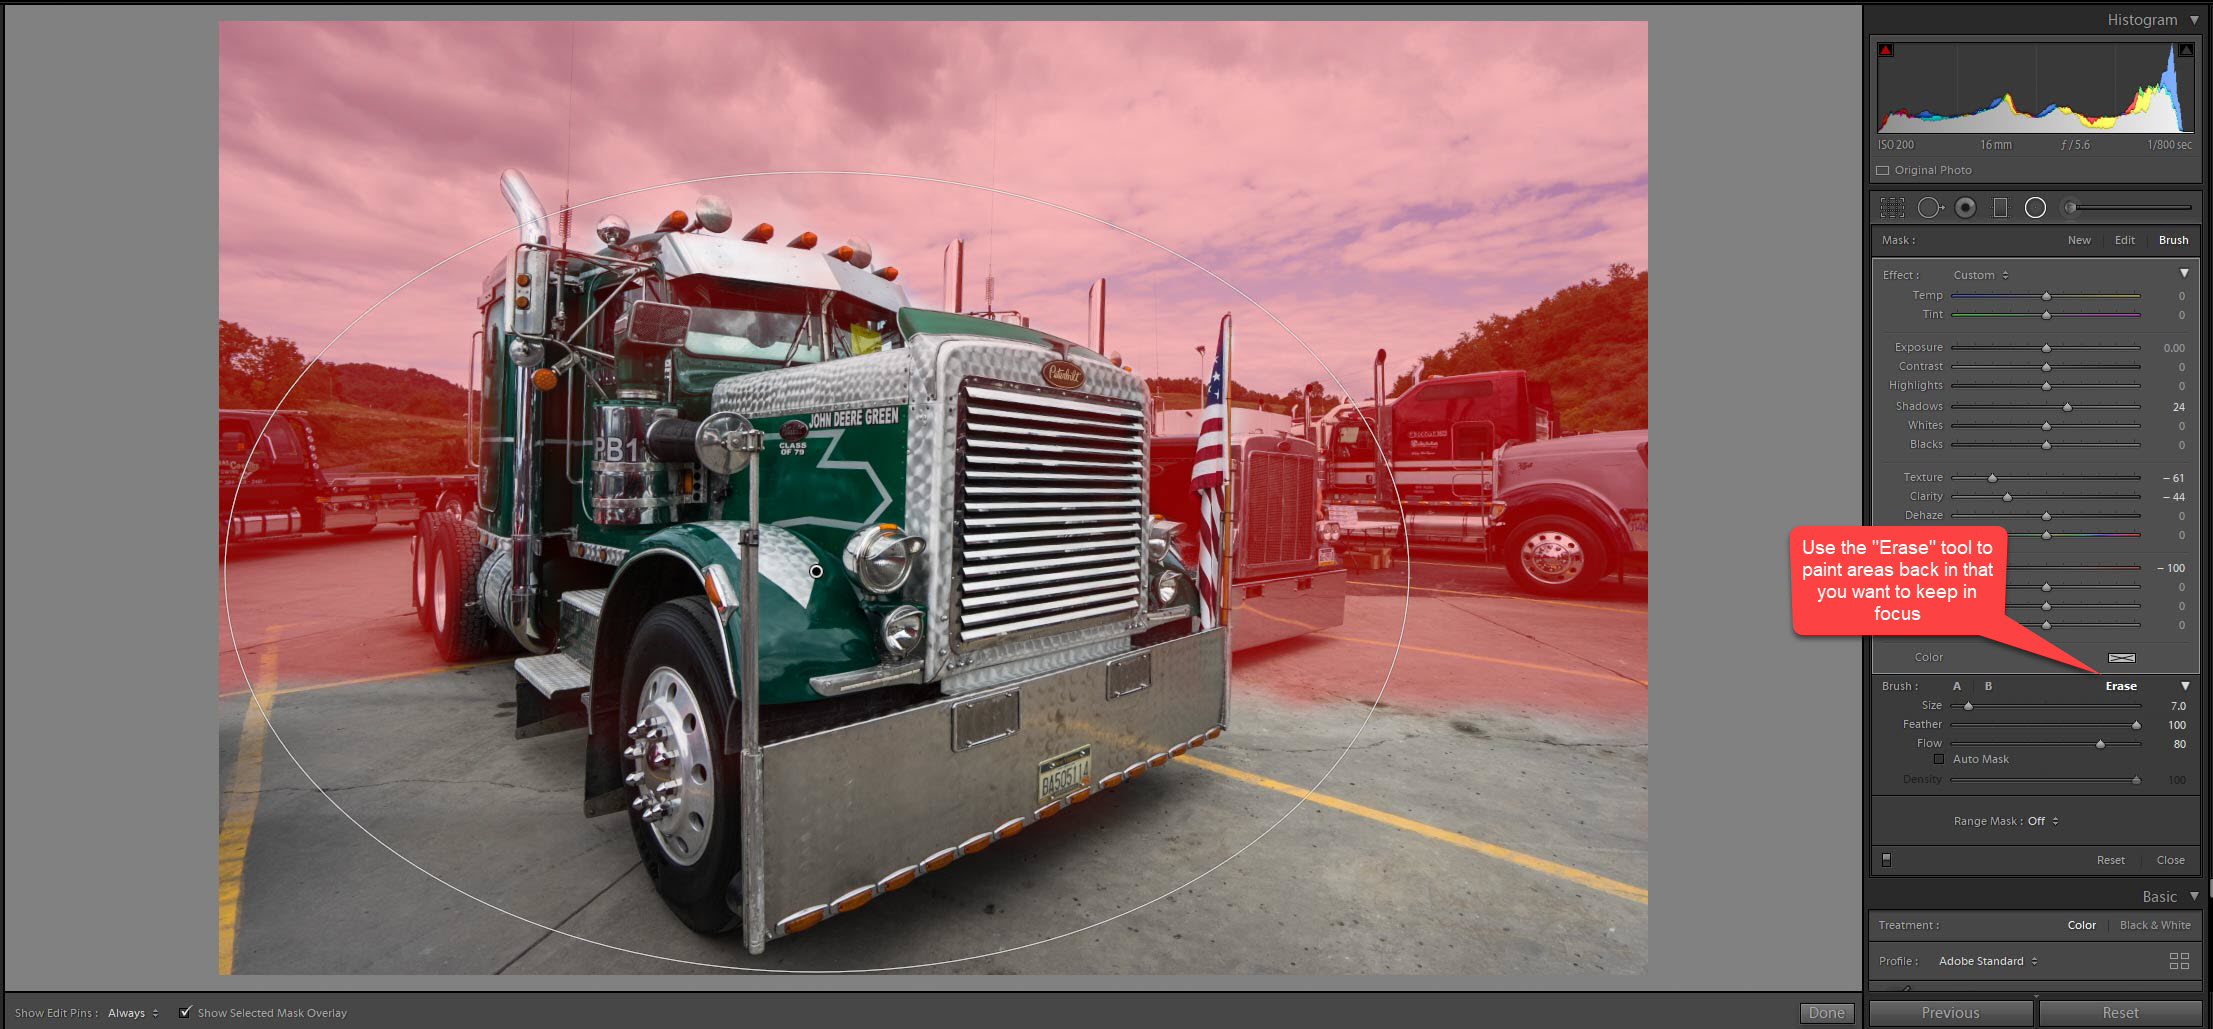
In the “Develop” module, select the Radial Filter and use it to isolate your subject. Turn on “Show Selected Mask Overlay” so you can see how well you’ve isolated what you want to keep in focus (everything in the pink shaded area is going to be blurry in a few more steps). Adjust “Feather” if necessary.
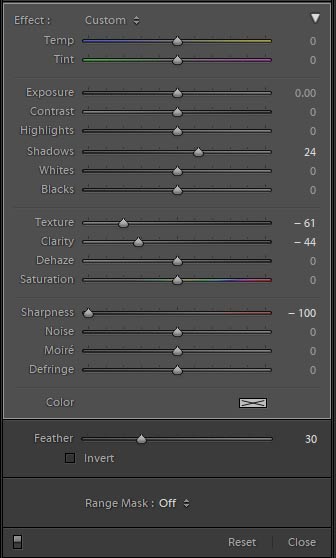
Step 2:
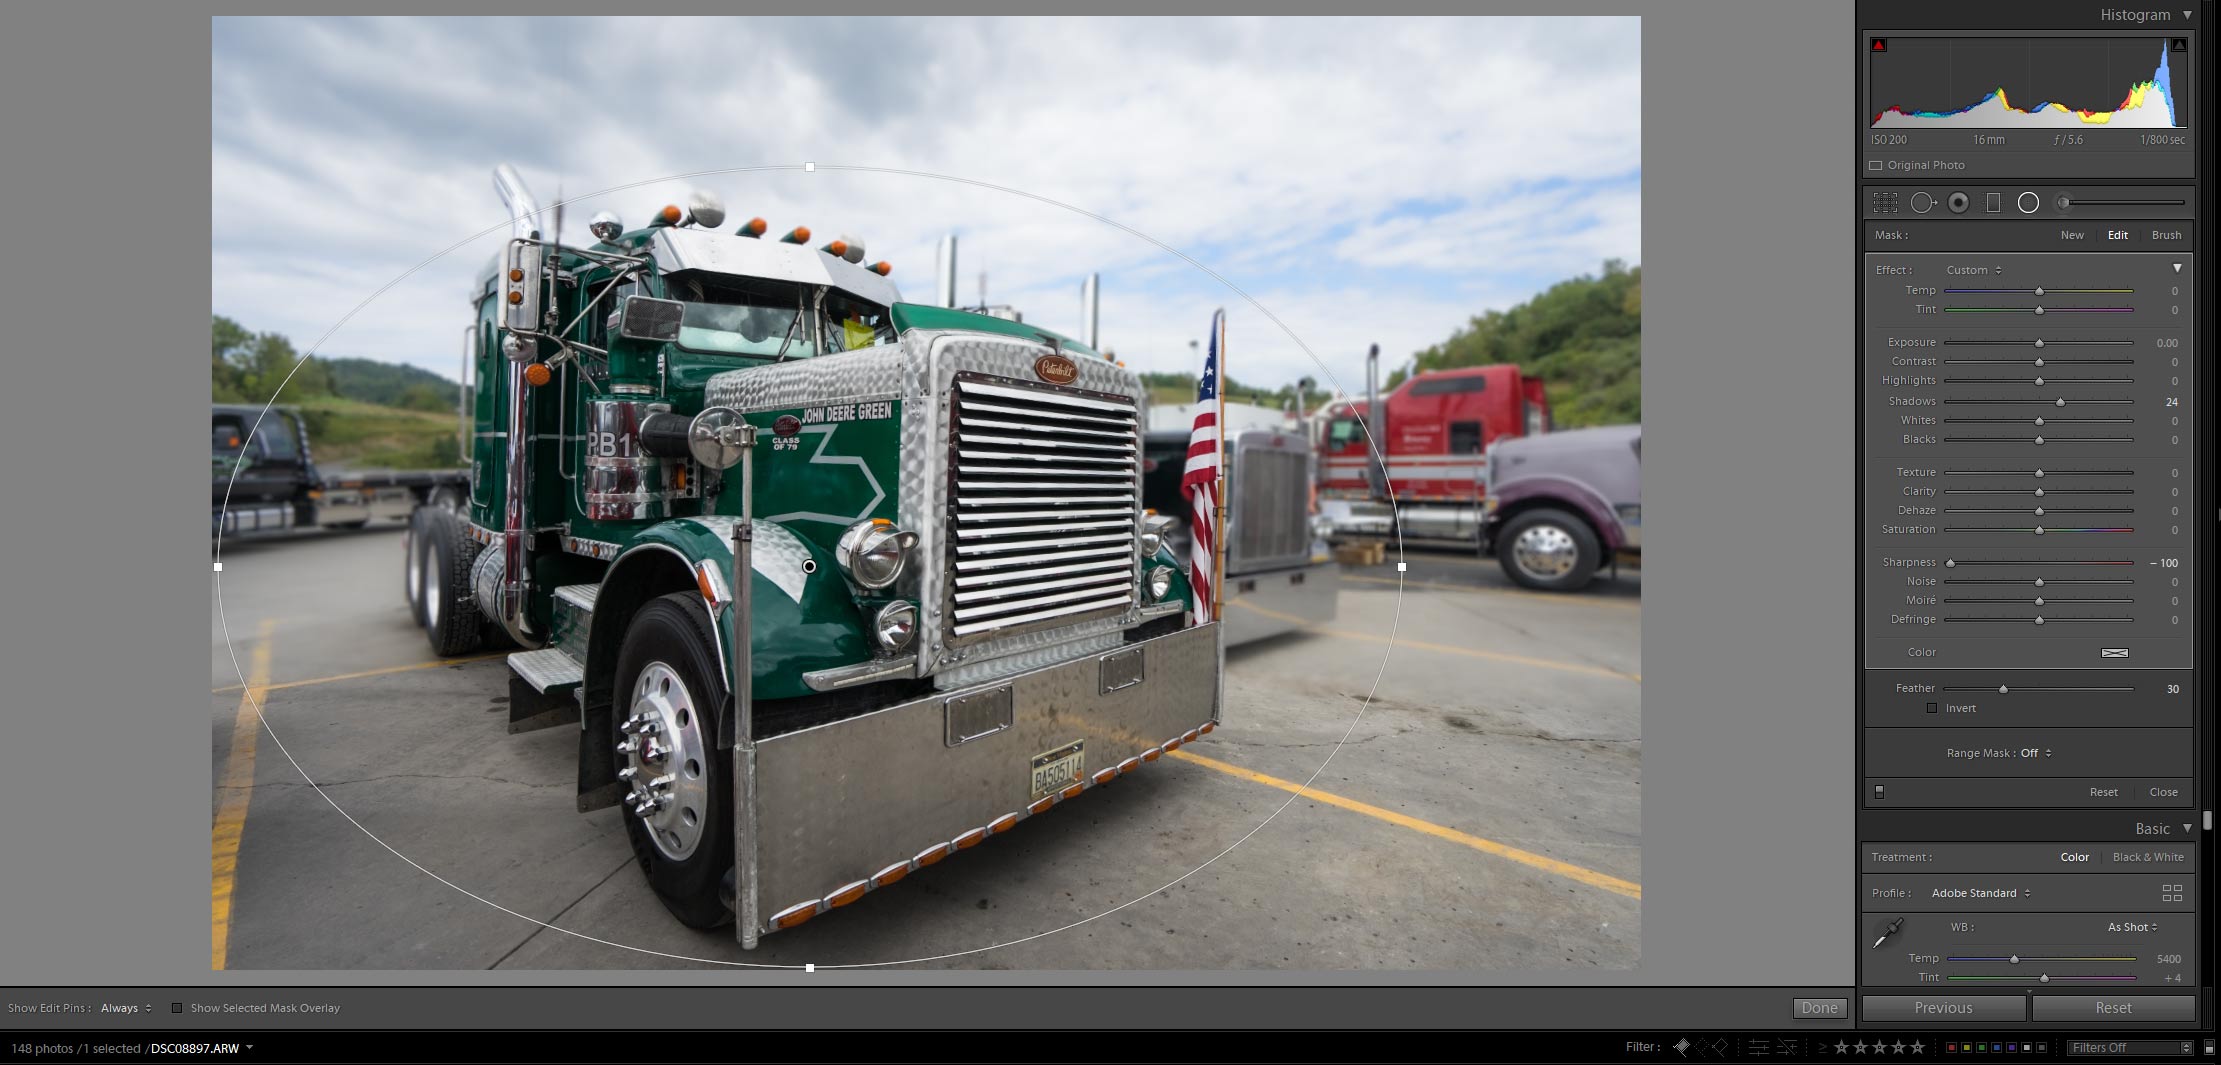
Turn off the “Show Selected Mask Overlay” so you can see the background better. Drag the “Sharpness” slider to -100, then adjust the “Texture” slider to the left until the background is starting to look closer to what you want. You can also drag the “Clarity” slider to the left to add even more blurriness. My settings are shown below.
Step 3:
You’ll want to do some painting with the brush tool to fine tune your Radial Filter selection. Hit the “Brush” button at the top right of the Radial Filter options, then turn “Show Selected Mask Overlay” back on. This will enable you to add to your Radial Filter selection and paint in areas in the background that should be blurry. Seeing the Radial Mask helps you fine tune your adjustments.

Step 4:
The inverse of step 3, you’ll want to paint out any areas that should’t be blurry. To do so, hit the “Erase” button and paint out any areas of the mask overlay that cover areas that should remain sharp. In my case, I’d rather keep everything in front of the truck in focus as well as some of the finer details (such as the flag). You can optionally turn on and off the “Show Selected Mask Overlay” as you work.
Step 5:
Once you’ve gotten your mask all cleaned up and your foreground and background elements isolated, you can add more blurriness by duplicating your Radial Filter. To do so, right click on the adjustment pin and select “Duplicate” from the resulting menu.
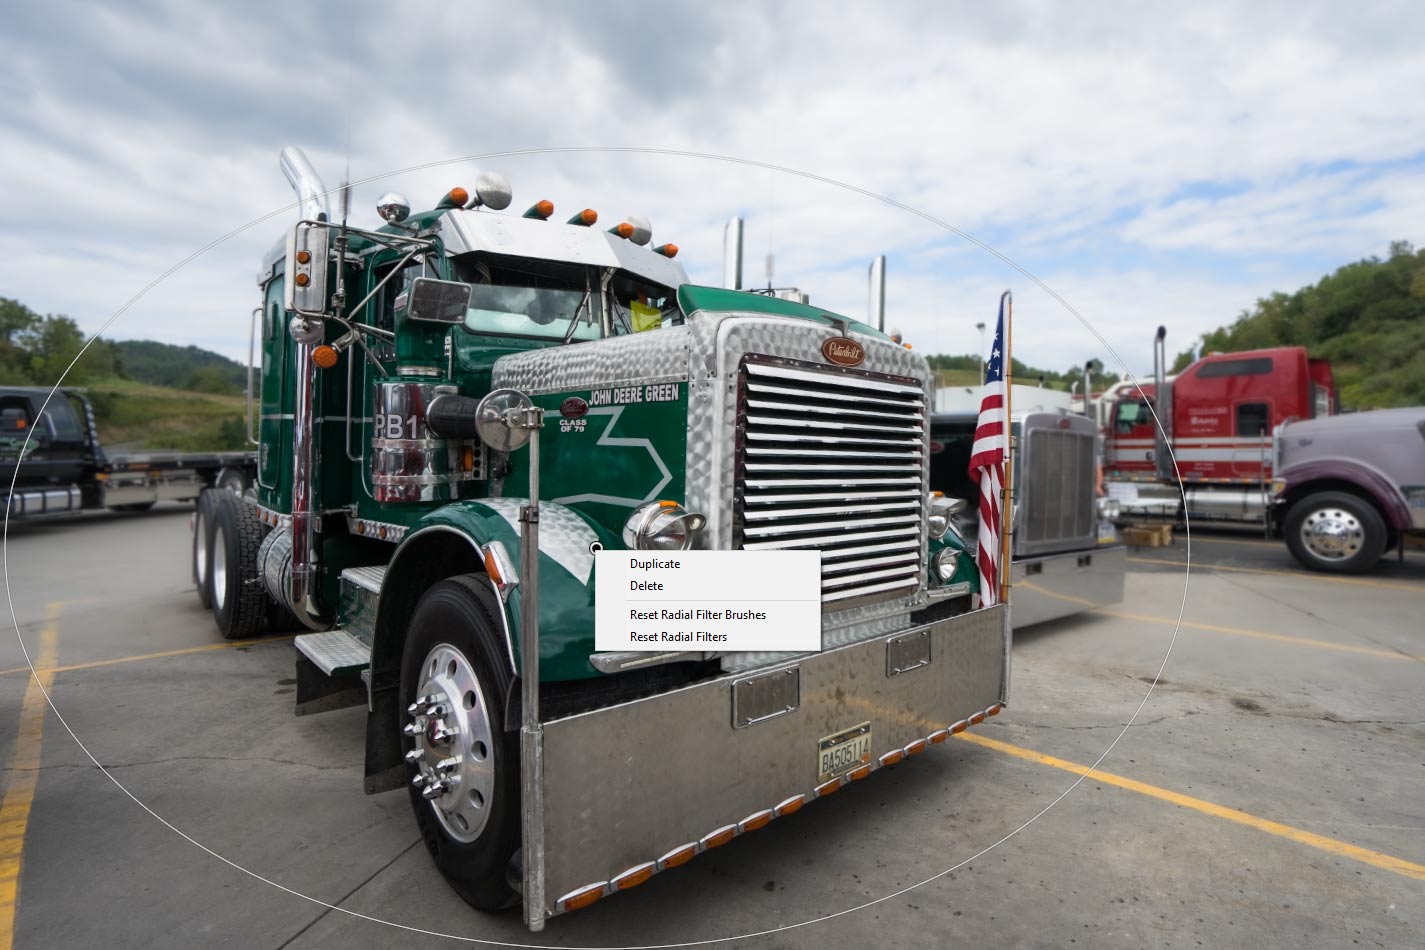
The duplicated Radial Filter might add too much blurriness, so try reducing the “Clarity” and “Texture” (you can double click the adjustment slider to bring the settings back to the default value of zero). That will leave only the “Sharpness” at -100, which should give you the blur amount you need. Feel free to adjust as needed though.
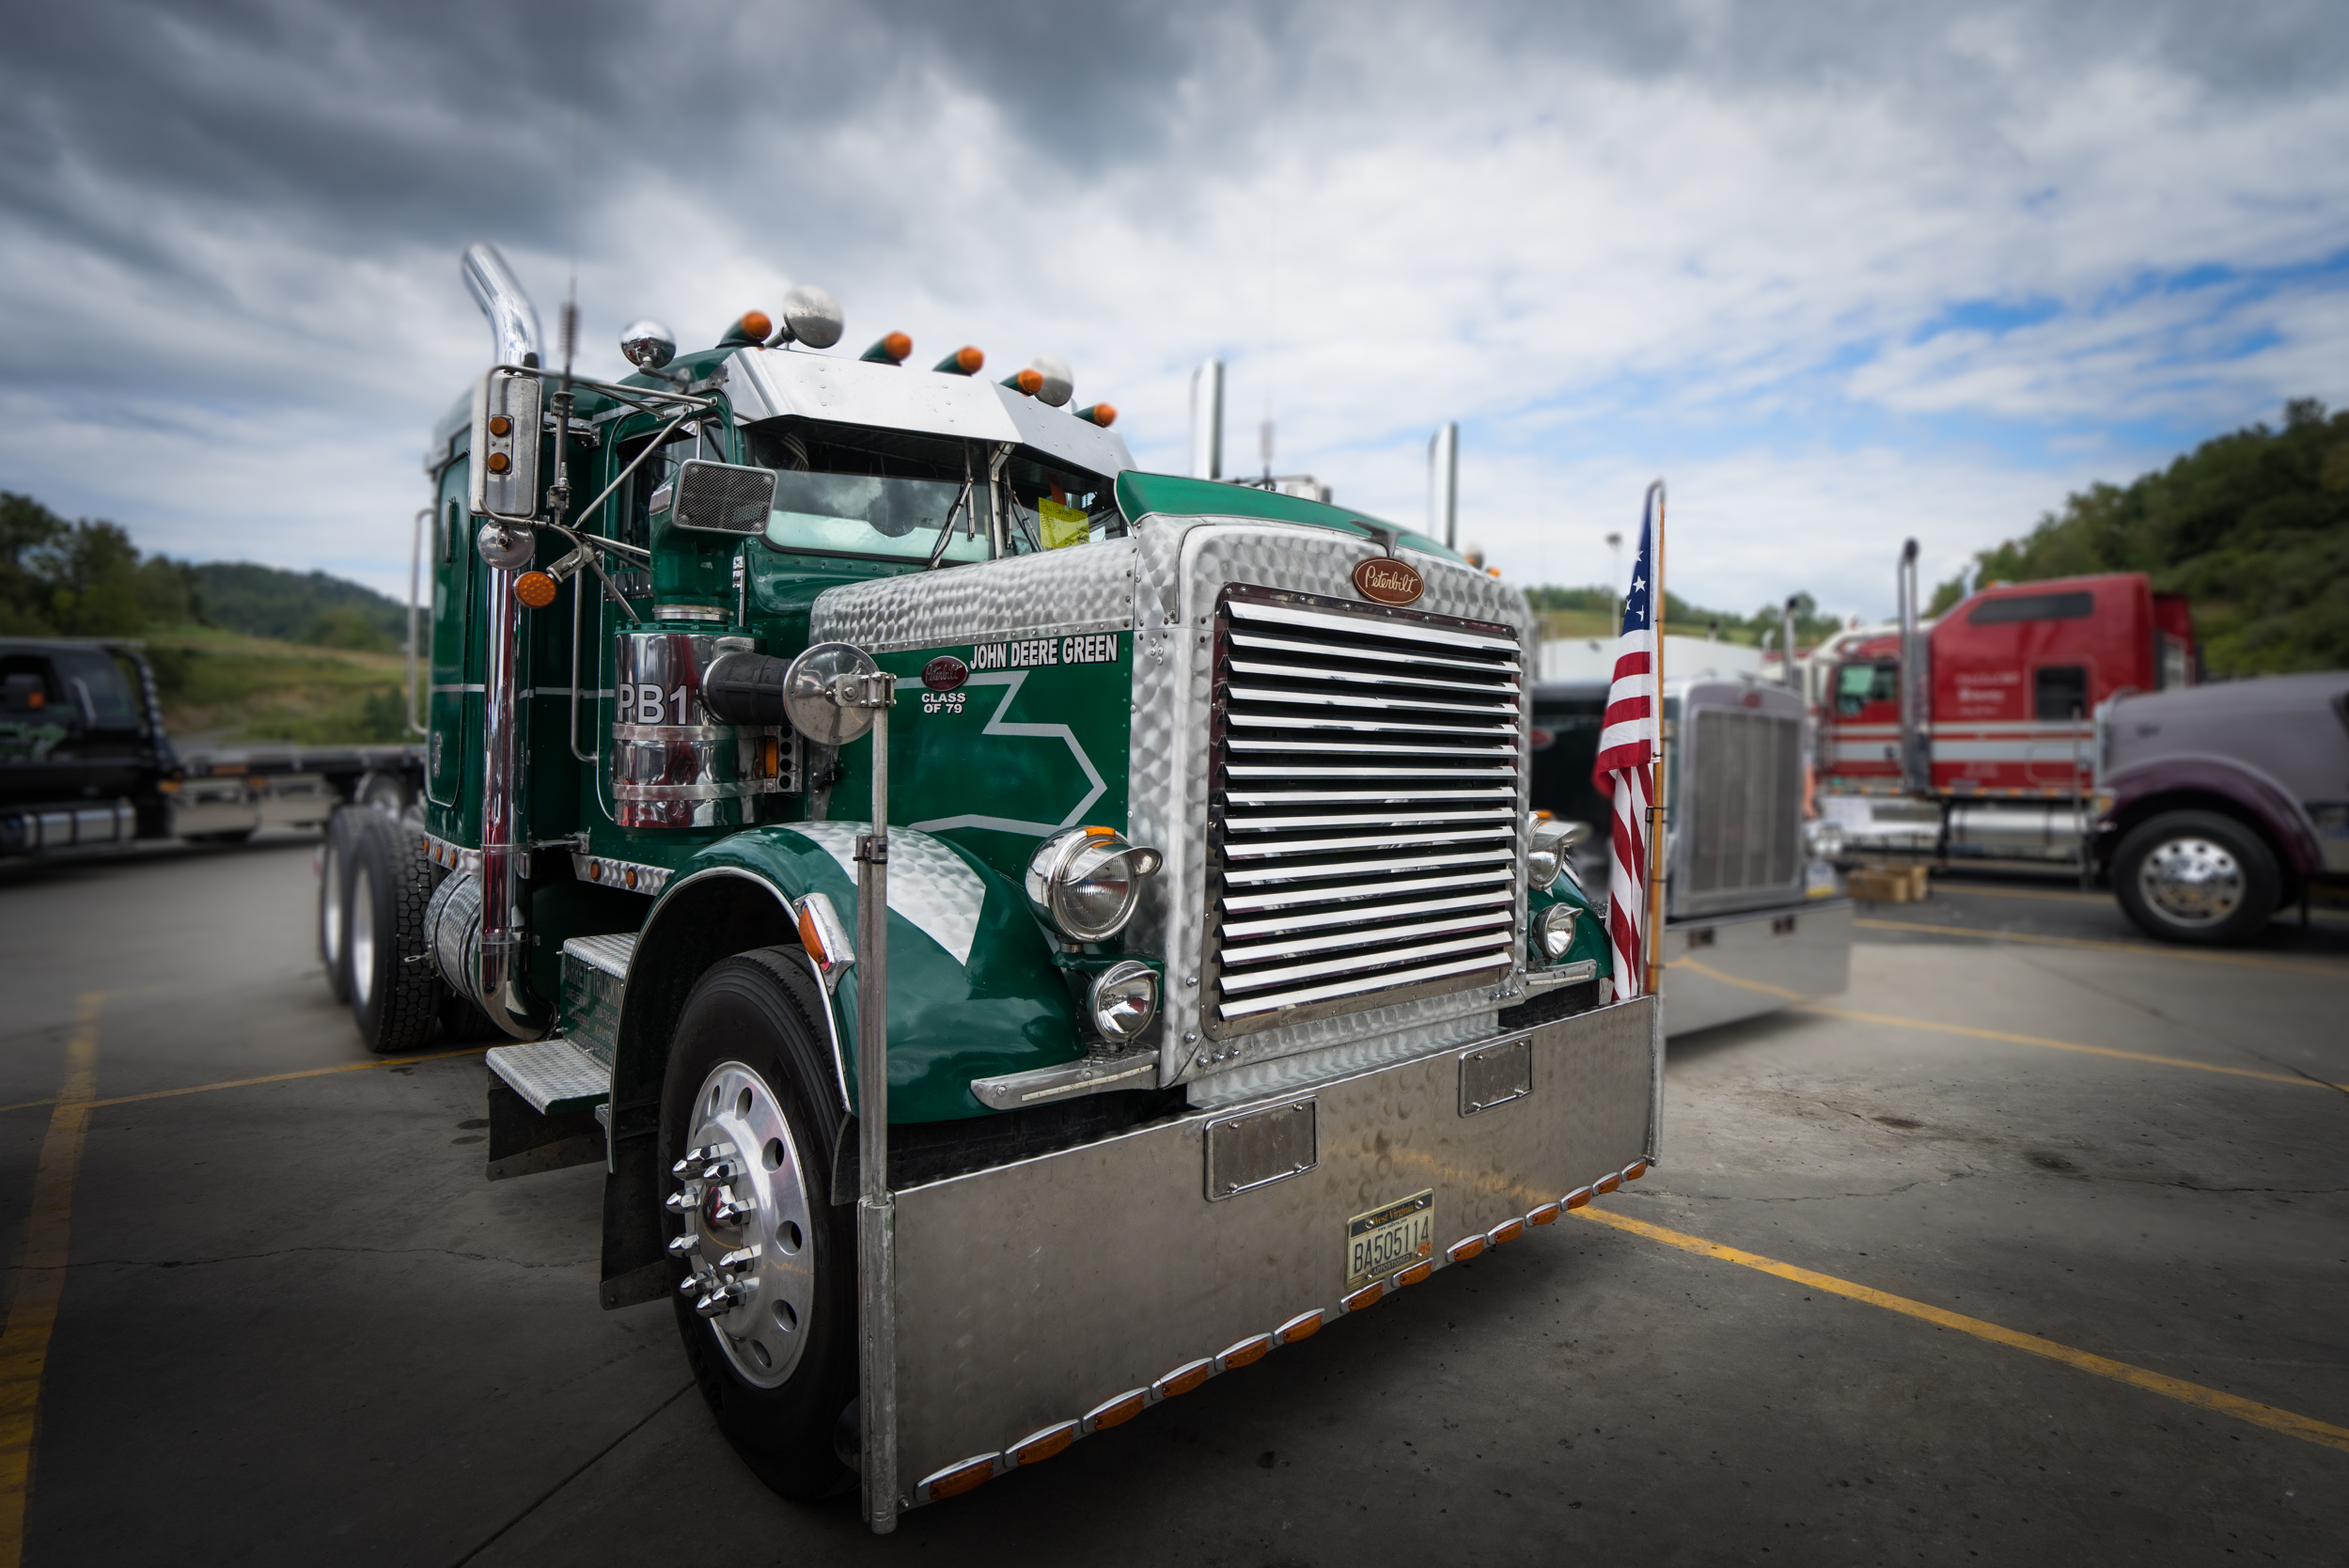
As a final touch, it seems like a vignette would work well on this photo. To add a vignette, scroll down to the “Effects” category in the Develop module and drag the “amount” to the left until the vignette is to your liking. My settings are shown below.

That’s it! Now your background is blurred out and you never had to leave Lightroom! Shown below is the result of my work. If you have any questions or comments, feel free to let me know.


