In this post I’ll explain how to use OBS (Open Broadcaster Studio) and FFmpeg together to allow you to stream to both Facebook Live and YouTube at the same time – for FREE! As of this writing (April, 2020), streaming to two services at once requires either purchasing software or signing up for an online service. If you need more information on how to setup streaming with OBS, I put together a tutorial here. And just to give credit where credit is due, I discovered this little trick by watching this YouTube video – https://www.youtube.com/watch?v=6HAnG_BG3F4. In that video, the host goes very fast and brushes over some of the more technical details so I thought it would be beneficial to create a slower paced, step-by-step tutorial. Keep in mind that with this technique, you might experience significant lag in your livestream if your internet speed isn’t up to par. Also note that this tutorial is for Windows only.
Step 1 – Download the assets
FFmpeg – Windows 64 bit | Windows 32 bit
OBS Project – https://obsproject.com/
File you will run to send your stream to YouTube – Download .bat file. You’ll need this for the automated functions that we’ll get into later. Save and unzip the file in a location that you can easily get back to as this is how you’ll be streaming to YouTube.
Step 2 – Set up FFmpeg
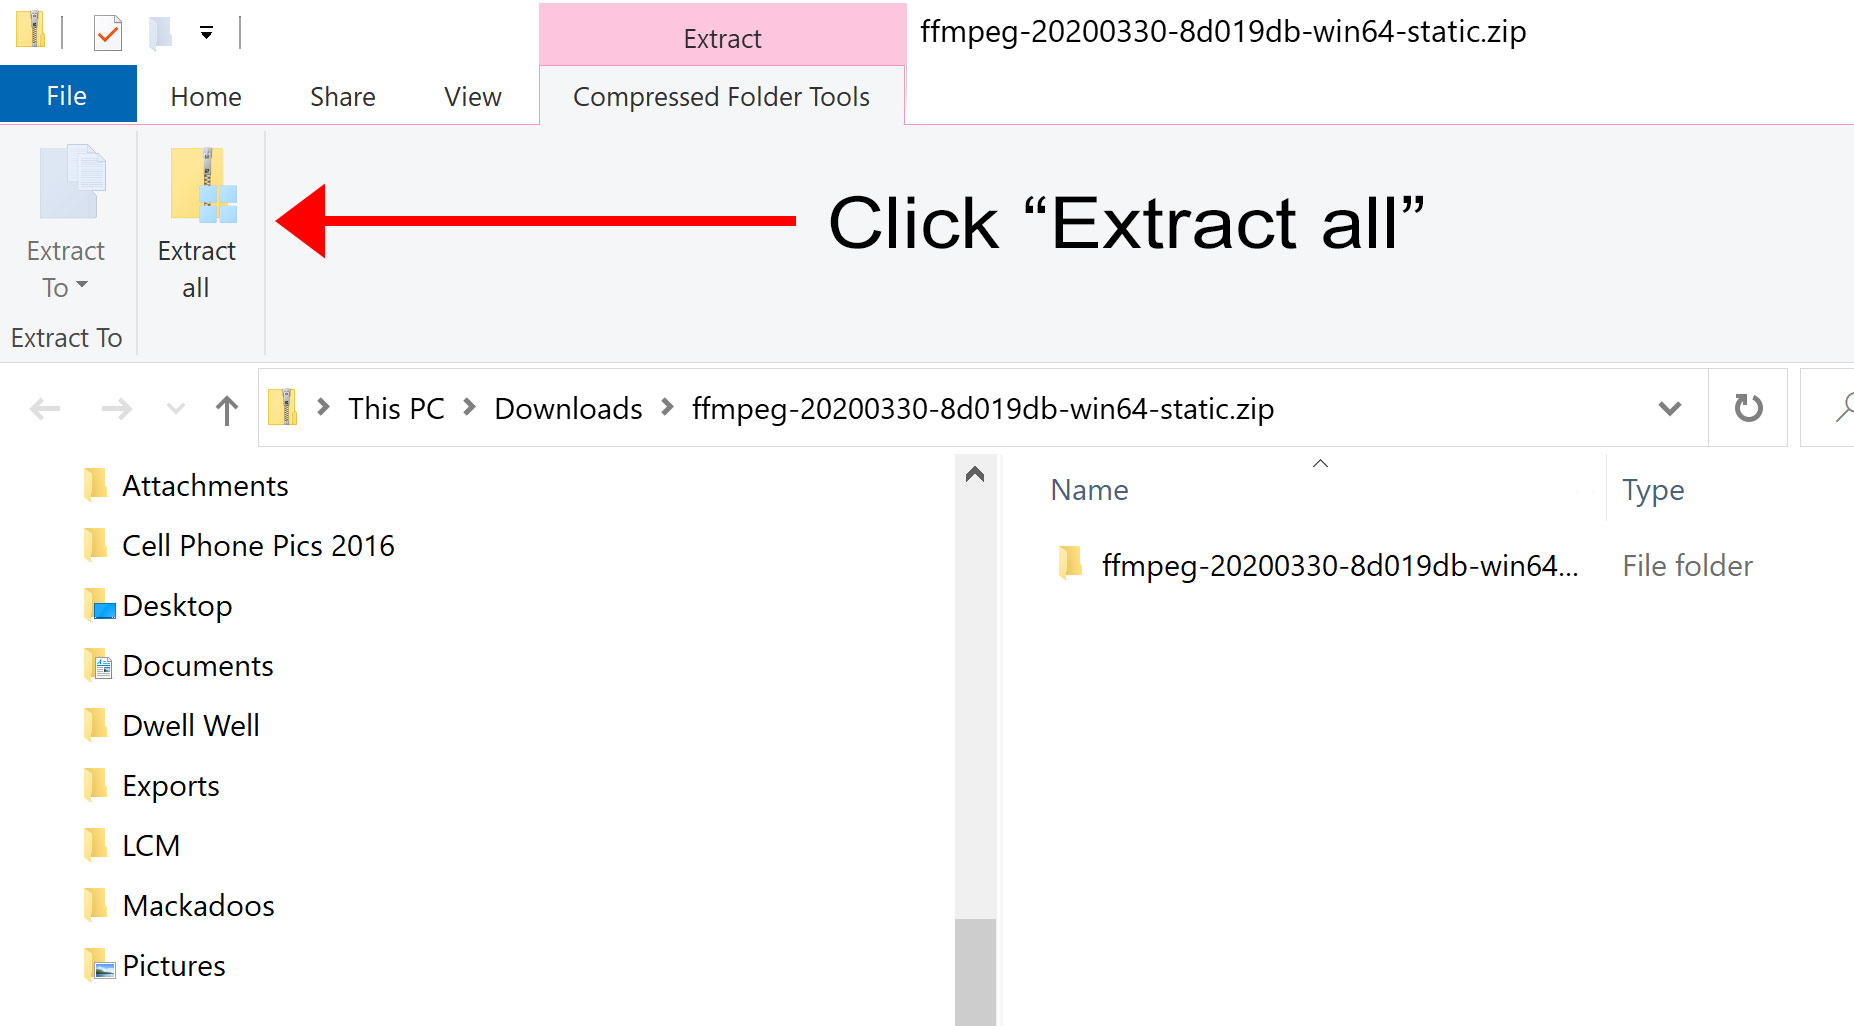
Once you download FFmpeg (as a zip file) you’ll need to extract it.
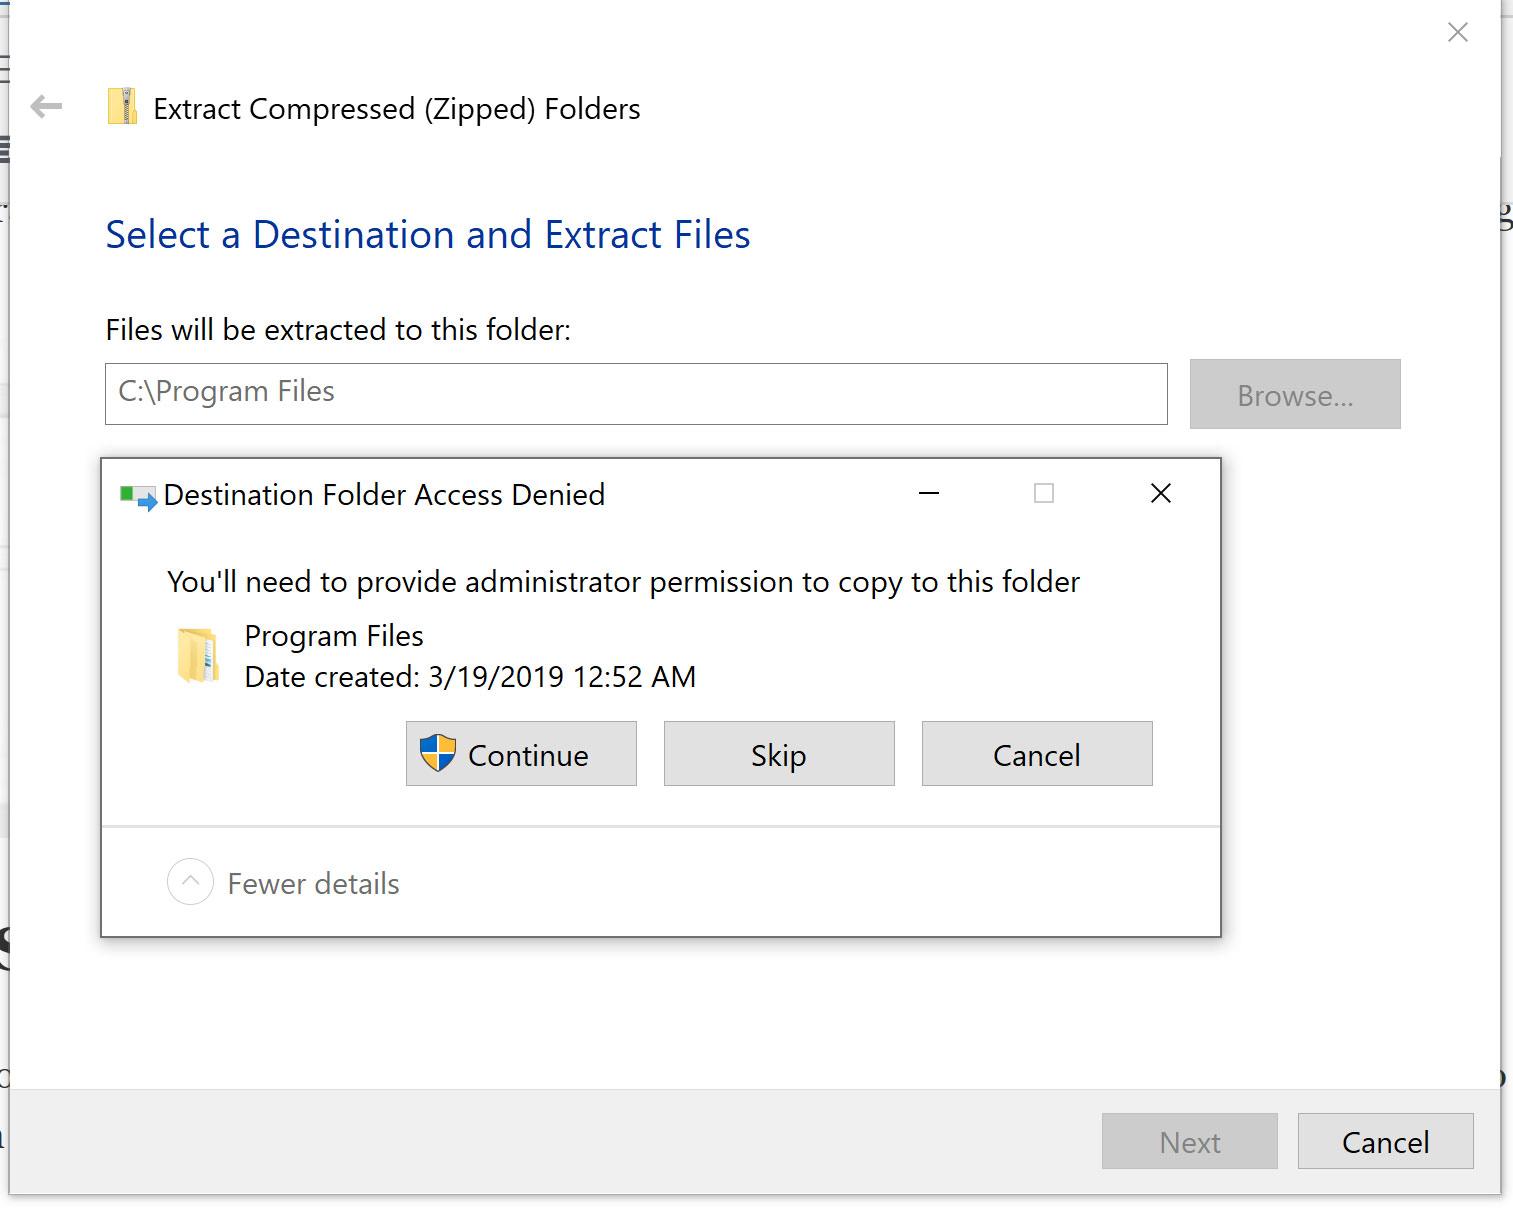
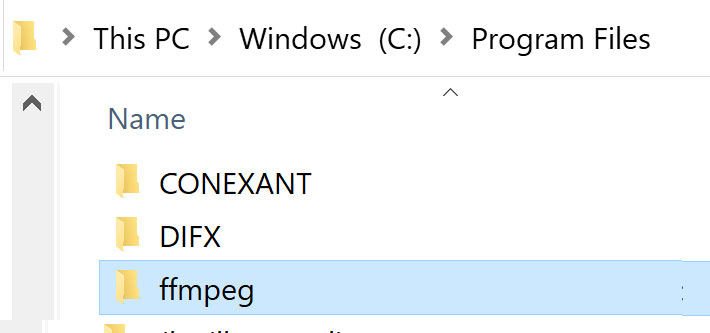
I extracted mine into the “Program Files” directory (I’m on a 64 bit operating system). If you are on a 32 bit operating system, you can choose “Program Files (x86)”.

If you get a warning about needing admin rights, press “Continue.”
By default, the files will extract to a folder called “ffmpeg-20200330-8d019db-win64-static”.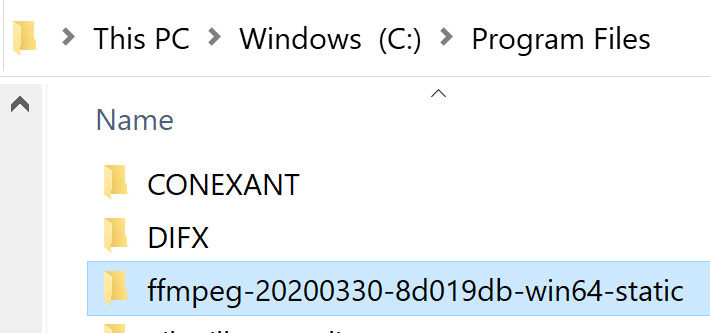
Click on the folder and press F2 to rename it. The annoying admin rights warning will pop up again, so press “Continue” when it does. Rename the folder to “ffmpeg” as shown below.
Step 4 – Set up Environment Variables in Windows
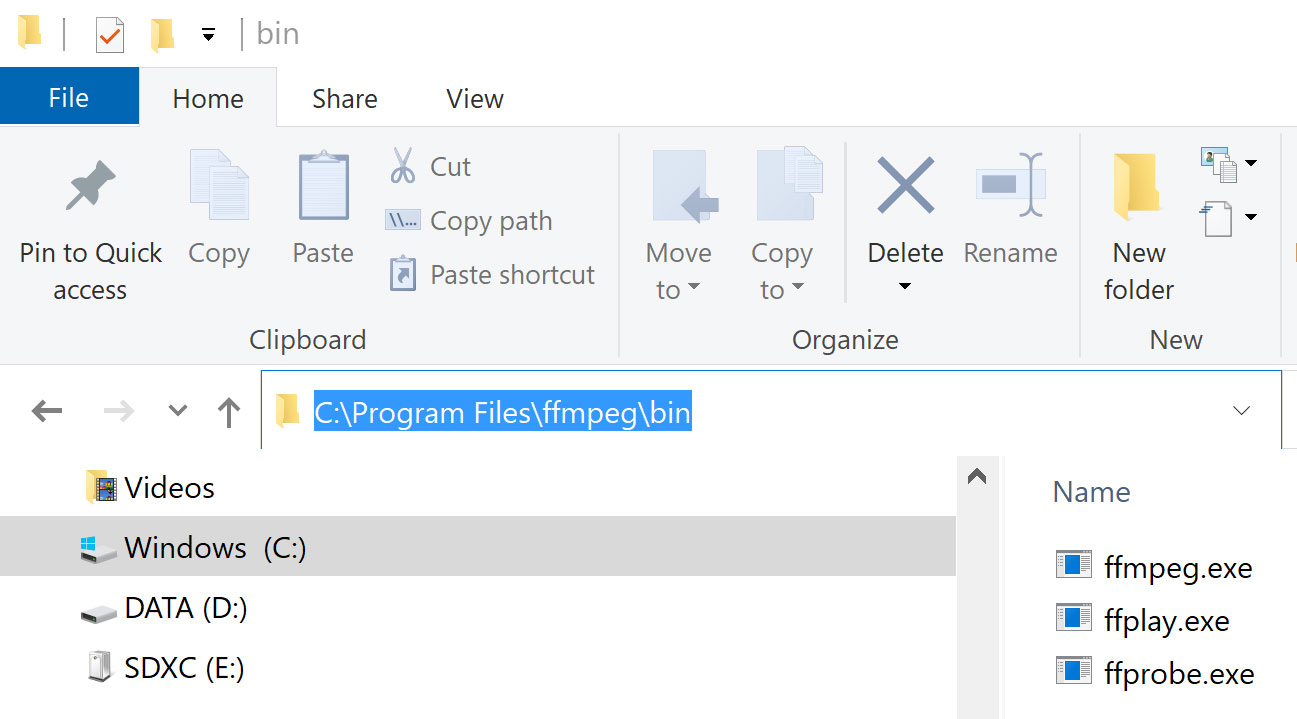
This method of using FFmpeg and OBS requires windows to use the command prompt, so in order for that to work you’ll need to add what’s called an “Environment Variable.” First we’ll define the variable by copying it from Windows Explorer. In the folder that you just extracted FFmpeg into, browse to the “bin” folder, then in the address bar in Windows Explorer, highlight the address and copy it by clicking ctrl+c. If you’d rather copy it from this post, the address is C:\Program Files\ffmpeg\bin
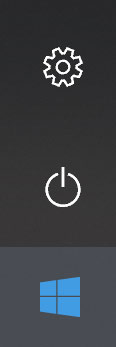
Now to add the variable, open Windows Settings by clicking the Windows button (bottom left corner in Windows 10) and hit the little gear icon (the icon on the top shown in the image below).
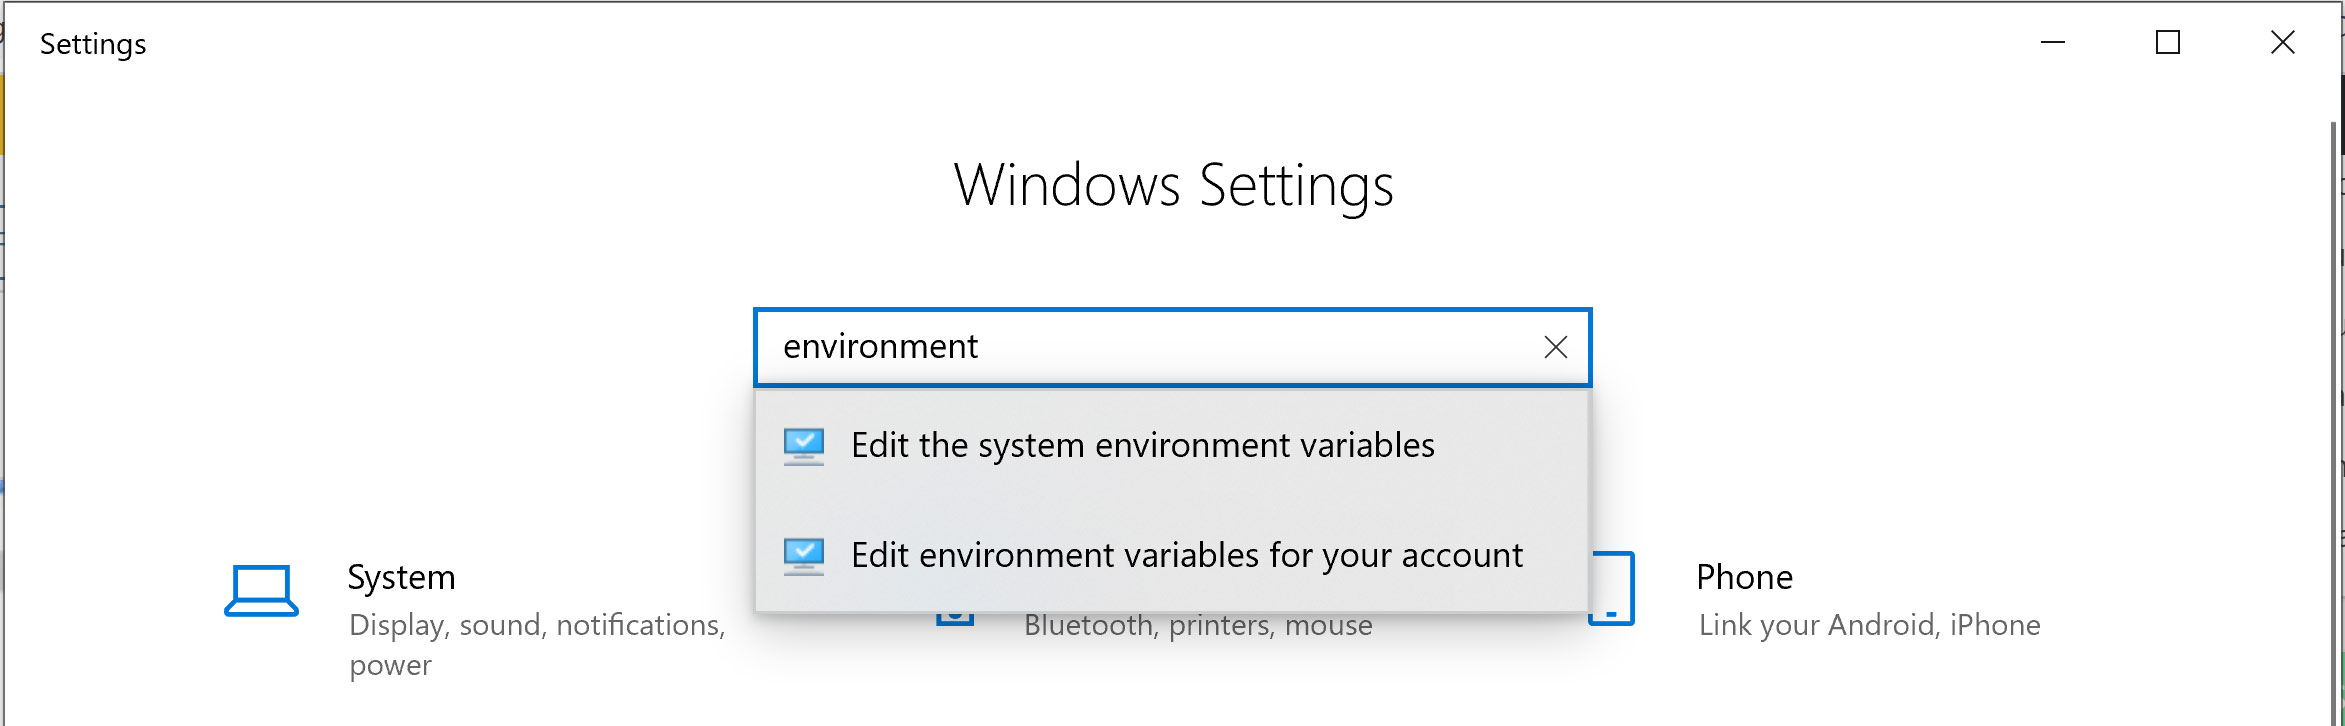
That will open Windows Settings, so all you need to do now is search for “Environment Variable.” Choose “Edit the System Environment Variables” in the search results that come up.
The “System Properties” dialog box will open. Click on “Environment Variables” (highlighted in red below).

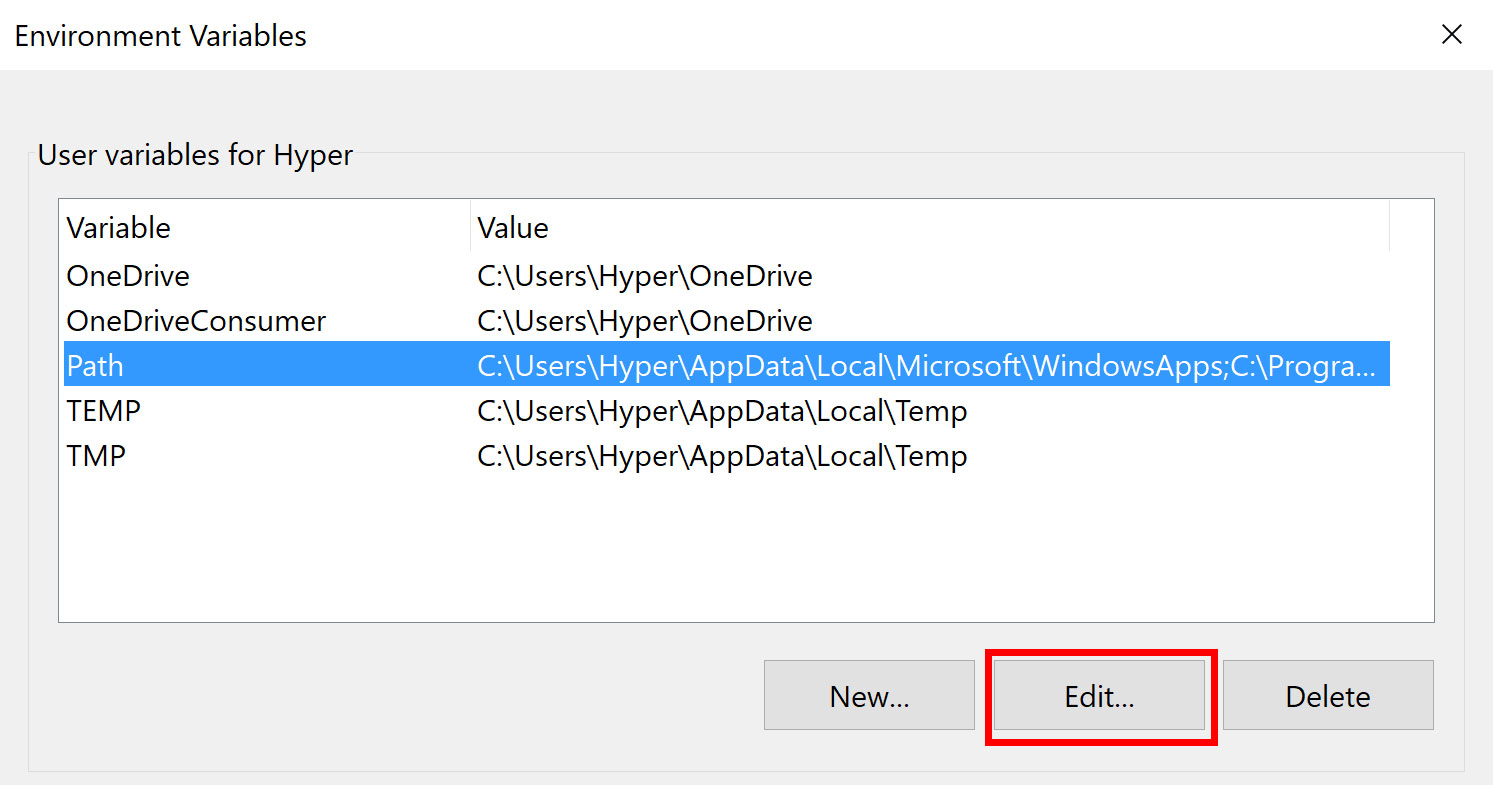
Click on the “Path” variable and select “Edit.”
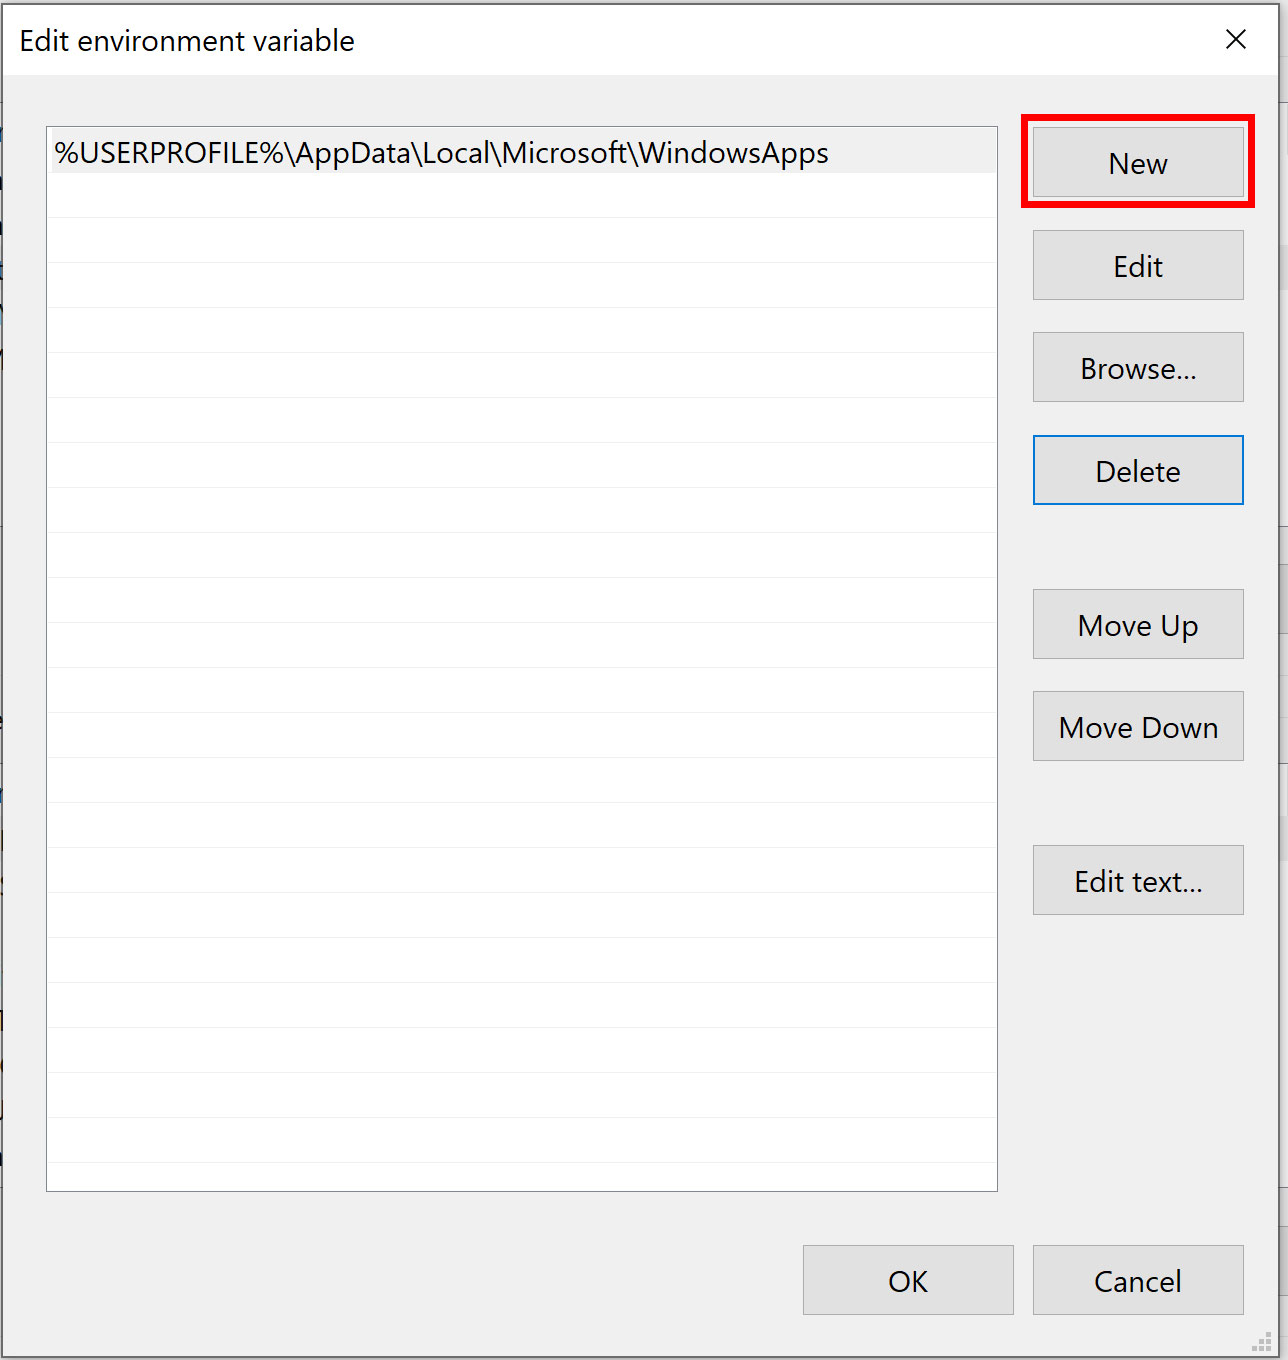
Click the “New” button.
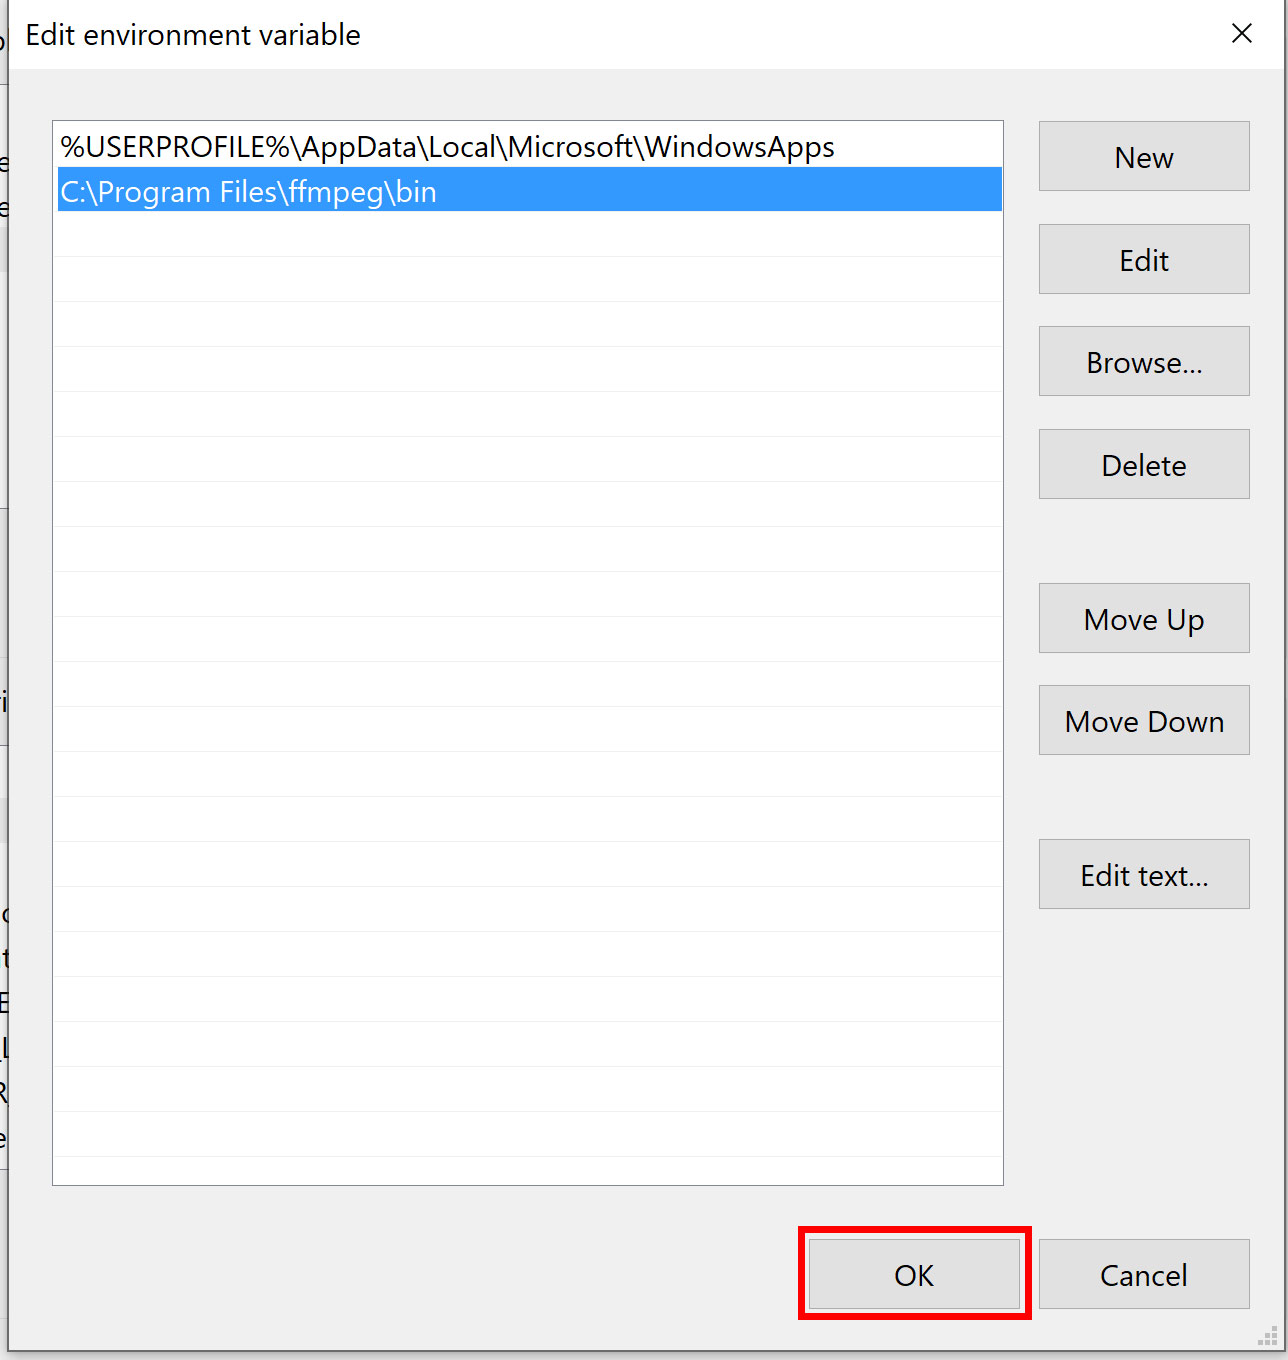
Add the “bin” location ( C:\Program Files\ffmpeg\bin ) as a variable by hitting ctrl+v (paste) immediately after hitting the “New” button. Your Environment Variable window should now have ffmpeg added, as shown below.

Hit the “OK” button to complete this step, shown below.
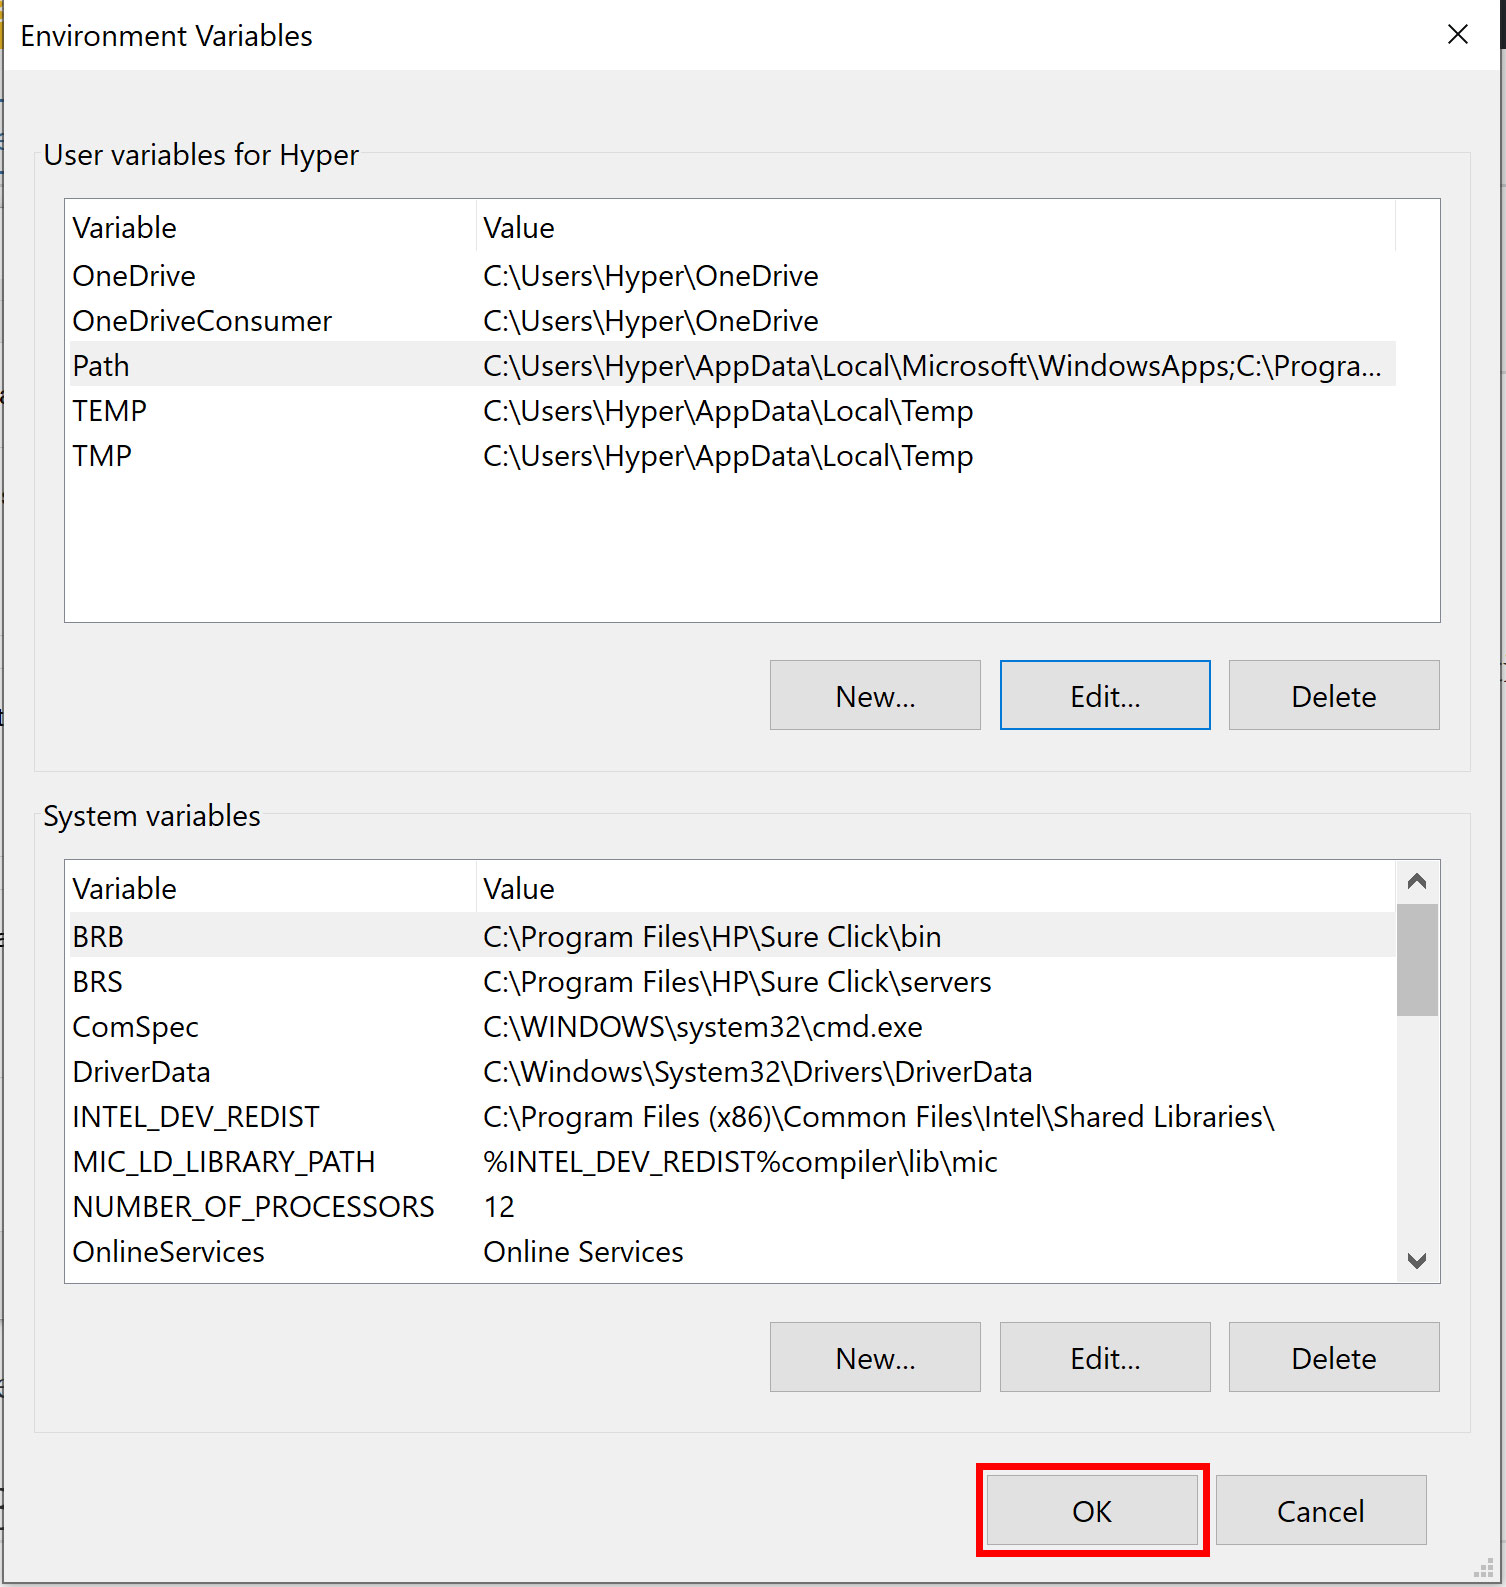
Then hit the “OK” button again on the resulting dialog box, shown below.
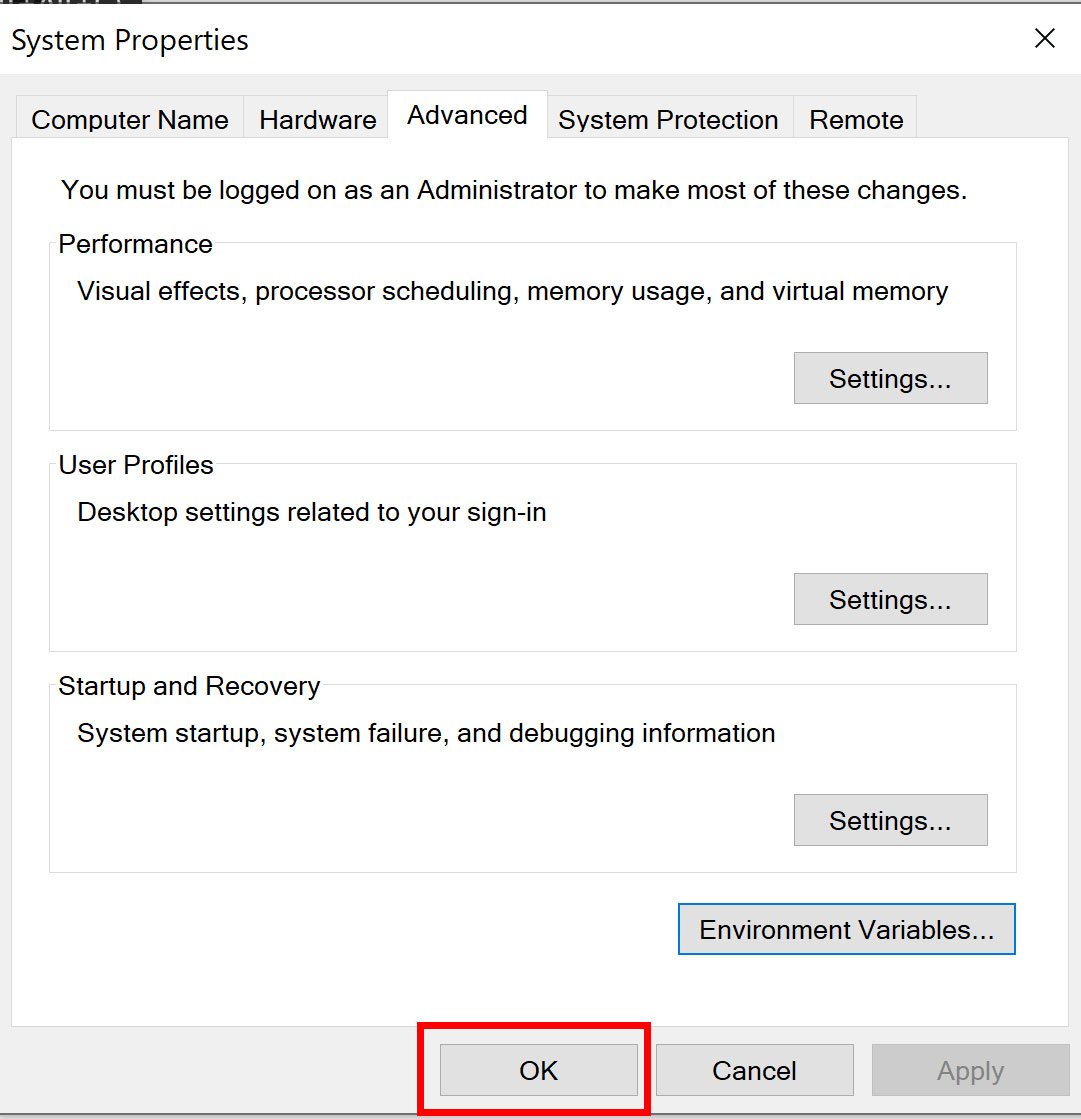
Then hit “OK” one last time on the System Properties box, shown below.
That completes adding the Environment Variable. It’s a good idea to test to make sure you followed all the steps correctly, so open a Command Prompt by hitting the Windows key and search for “cmd” (or hit the Windows key and scroll down to the “Windows System” folder and choose “Command Prompt”).
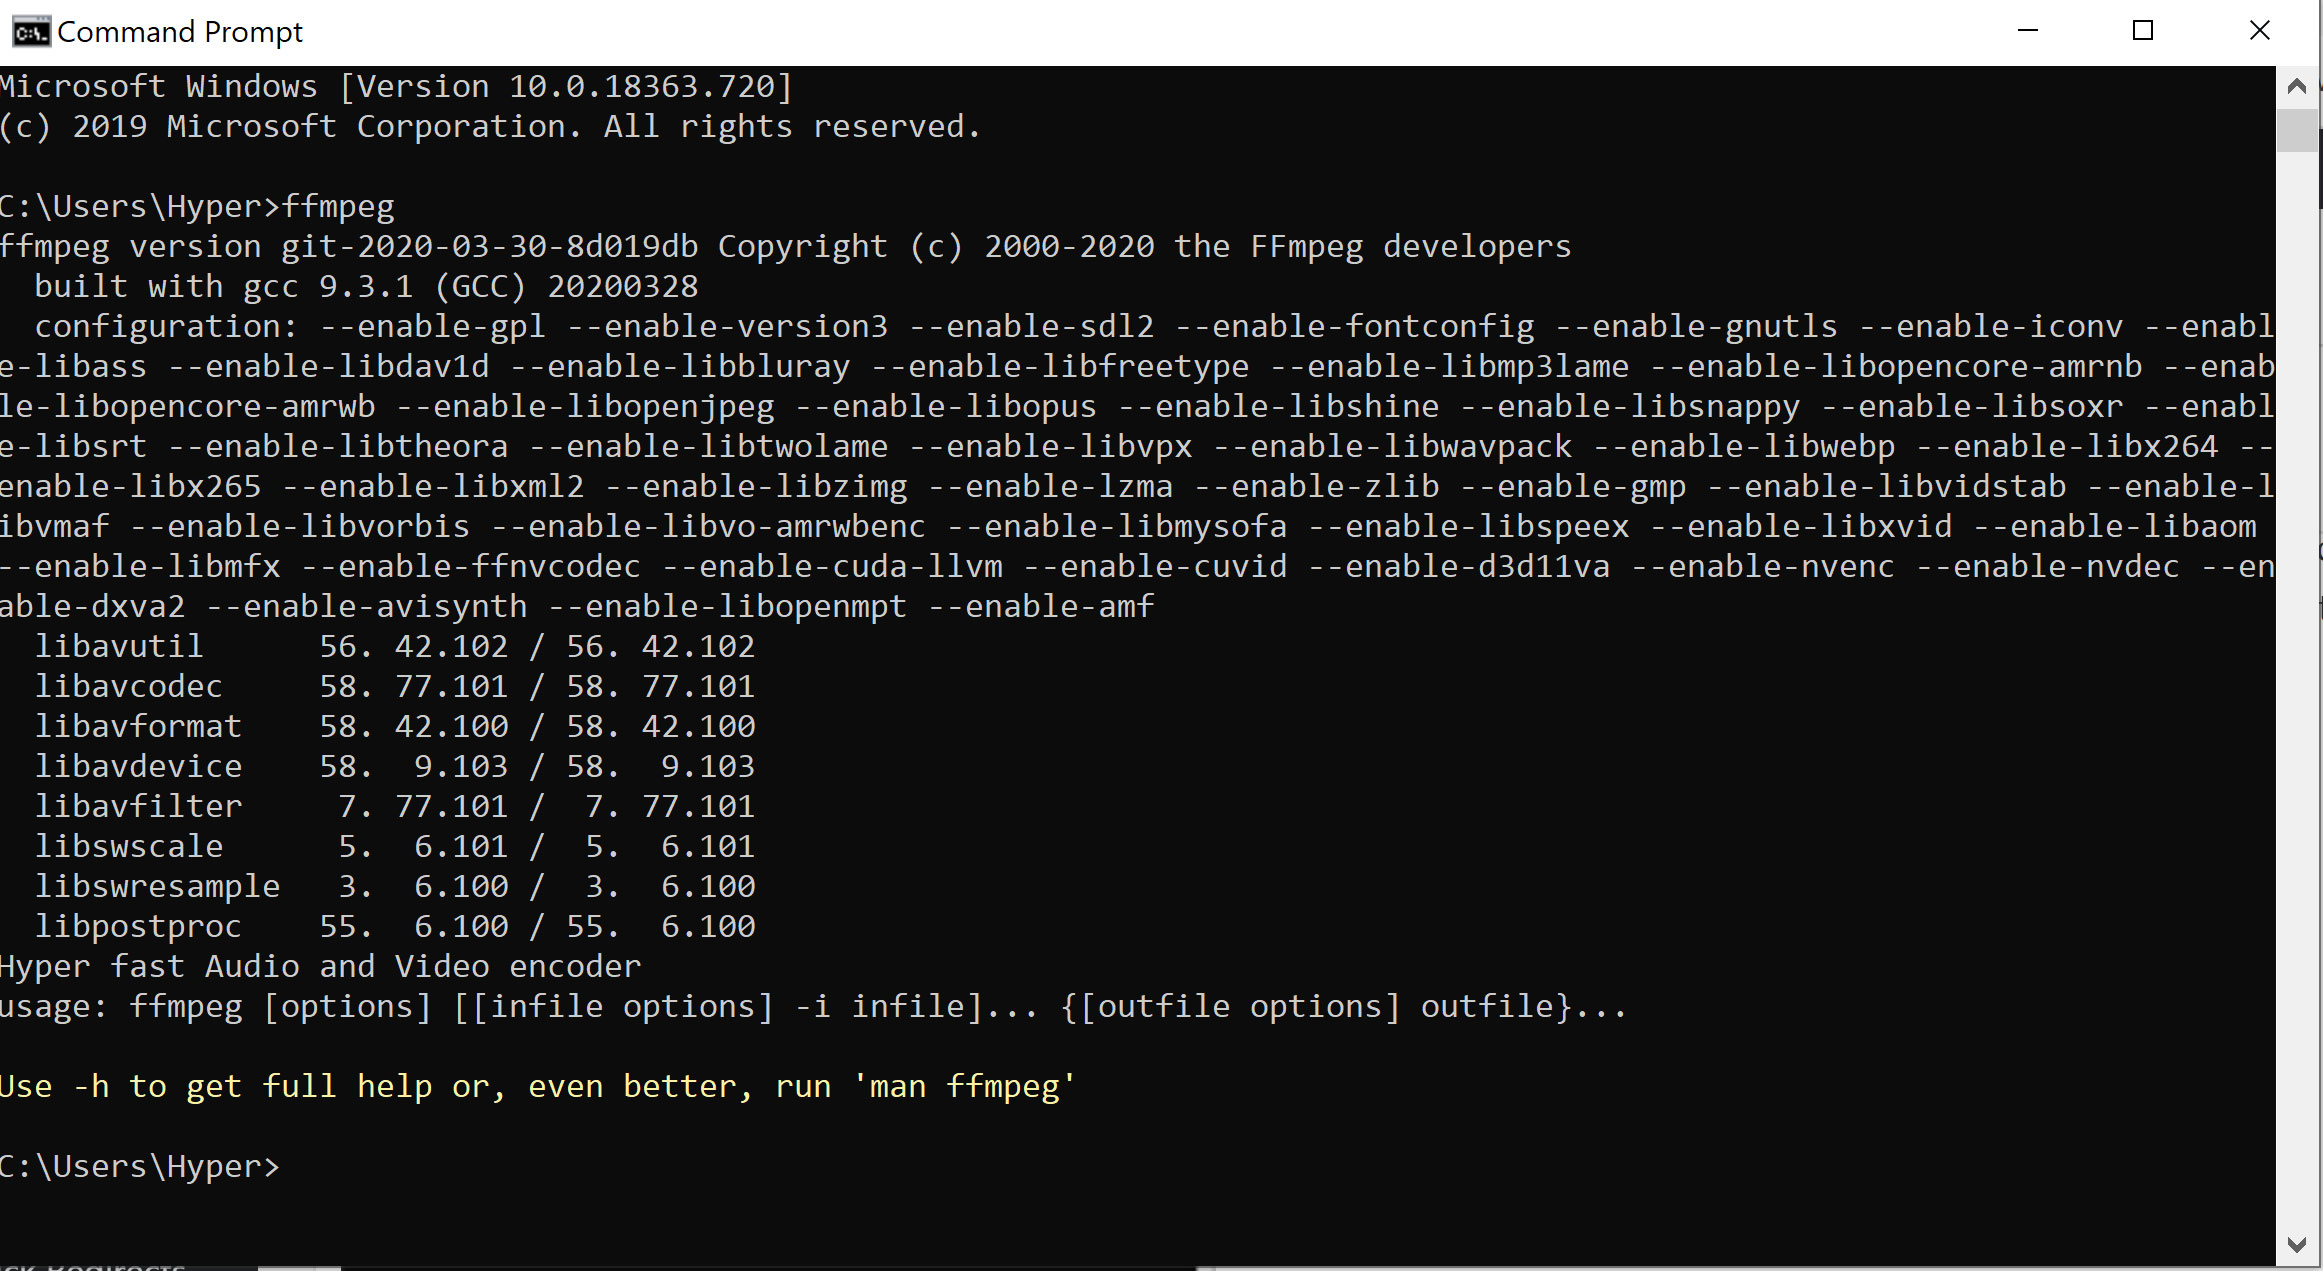
When the Command Prompt opens, type in “ffmpeg” as shown below.

Hit the ‘Enter” key and if all goes well, you should see a screen that looks like the one below. If you do, this step is complete. If not, go back and double check all the settings I went through in this section.
Step 3 – Set up OBS
Once you have OBS installed and configured to stream audio and video (I won’t go into that in this tutorial), you’ll need to set it up to stream to Facebook Live (or whatever streaming service you want other than YouTube unless you are streaming to two different YouTube channels at once). We’ll configure streaming to your YouTube channel in a later step.
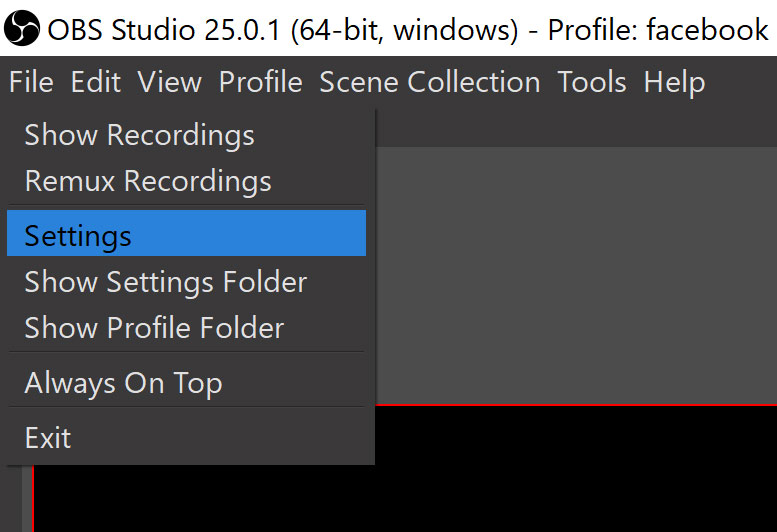
Open OBS and click on “File” and then “Settings”.
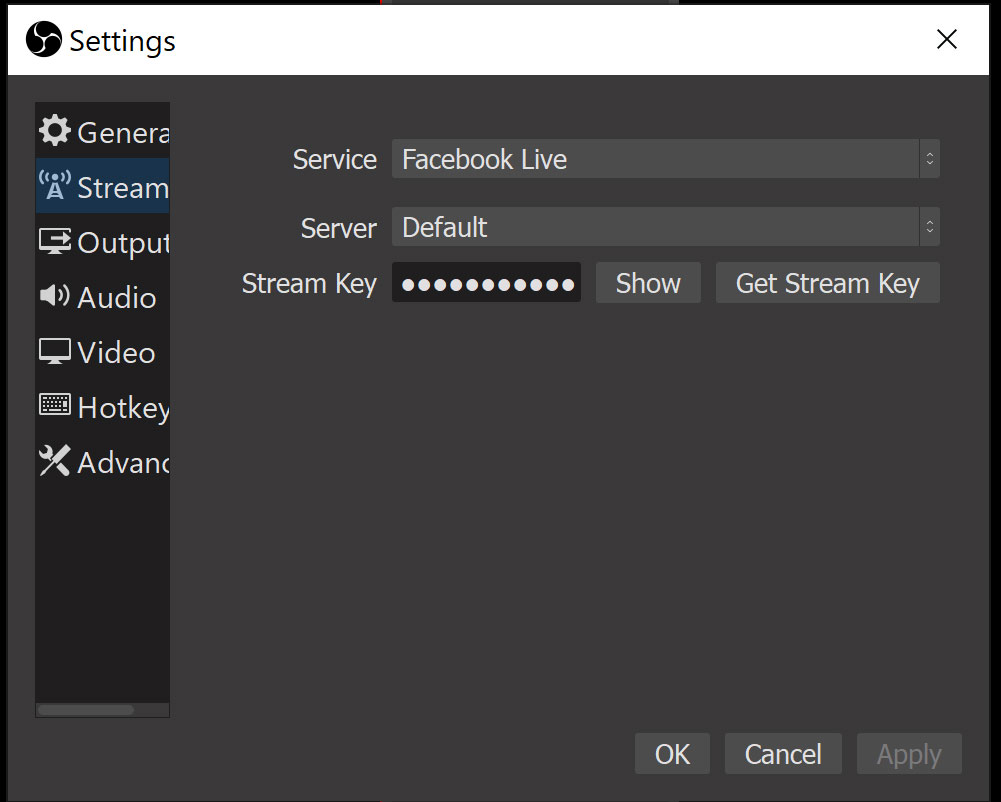
I’m assuming at this point that you know how to get your streaming key from Facebook Live. Grab the key and copy it to your clipboard, then go to the settings in OBS. Choose the “Streaming” option, select Facebook Live, then paste your streaming key in. I chose “default” for the server.
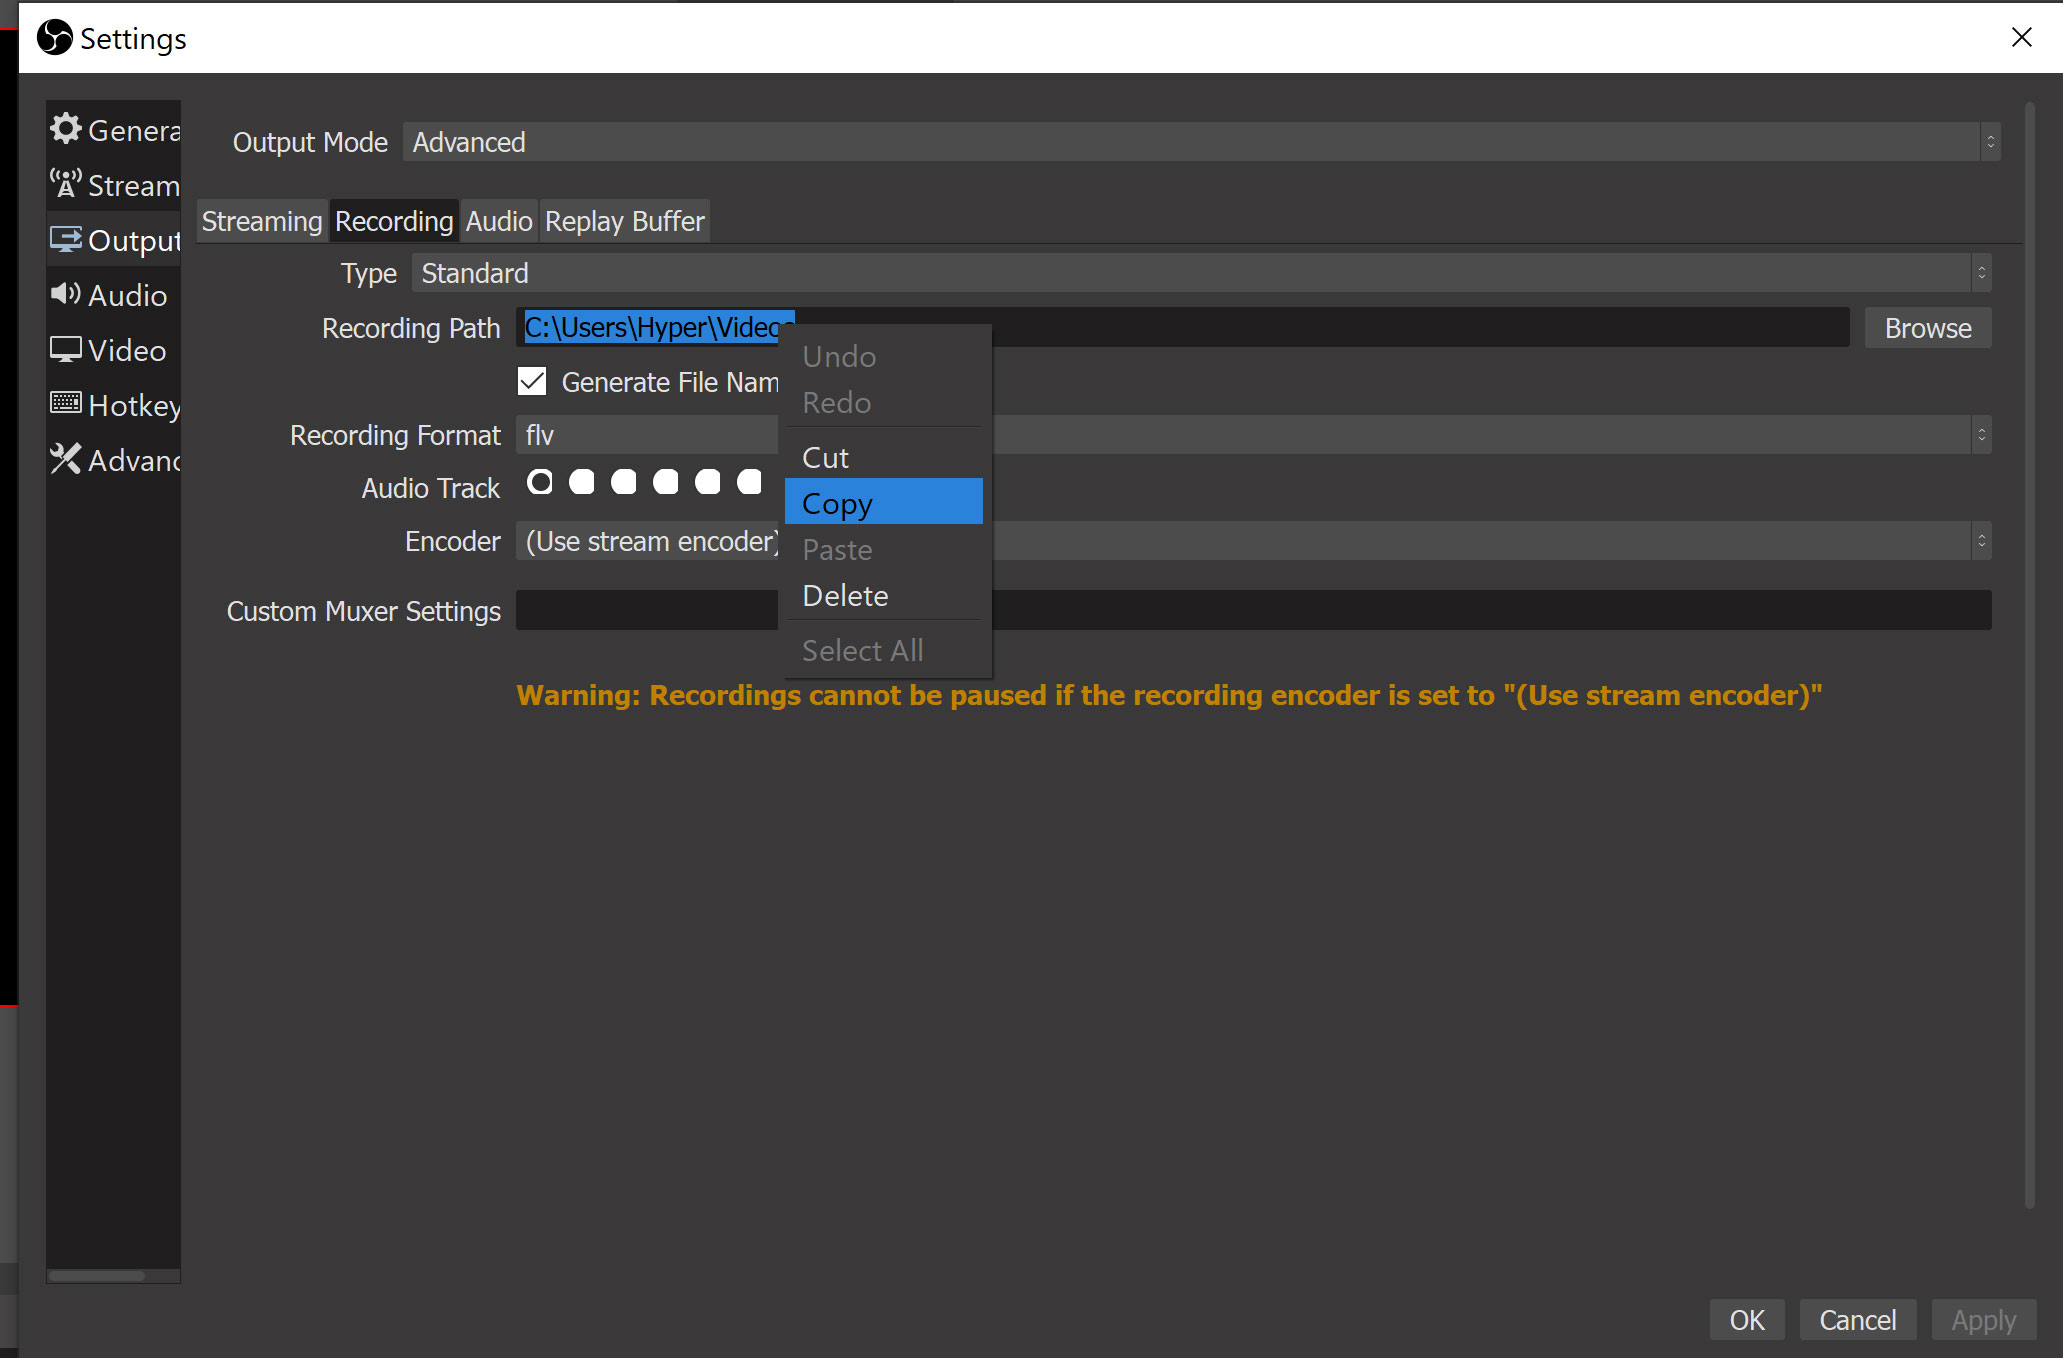
Now click on the “Output” settings and click on the “Recording” tab. This method of outputting to two platforms at once relies on an flv file being recorded and streamed, so we’ll need to make sure the settings are correct there. Select where you want your flv file to be saved (in my case it’s the default Windows location). Go ahead and highlight and copy the location for your recordings as we’ll be pasting it in the next step. Shown below is the location highlighted and ready to be copied.
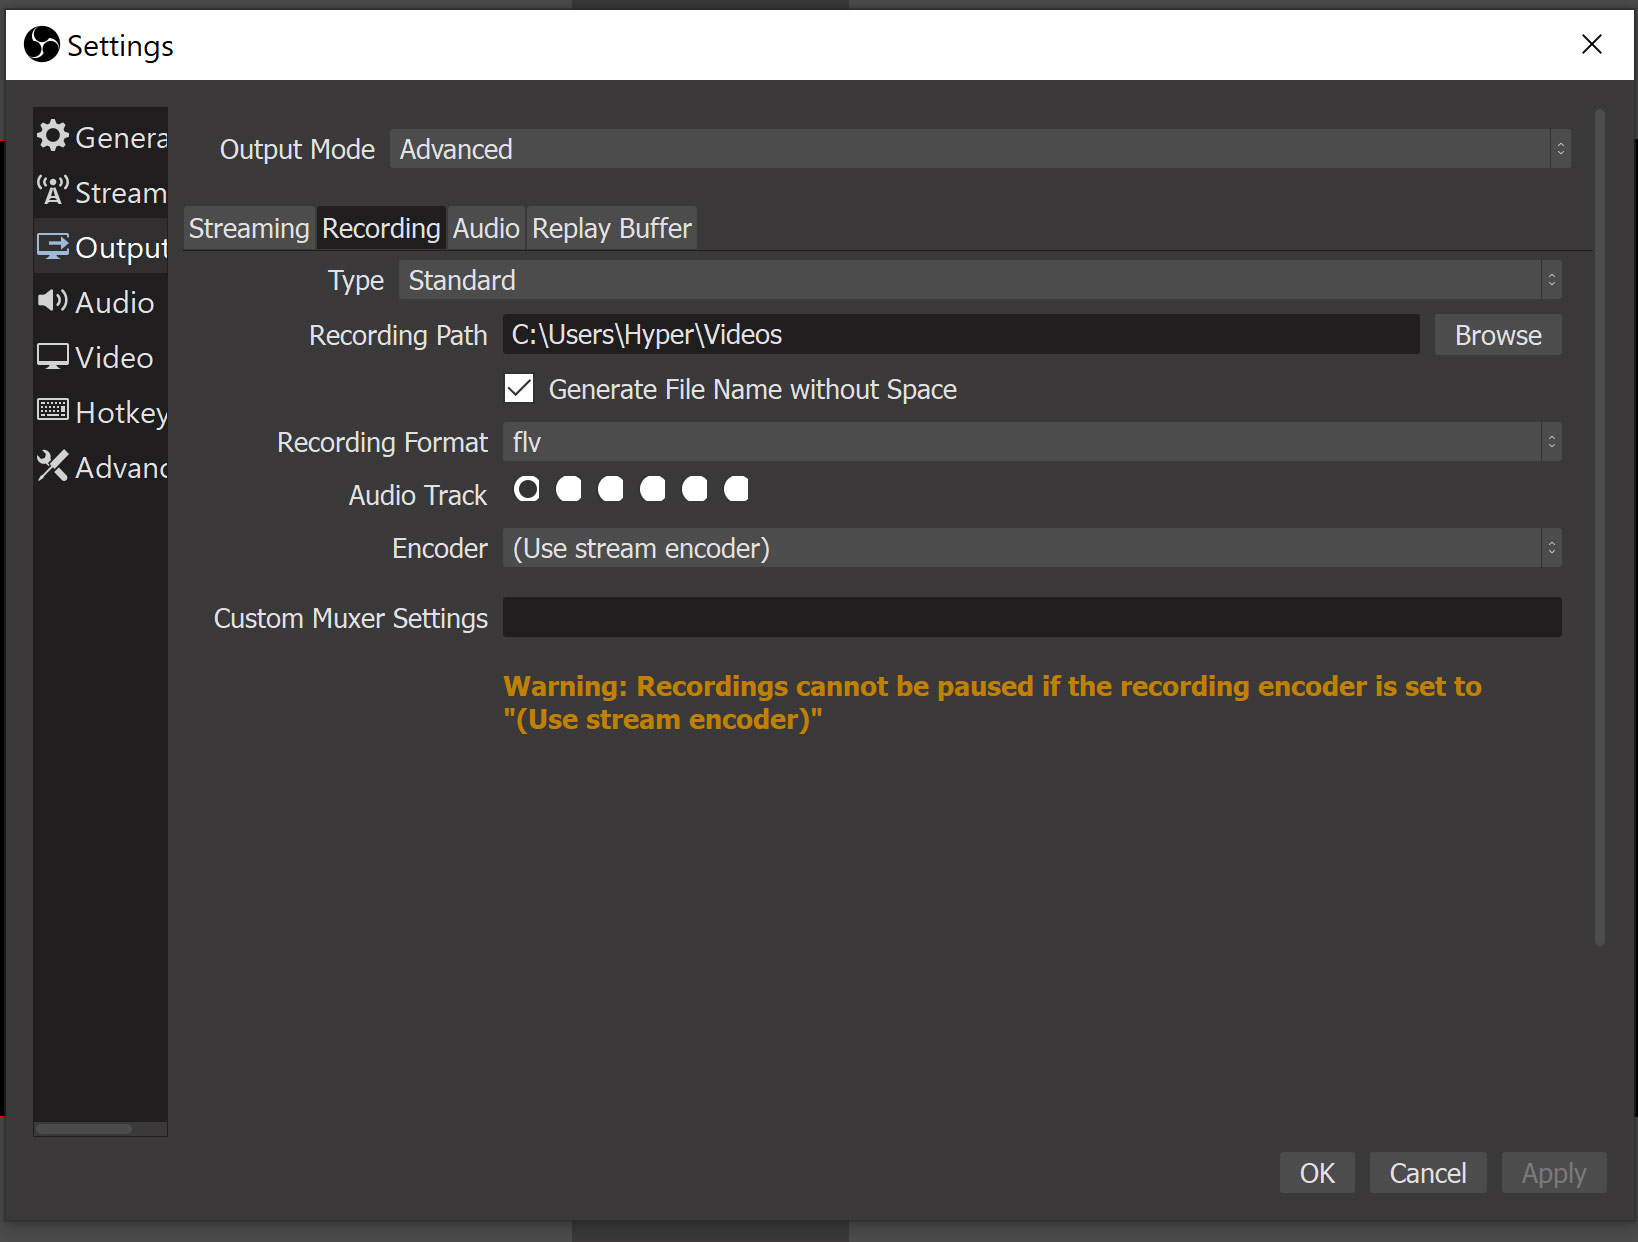
IMPORTANT – make sure that “Generate File Name Without Space” is selected and be sure that the recording format is flv. I used the “Use Stream Encoder” for the Encoder setting. My settings are shown below. Hit the “OK” button once your settings are dialed in.
Step 4 – Set up the .bat File and YouTube
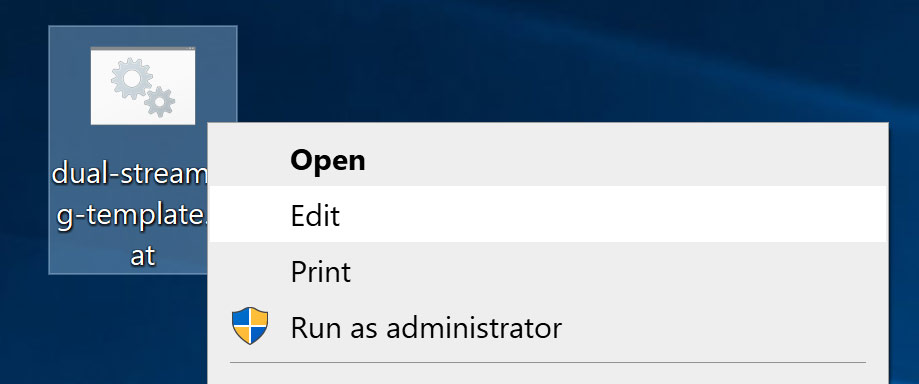
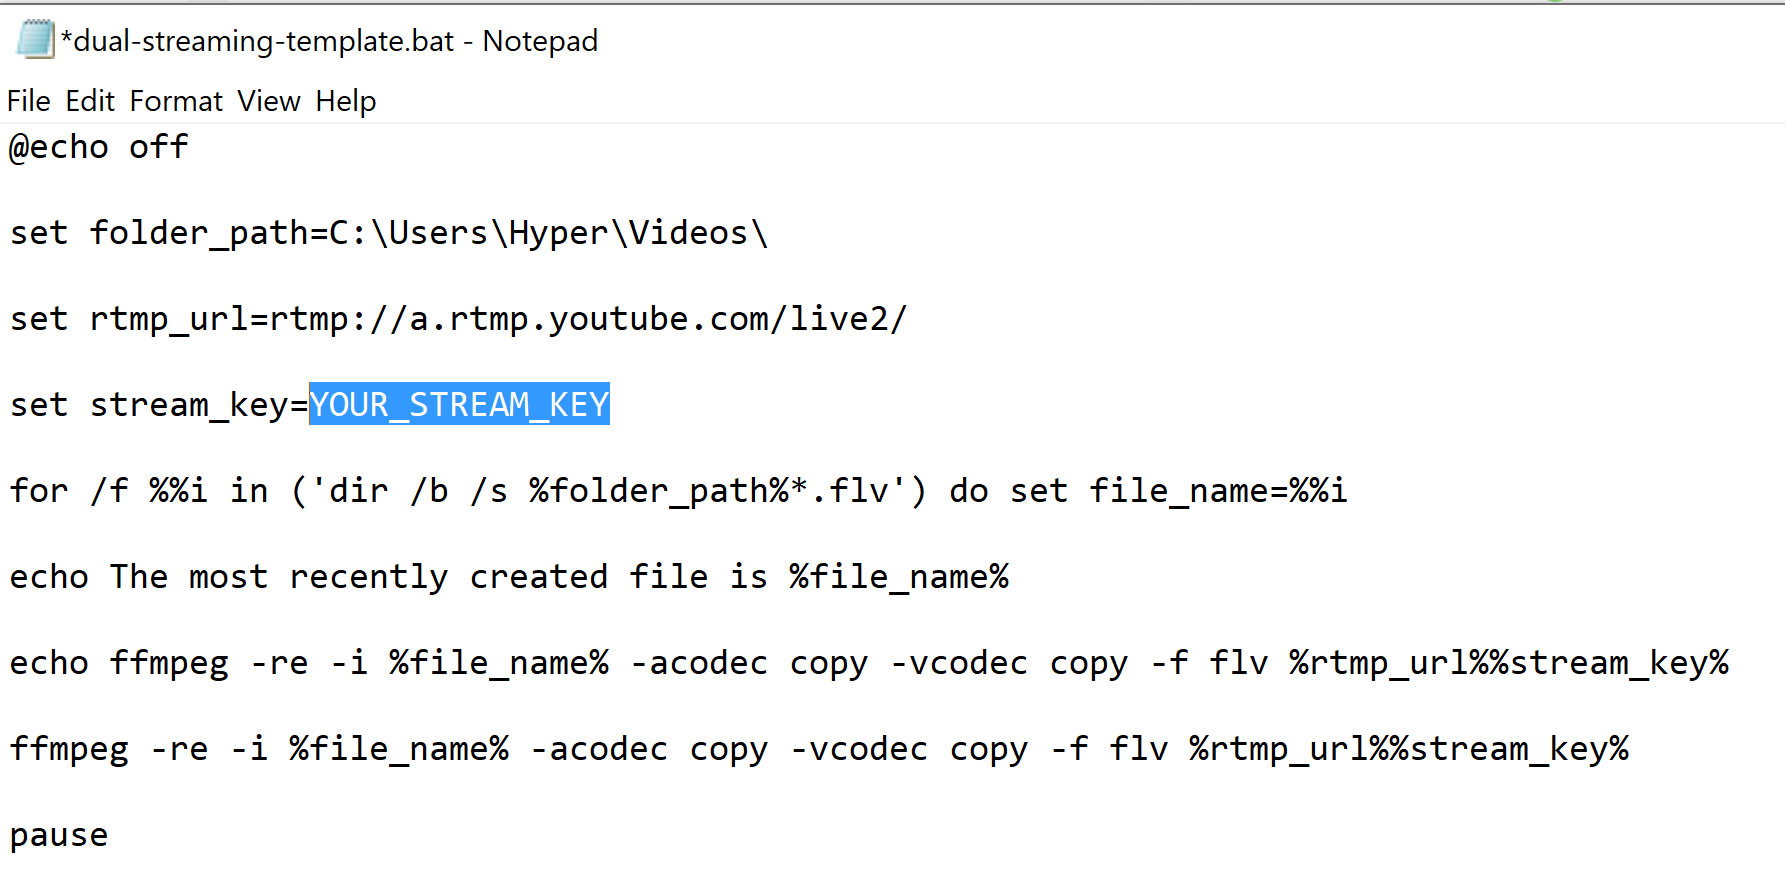
Open the .bat file that you downloaded from my site by right clicking it and choosing “Edit.”
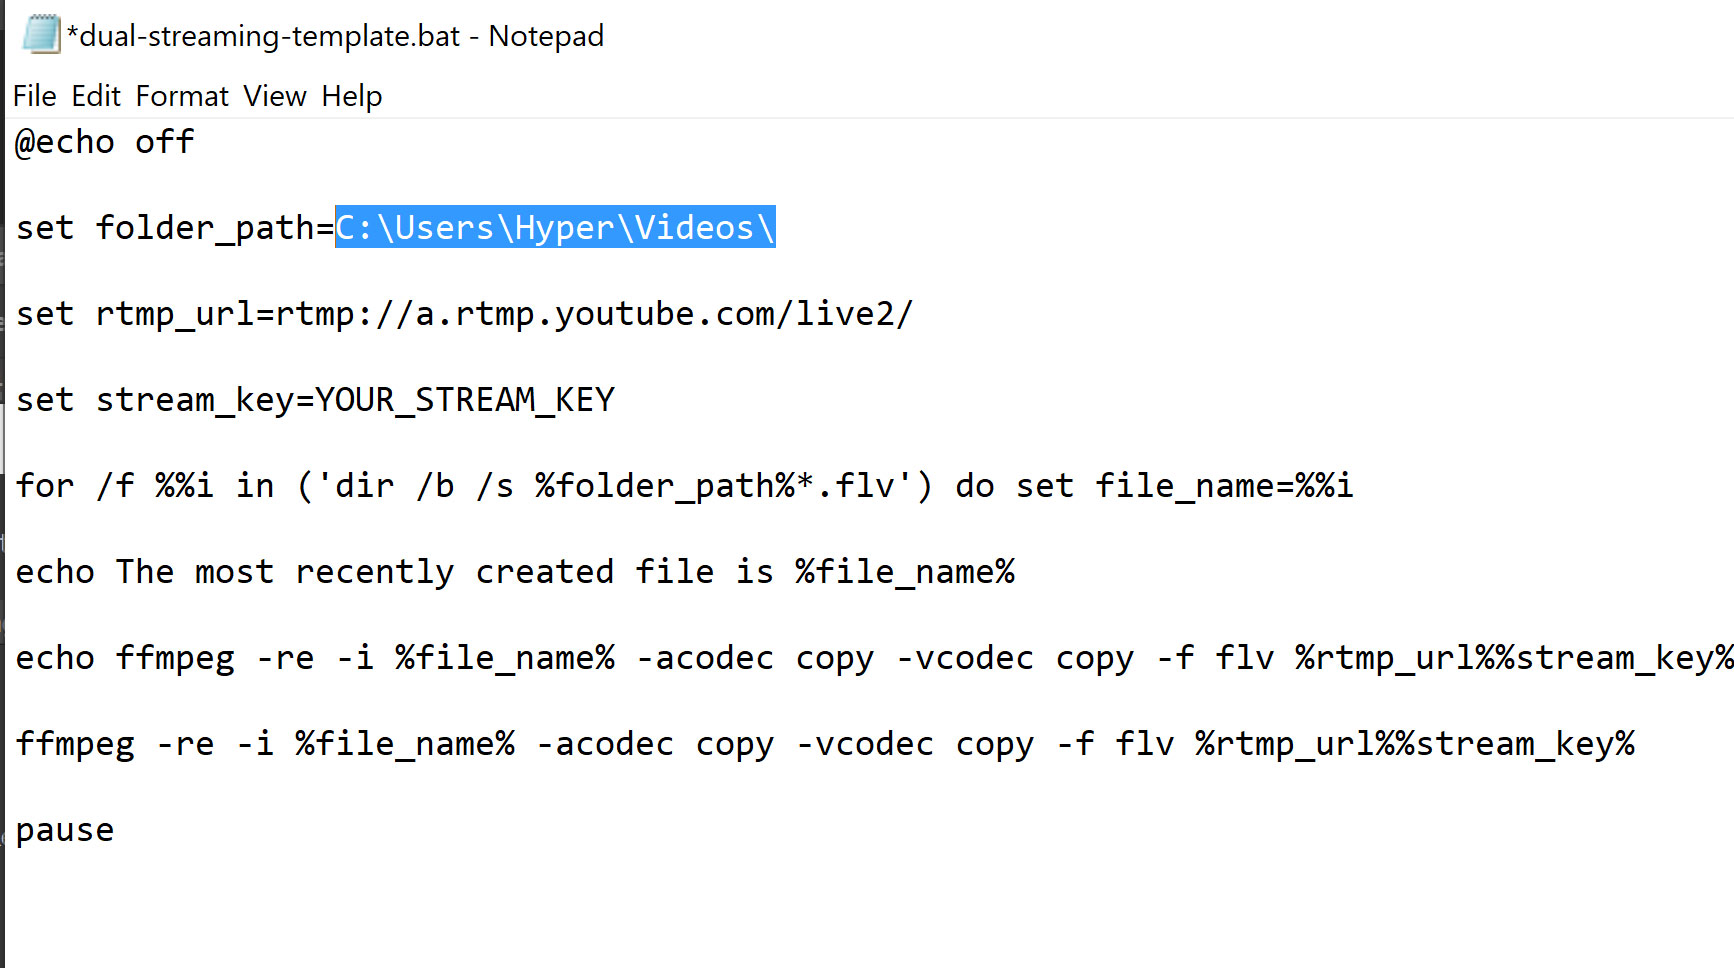
Paste the location of your saved flv files, and (IMPORTANT) make sure to add a backslash at the end of the path. Also make sure there are no spaces between “path=” and your location. It should look like this (with your own info, of course):
set folder_path=C:\Users\Hyper\Videos\
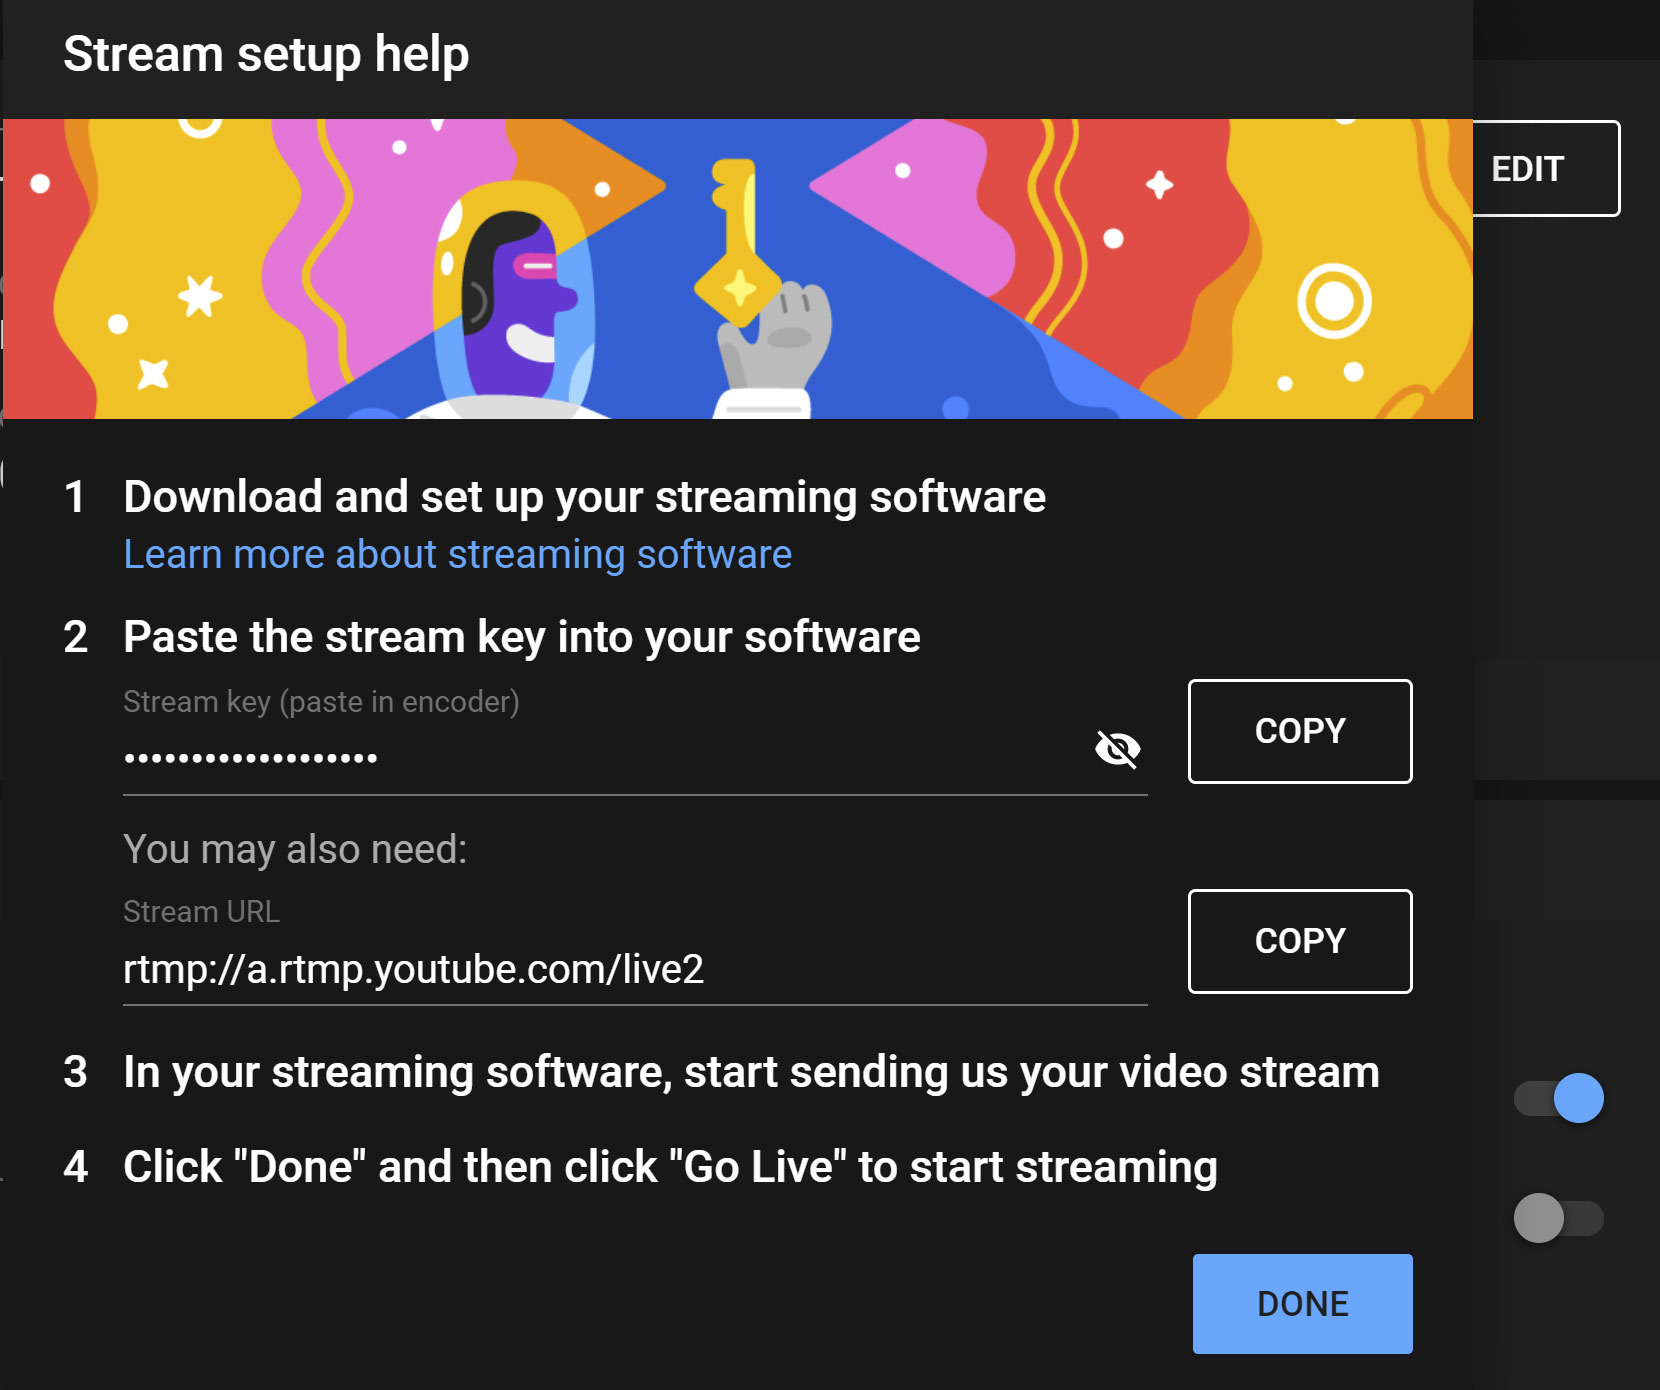
Now we’ll configure the .bat file to work with YouTube. I created a new, unlisted event for this tutorial so I can show how to grab the stream key and paste it into the .bat file. Once the event is created, click the “Copy” button (in YouTube) as shown below.
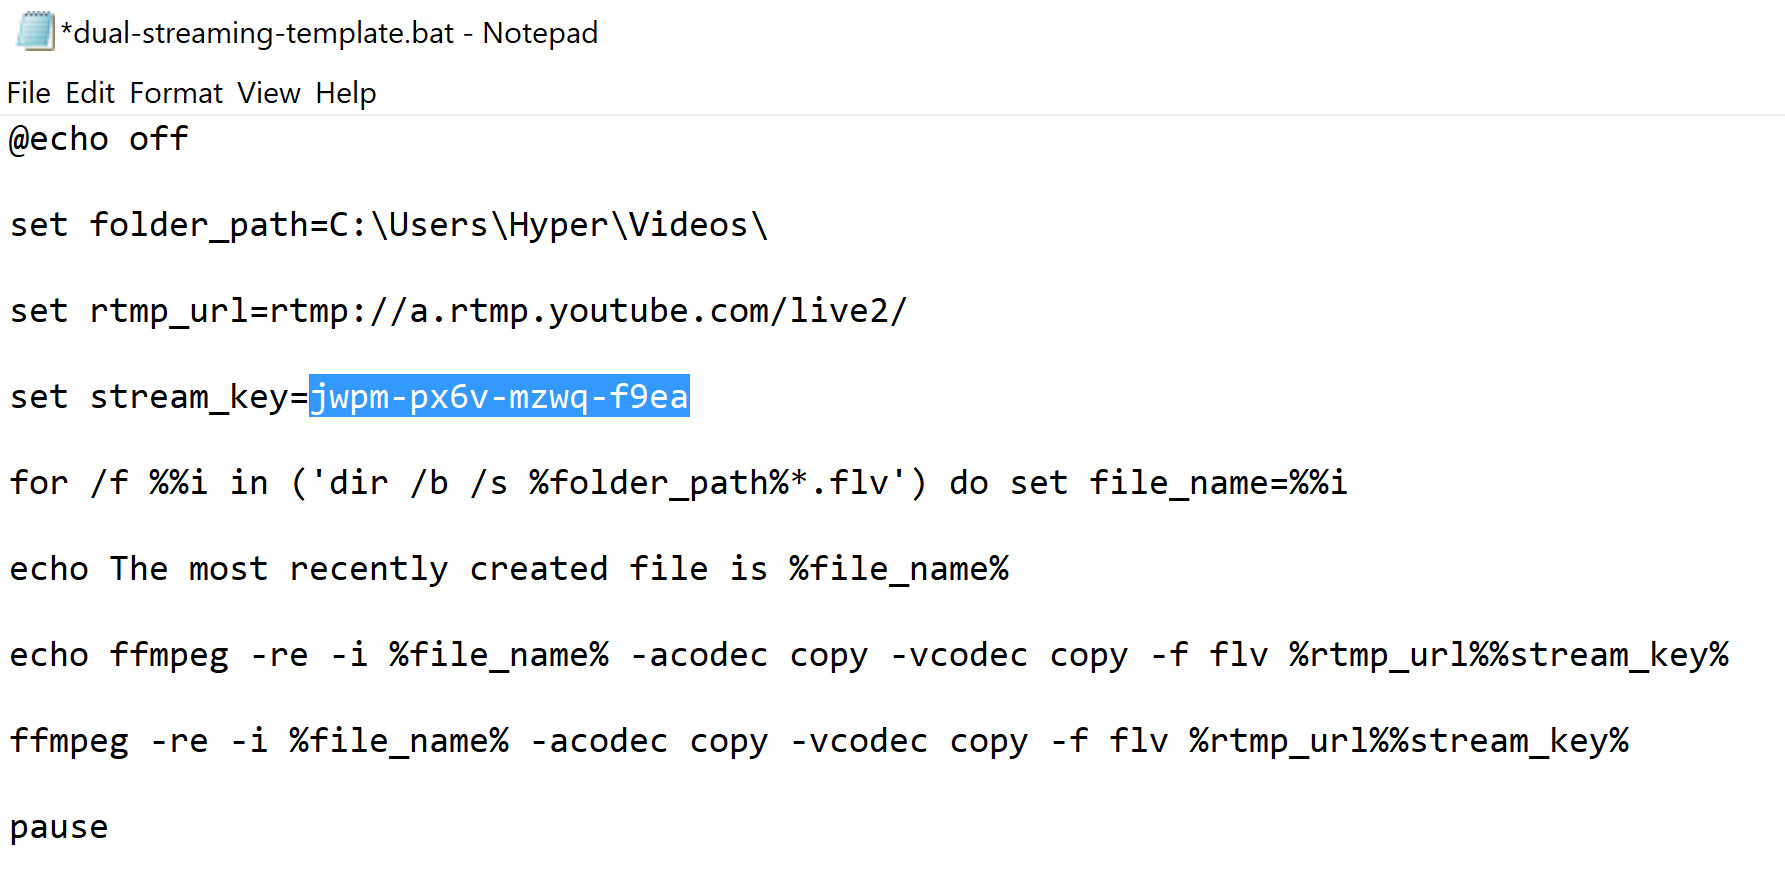
Now back in the .bat file, paste the Stream Key in the location shown below.
Your .bat file should now look similar to the image below (with your own stream key).
IMPORTANT: There are no spaces between the equals sign and your stream key.
In the unlikely event that your YouTube rtmp server is different than rtmp://a.rtmp.youtube.com/live2/, paste that URL in where it says set rtmp_url=
Save and close the .bat file.
Step 5 – Start Streaming!
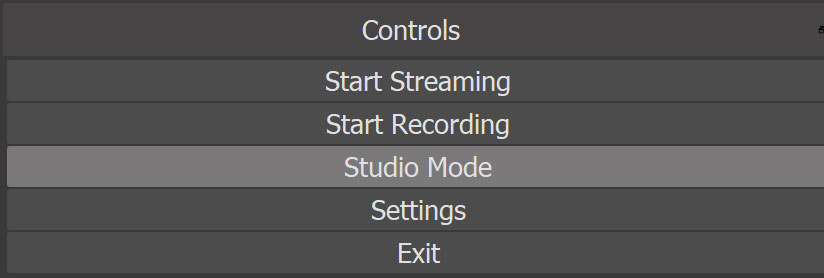
The final step is to start streaming and make sure everything is broadcasting. In OBS, hit “Start Streaming” as well as “Start Recording”. The settings are in the lower right side in the OBS interface (shown below).
Go to your .bat file and double click it. It should immediately begin sending your flv file to YouTube as a live stream. The beauty of the .bat file is that the only variable you’ll need to change each time you use it for your YouTube events is your stream key.
Go to your Facebook Live Control Room and make sure you are seeing video.
Go to your YouTube Control Room and make sure you are seeing video.

To stop streaming to YouTube, close the Command Prompt, then press “Stop Recording” in OBS.
IMPORTANT: Each time you create a new YouTube Event, you’ll need to edit your .bat file to include the updated stream key.
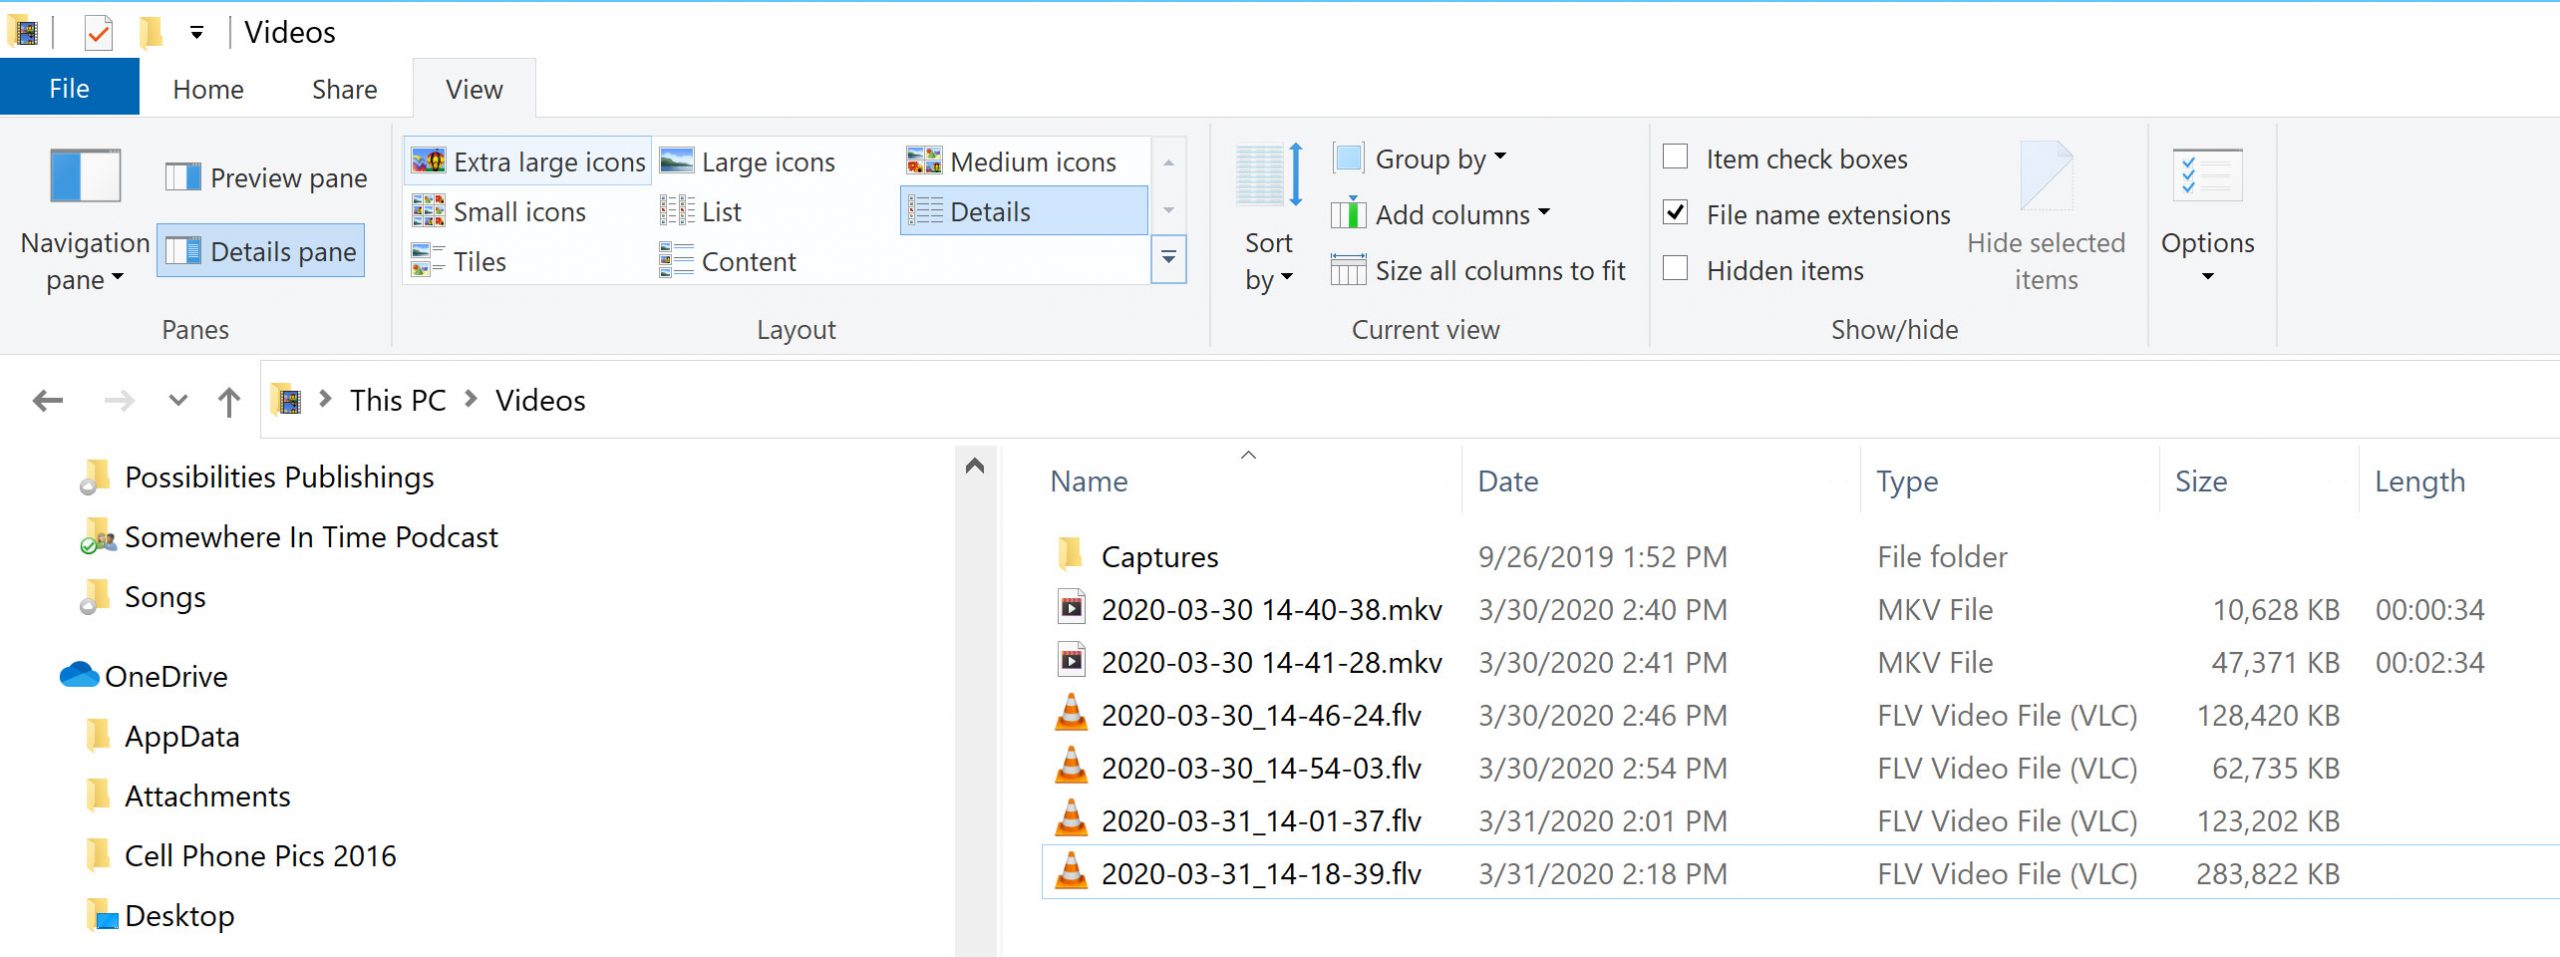
Also keep in mind that you’ll be saving flv files each time you do this, so you might want to go into the folder where you chose to save your videos and delete files if desired. As you can see by the screen shot below, they can add up in size pretty quickly.
That’s it! Hopefully this helps anyone trying to do a live stream to Facebook and YouTube simultaneously! If you have any questions, feel free to let me know in the comments below.


