I was recently going through some photos I took in 2007, wondering if they could be improved in any way. The photos were taken on location at a drilling rig in Kenmare, North Dakota. I was using an Canon EOS 10D with a 22-55 mm kit lens. Not exactly cutting edge technology. In the time since, I’ve gotten much better at composition, lighting, color correction, etc. Add the fact that Lightroom is how I do 90% of my photo editing and it seemed like taking a look at these old photos would make for a fun experiment. The first thing I noticed was how drastically my photography style has changed in six years! The shots weren’t bad, but I found myself wishing I could go back to re-shoot them. That said, I was blown away at what I was able to do with the shots using Lightroom. Details that I never knew existed suddenly popped out at me once I started adjusting just a few sliders. Color correction was ridiculously easy, as was local contrast adjustments and using Lightroom’s “clarity” to give metallic surfaces more depth.
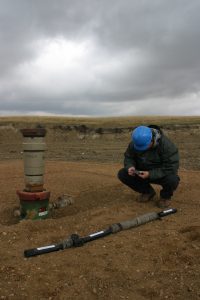
Here’s an example of a shot before I adjusted it in Lightroom. In 2007, I considered this shot “finished”!
The first thing I notice with this shot is the awful yellow tint that needs to be fixed. Not to mention that the contrast is way off, and there’s a big, ugly, white chunk of metal on the right side of the photo that your eye immediately goes to.
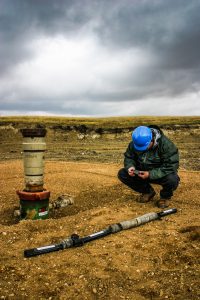
Here’s the fixed version after a few minutes of work in Lightroom:
The ugly yellow tint is gone, replaced with corrected colors. I added a bunch of contrast (+81), reduced the highlights by -100, opened up the shadows (+45) and boosted the vibrance. I then used an adjustment brush and painted in some clarity on the metallic surfaces. I also added a graduated filter along the right side of the photo with the exposure set to -97. This helped reduce the overall brightness of that blindingly white piece of the drilling rig. What I really loved about processing this photo was all the detail that was revealed, especially in the helmets and in the metallic surfaces. Now you can see all the smudges, dings, etc.
Here’s another example from the same photo shoot:
The original needed some serious work. The contrast is off, there’s detail hidden in the shadows, and the sky could look a lot cooler than it does. Fortunately that’s all an easy fix with Lightroom! In this case, I adjusted the exposure (+68), boosted the contrast (+81), cranked the shadows all the way up (+100), then I thew in some clarity (+62) and some vibrance (+21). I then added a graduated filter to adjust the sky, using the settings to lower the exposure (-1.06) and boost the contrast (+63). The last thing I did was add a slight vignette to draw your eye a bit more towards the subject of the photo. Lightroom has a “Post-Crop Vignetting” tool that lets you easily create vignettes. Here’s the finished photo:
Now that’s a lot better! The sky looks much better and there’s far more detail throughout the photo.
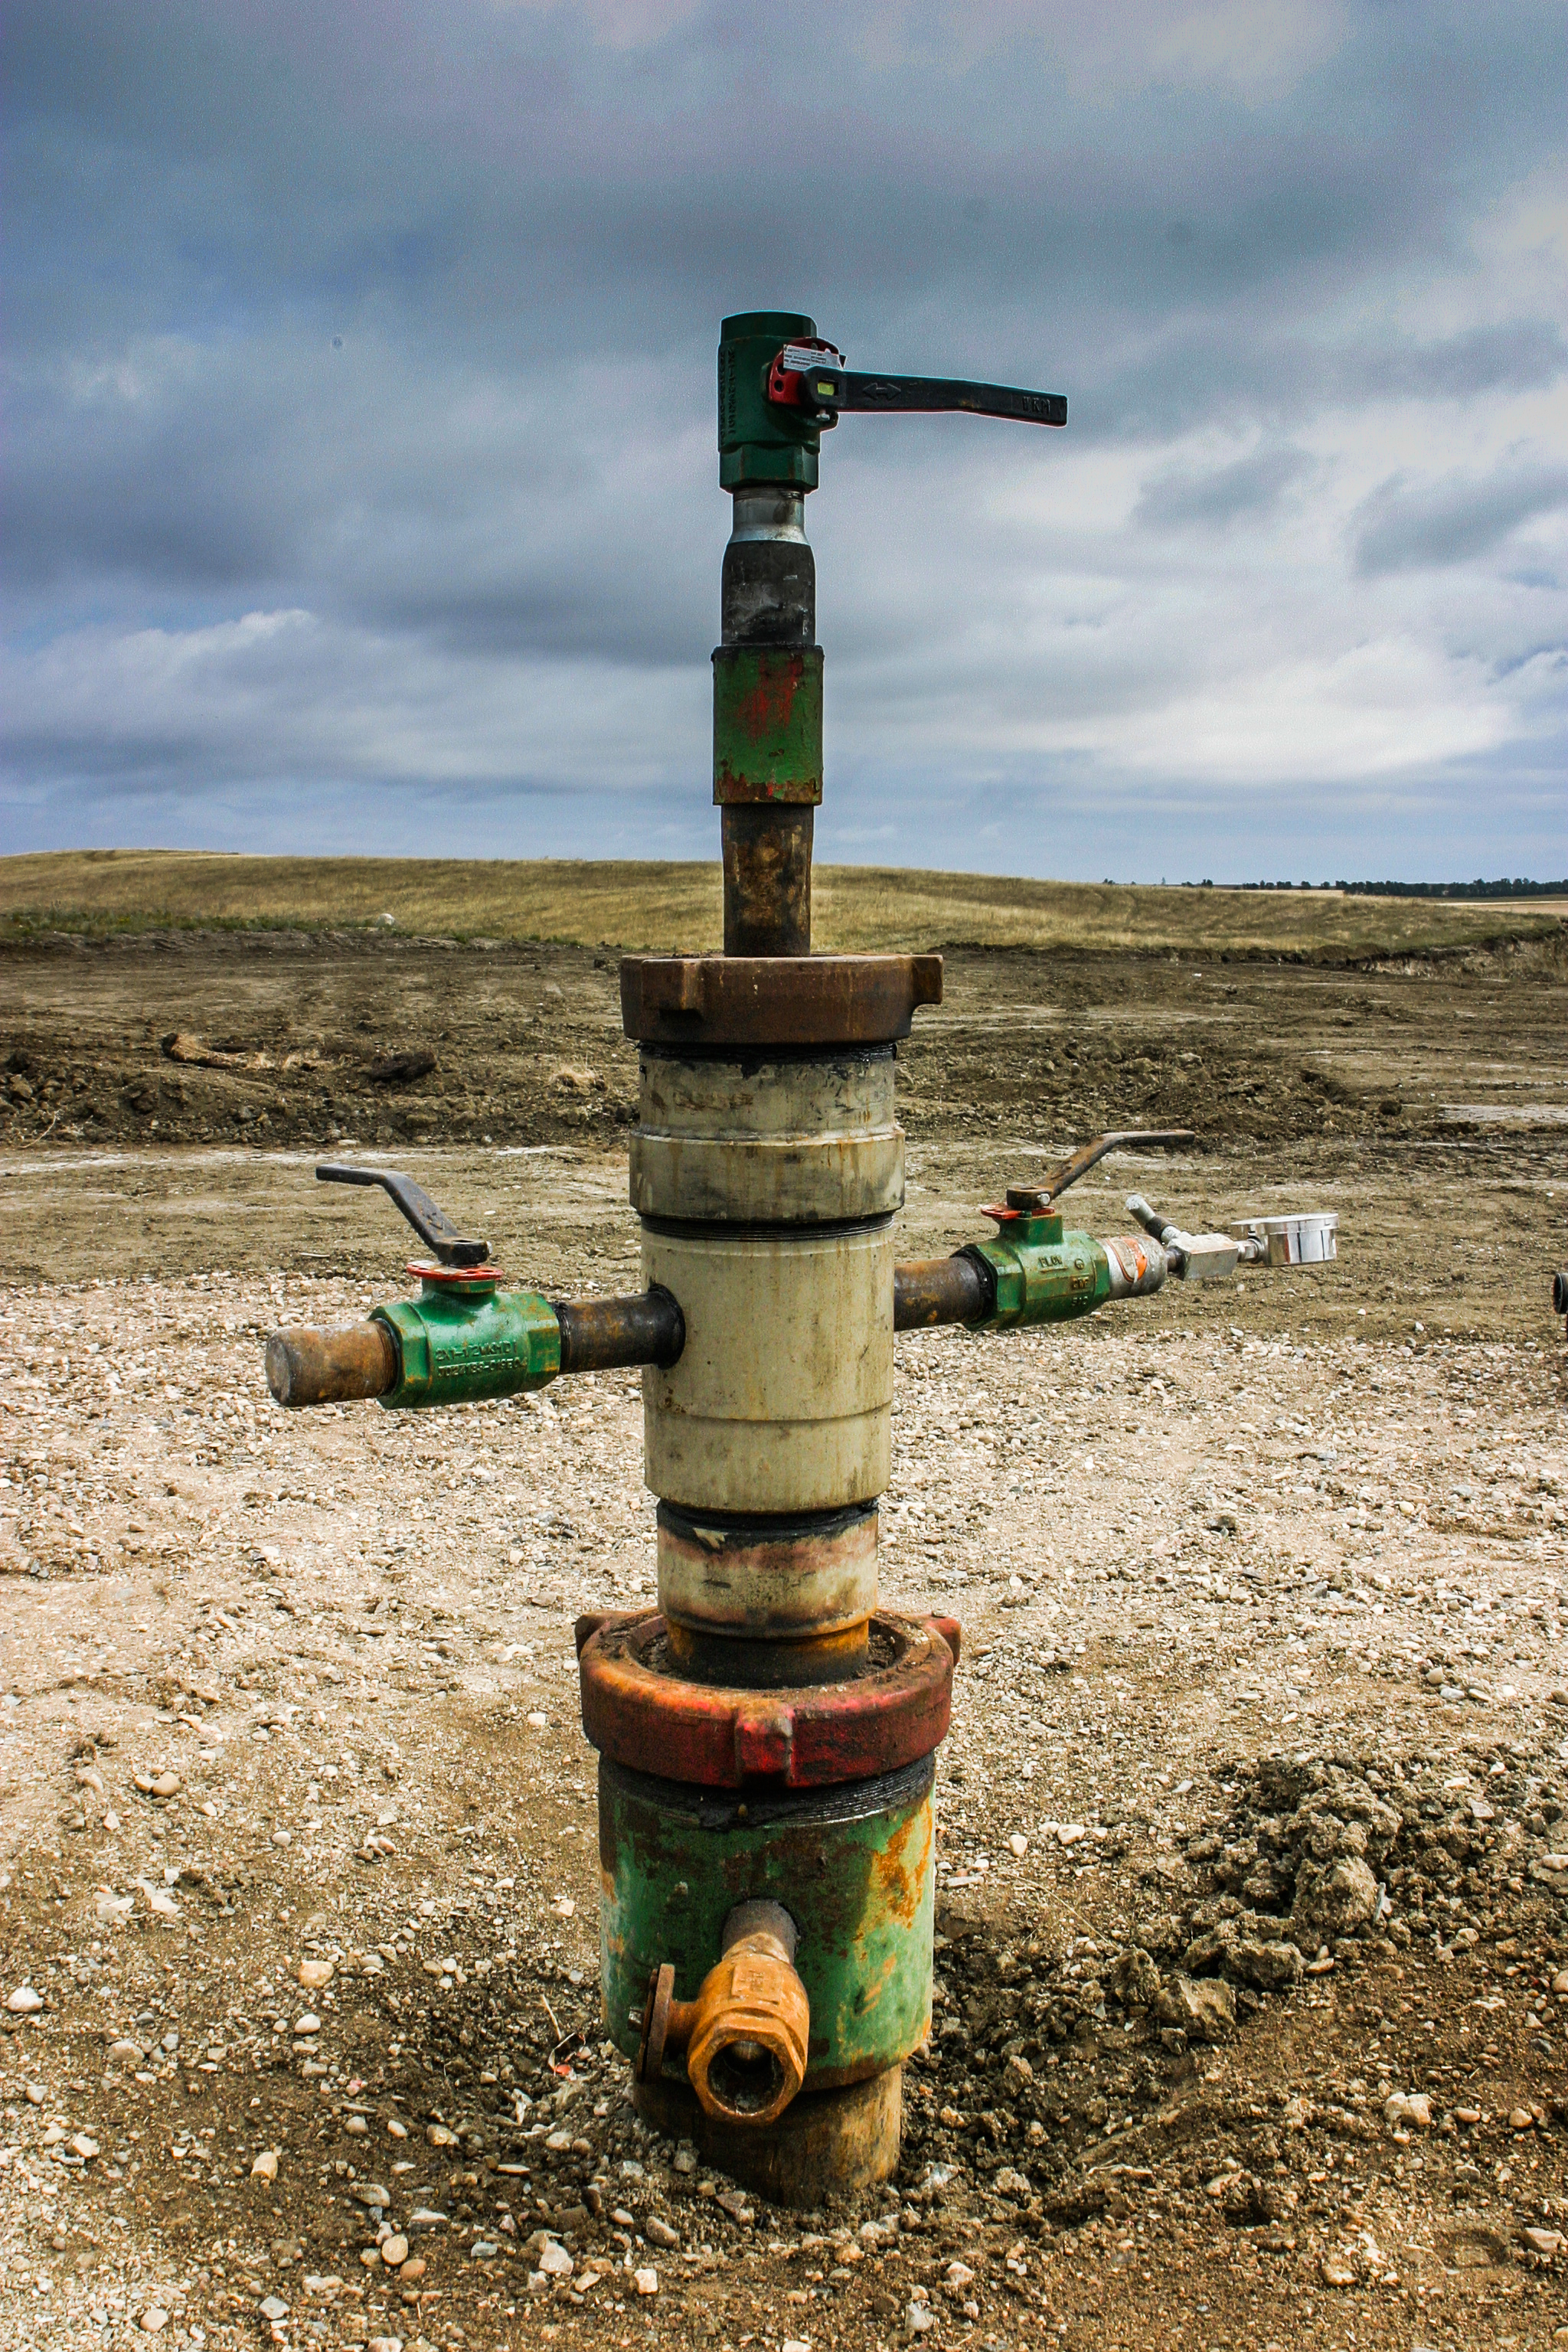
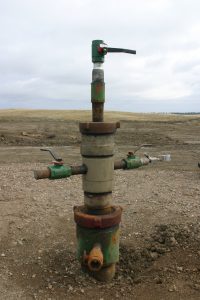
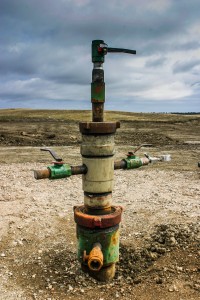
And here’s one last shot – the thing I loved about this was that I discovered that there was actually a pretty cool looking sky hidden in the details of the photo. After a few minutes in Lightroom, the sky showed right up! Here’s the original:
Same problems here as before – poor contrast, hidden details, and on top of all that, a boring sky. After some adjustments in Lightroom, it’s a different story. I boosted the contrast (+79), bumped up the highlights (+10), cranked the shadows all the way up (+100), added some clarity (+67) and added a graduated filter (exposure set to -2.53) to bring out the sky. Here’s the finished version:
Now that’s a cool looking wellhead!
I can’t say enough great things about Lightroom. Could I have done everything I showed here using Photoshop instead? Definitely. Would it have been done anywhere nearly as quickly? Absolutely not. So if you don’t have a copy of Lightroom yet, go get one!

