In this tutorial I’ll run through the steps required to set up OBS for live streaming. I’ll use YouTube as the streaming service in this tutorial.
Step 1:
Download and install OBS – https://obsproject.com/
Step 2: Run Through the OBS Configuration Wizard (If Desired)
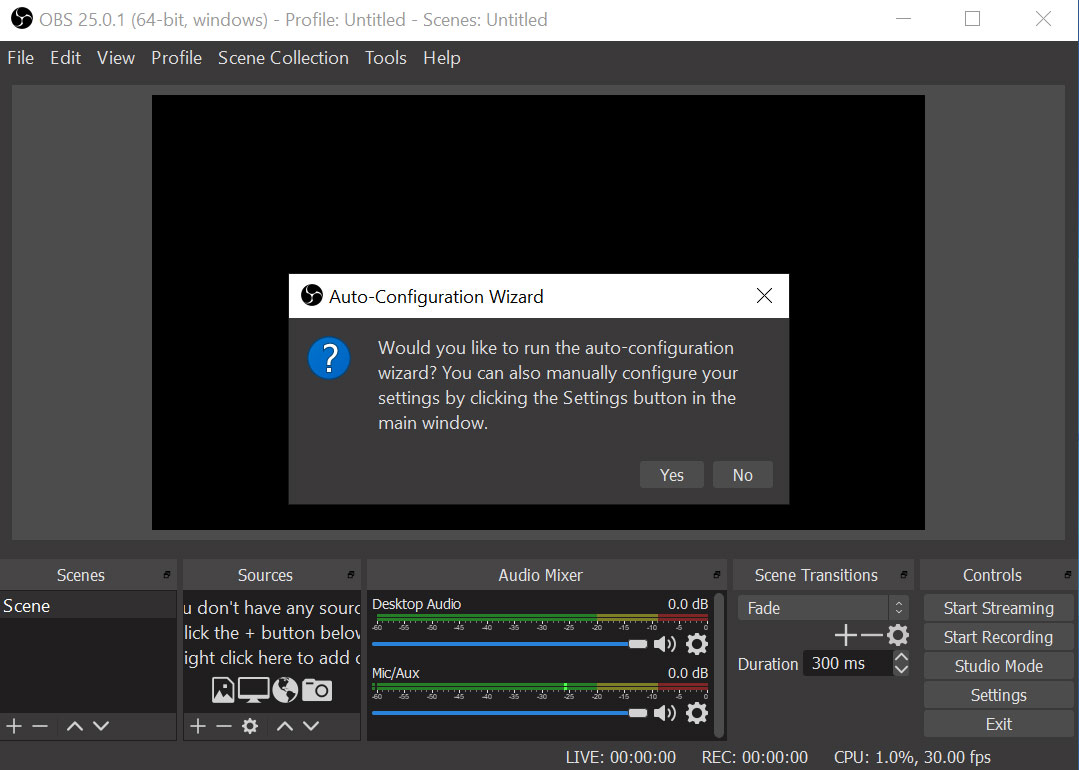
When you first launch OBS after installing it, it will ask if you’d like to run the auto-configuration wizard. Click Yes.
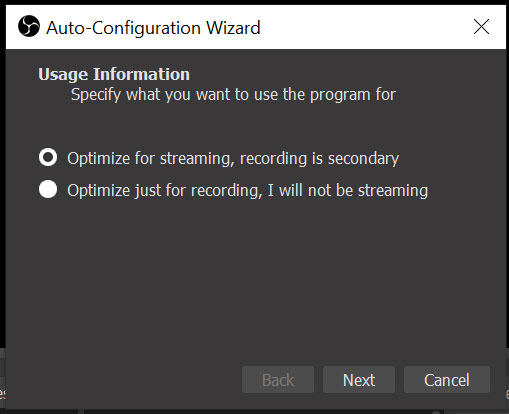
Select “Optimize for Streaming”
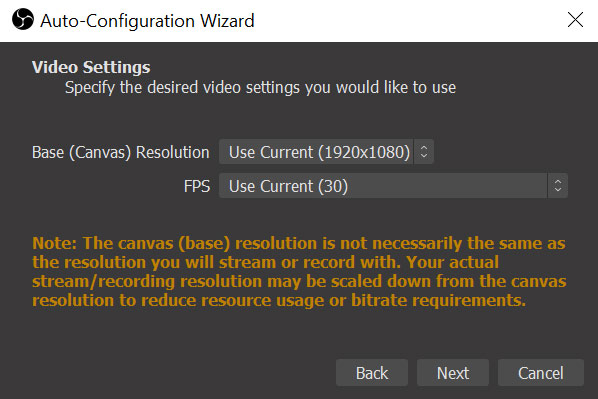
For the Video Settings, select the Canvas Resolution that matches the input that you’ll be using. In my case, that’s 1920 x 1080 (this can be changed later in the settings). I also changed the FPS to 30, as shown below.
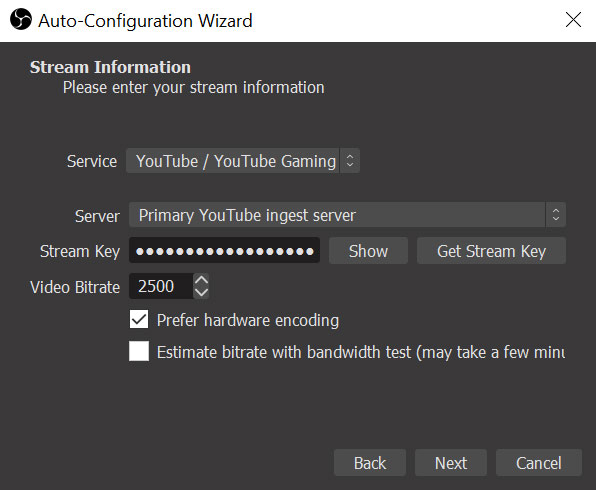
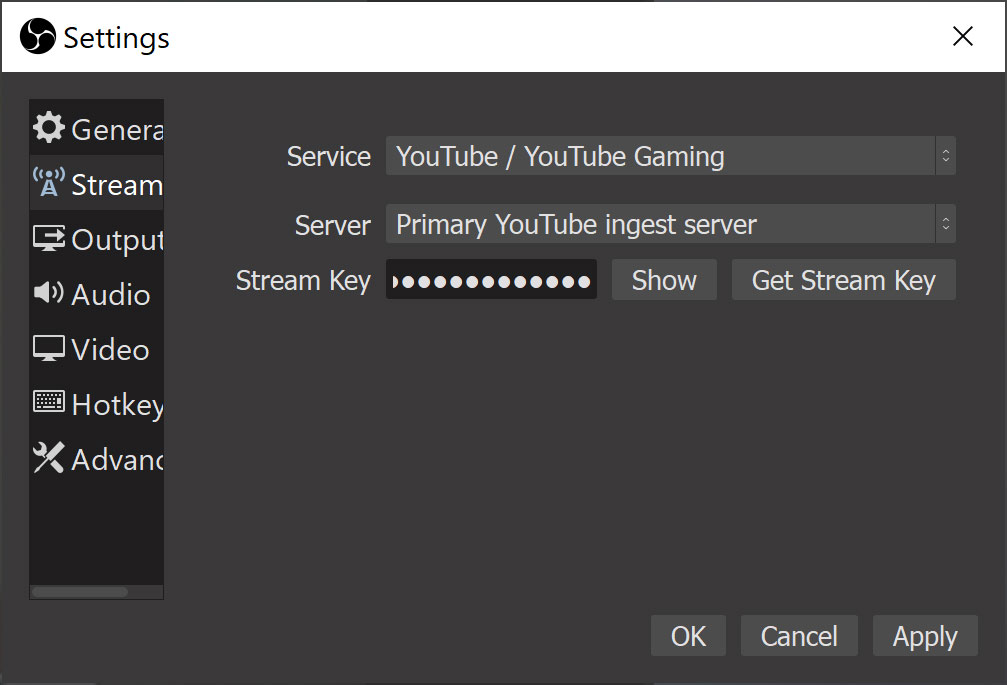
The next step is to add your streaming key, which is dependent on the service you use. In this tutorial, I’m using YouTube, so select YouTube/YouTube Gaming from the “Service” dropdown. For “Server” select “Primary YouTube Ingest Server” and then hit the “Get Stream Key” button. You’ll be prompted to login to YouTube (if you aren’t already) and once logged in the stream key can be revealed. Reveal the key and copy it from YouTube, then paste it into the OBS settings. I keep the bitrate at 2500 and I keep the “Prefer hardware encoding” box checked. NOTE: The stream key provided is for streaming directly to YouTube publicly. I’ll run through creating a separate YouTube event later in this tutorial.
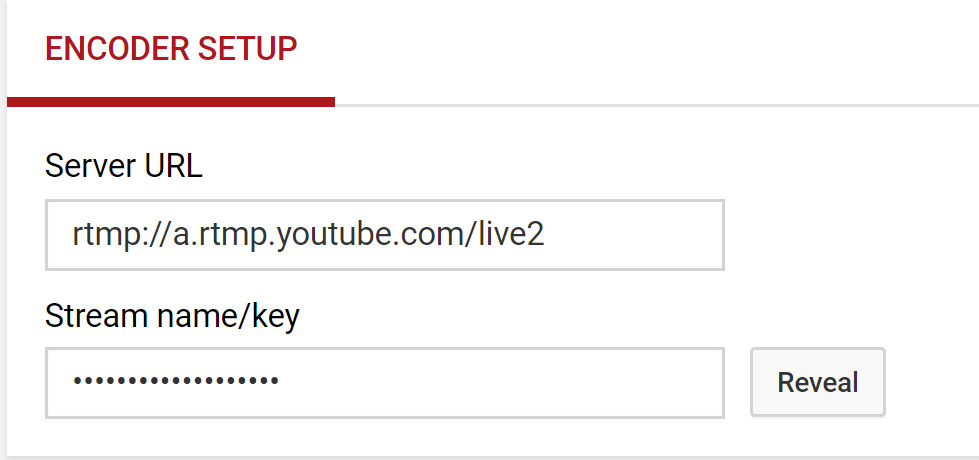
Get your stream key from YouTube
Press “Next” and the wizard will give you a summary of the settings you have chosen, as shown below.

Step 3: Verifying Audio and Video Configuration
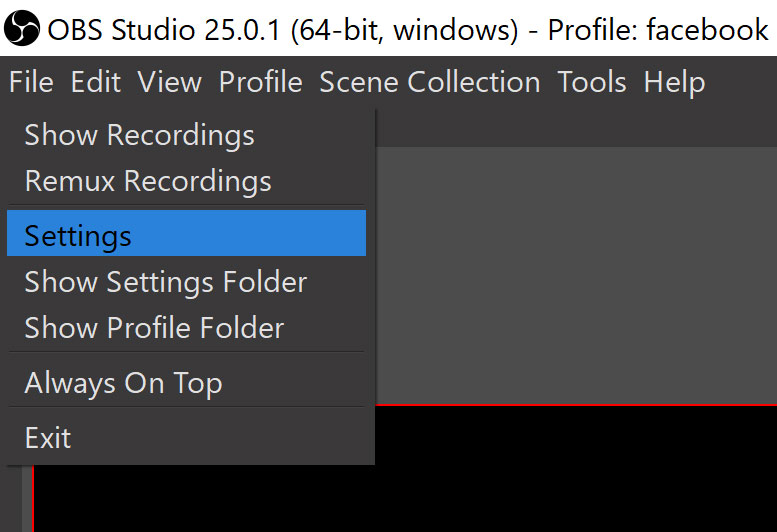
Launch OBS and click on “File” then “Settings.”
By default, OBS will be configured to work with whatever audio input sources your computer already has available. This may or may not be the configuration you want, so we’ll verify the settings here. On my computer, if I’m using my internal mic OR if I’m using the 3.5mm jack for an external source, the input is referred to as “Microphone (Conexant ISST Audio).” If I’m bringing audio in via HDMI (as shown in this tutorial), the audio input would need to be changed to “HDMI (USB Capture HDMI).” OBS is also usually configured to capture any audio your computer is currently outputting, which is referred to as “Desktop Audio.” Shown below is my configuration when using the 3.5mm jack for external audio.

The Configuration Wizard discussed in step 2 of this tutorial should have gotten you all set up in regards to video, but it can be double checked as long as you are in the settings. Verify that the Base (Canvas) Resolution as well as the Output Resolution are correct by clicking on the “Video” setting. then verify that the Base Resolution is 1920 x 1080 and the Output Resolution is 1280 x 720. Verify that FPS is set for 30 and Bicubic is set for the Downscale Filter (shown below).
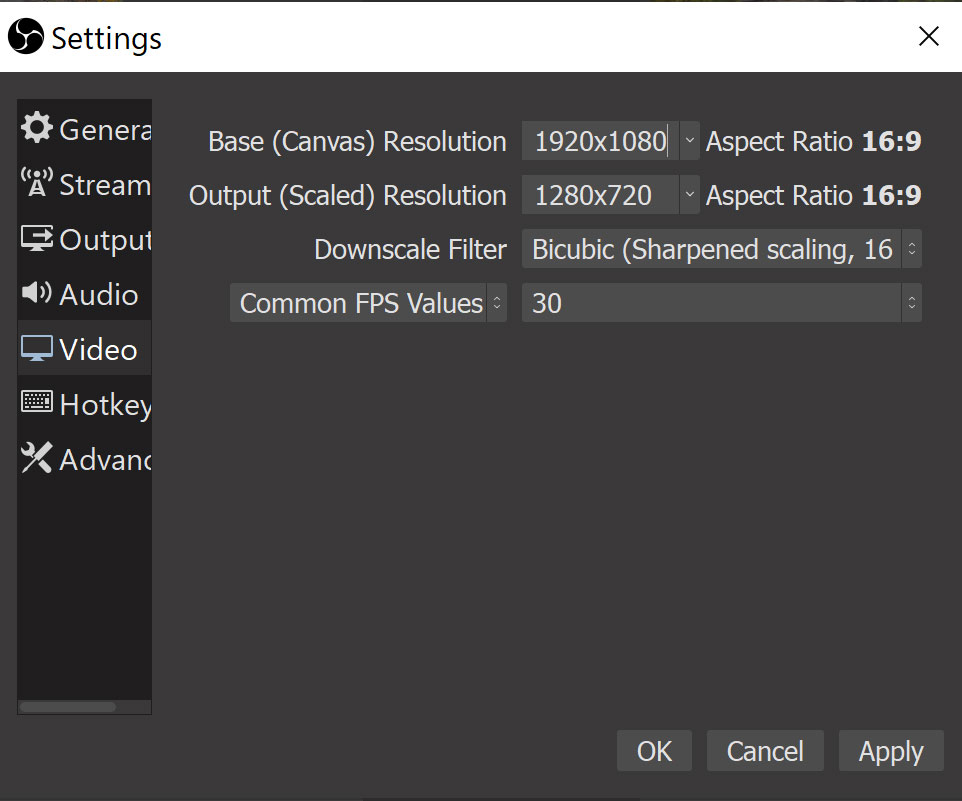
Click OK.
Step 3: Add the Video Source
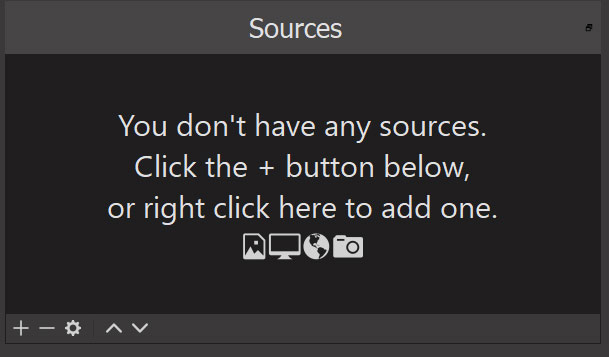
You’ll need to add your video and audio sources next, which can be done using the “Sources” panel shown below.
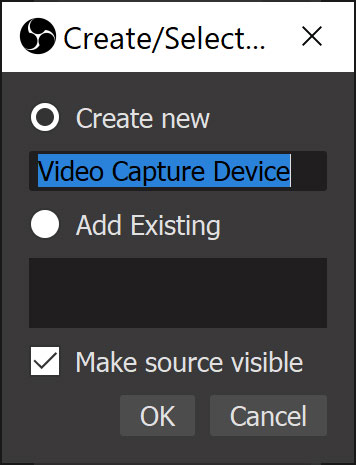
For video, select “Video Capture Device”, as shown below.

The window shown below will appear. You can rename it if desired. Be sure that “Make source visible” is selected, then hit the “OK” button when you are ready to configure the video.
In my case, I’ll be adding a webcam as a source. Shown below is the webcam configuration window that pops up as soon as the source is added.

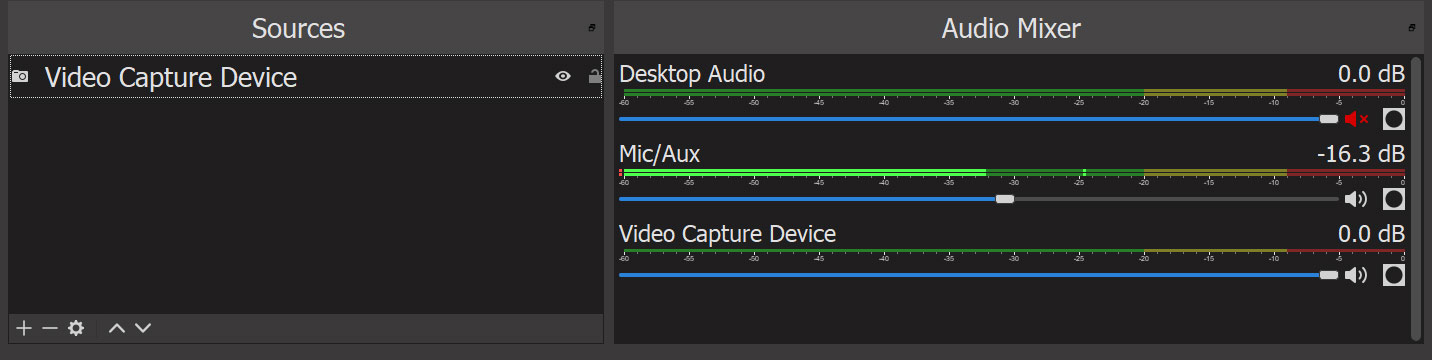
Now that your video and audio are configured, your “Sources” and “Audio Mixer” panels should look like the image below. Use the slider below “Mic/Aux” (or whatever your audio input is) to adjust the audio levels as necessary. To mute any of the audio (such as the desktop audio, which you might not want to broadcast) click the little speaker icon. My desktop audio is muted in the image below.
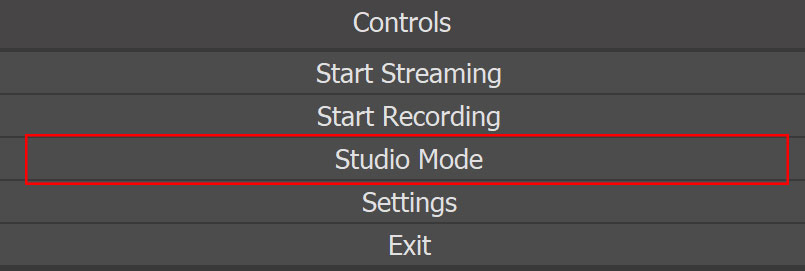
Last step here is optional, but you can choose to enable “Studio Mode” in OBS before you start streaming. Doing so gives you the ability to preview switching between sources before broadcasting them, if necessary. Enable Studio Mode by pressing the button in the lower right corner of the interface, shown below:
Step 4: Stream!
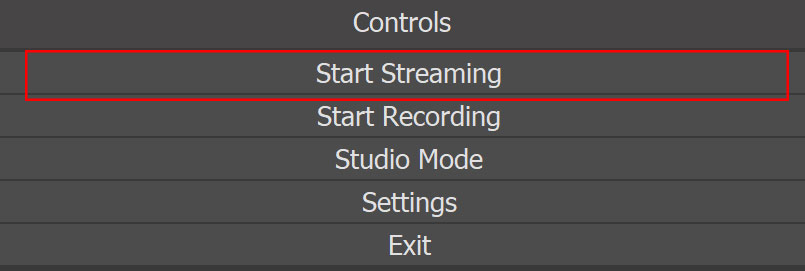
If you ran through the Configuration Wizard and set up your live stream info, hit the “Start Streaming” button (in the lower right corner of the interface) and you’ll be off and running. Go to your dashboard (on YouTube) to verify that your live stream is active.
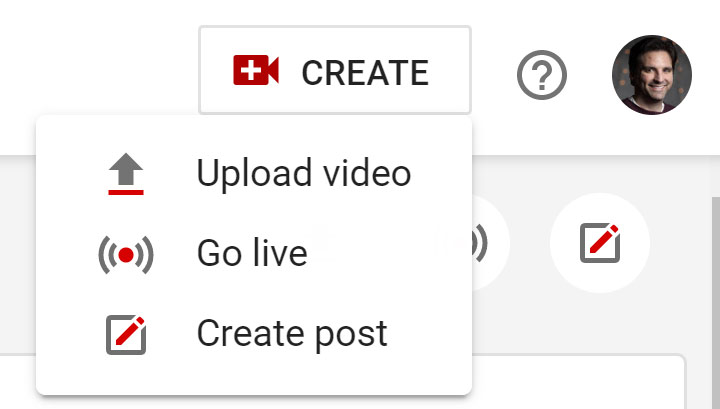
If you’d rather schedule an event for later or create an event that’s for testing purposes only, that can be easily done. On YouTube, go to your Studio, then click on the “Create” button and choose “Go Live.”
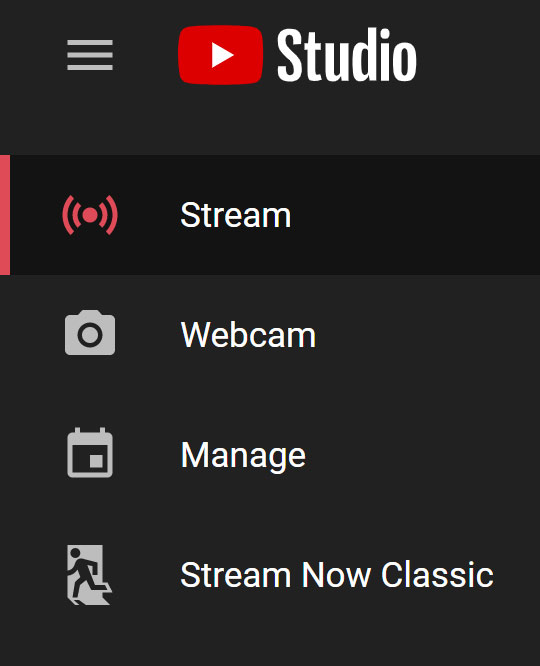
Click the “Stream” button at the top left, then select the various settings as desired.
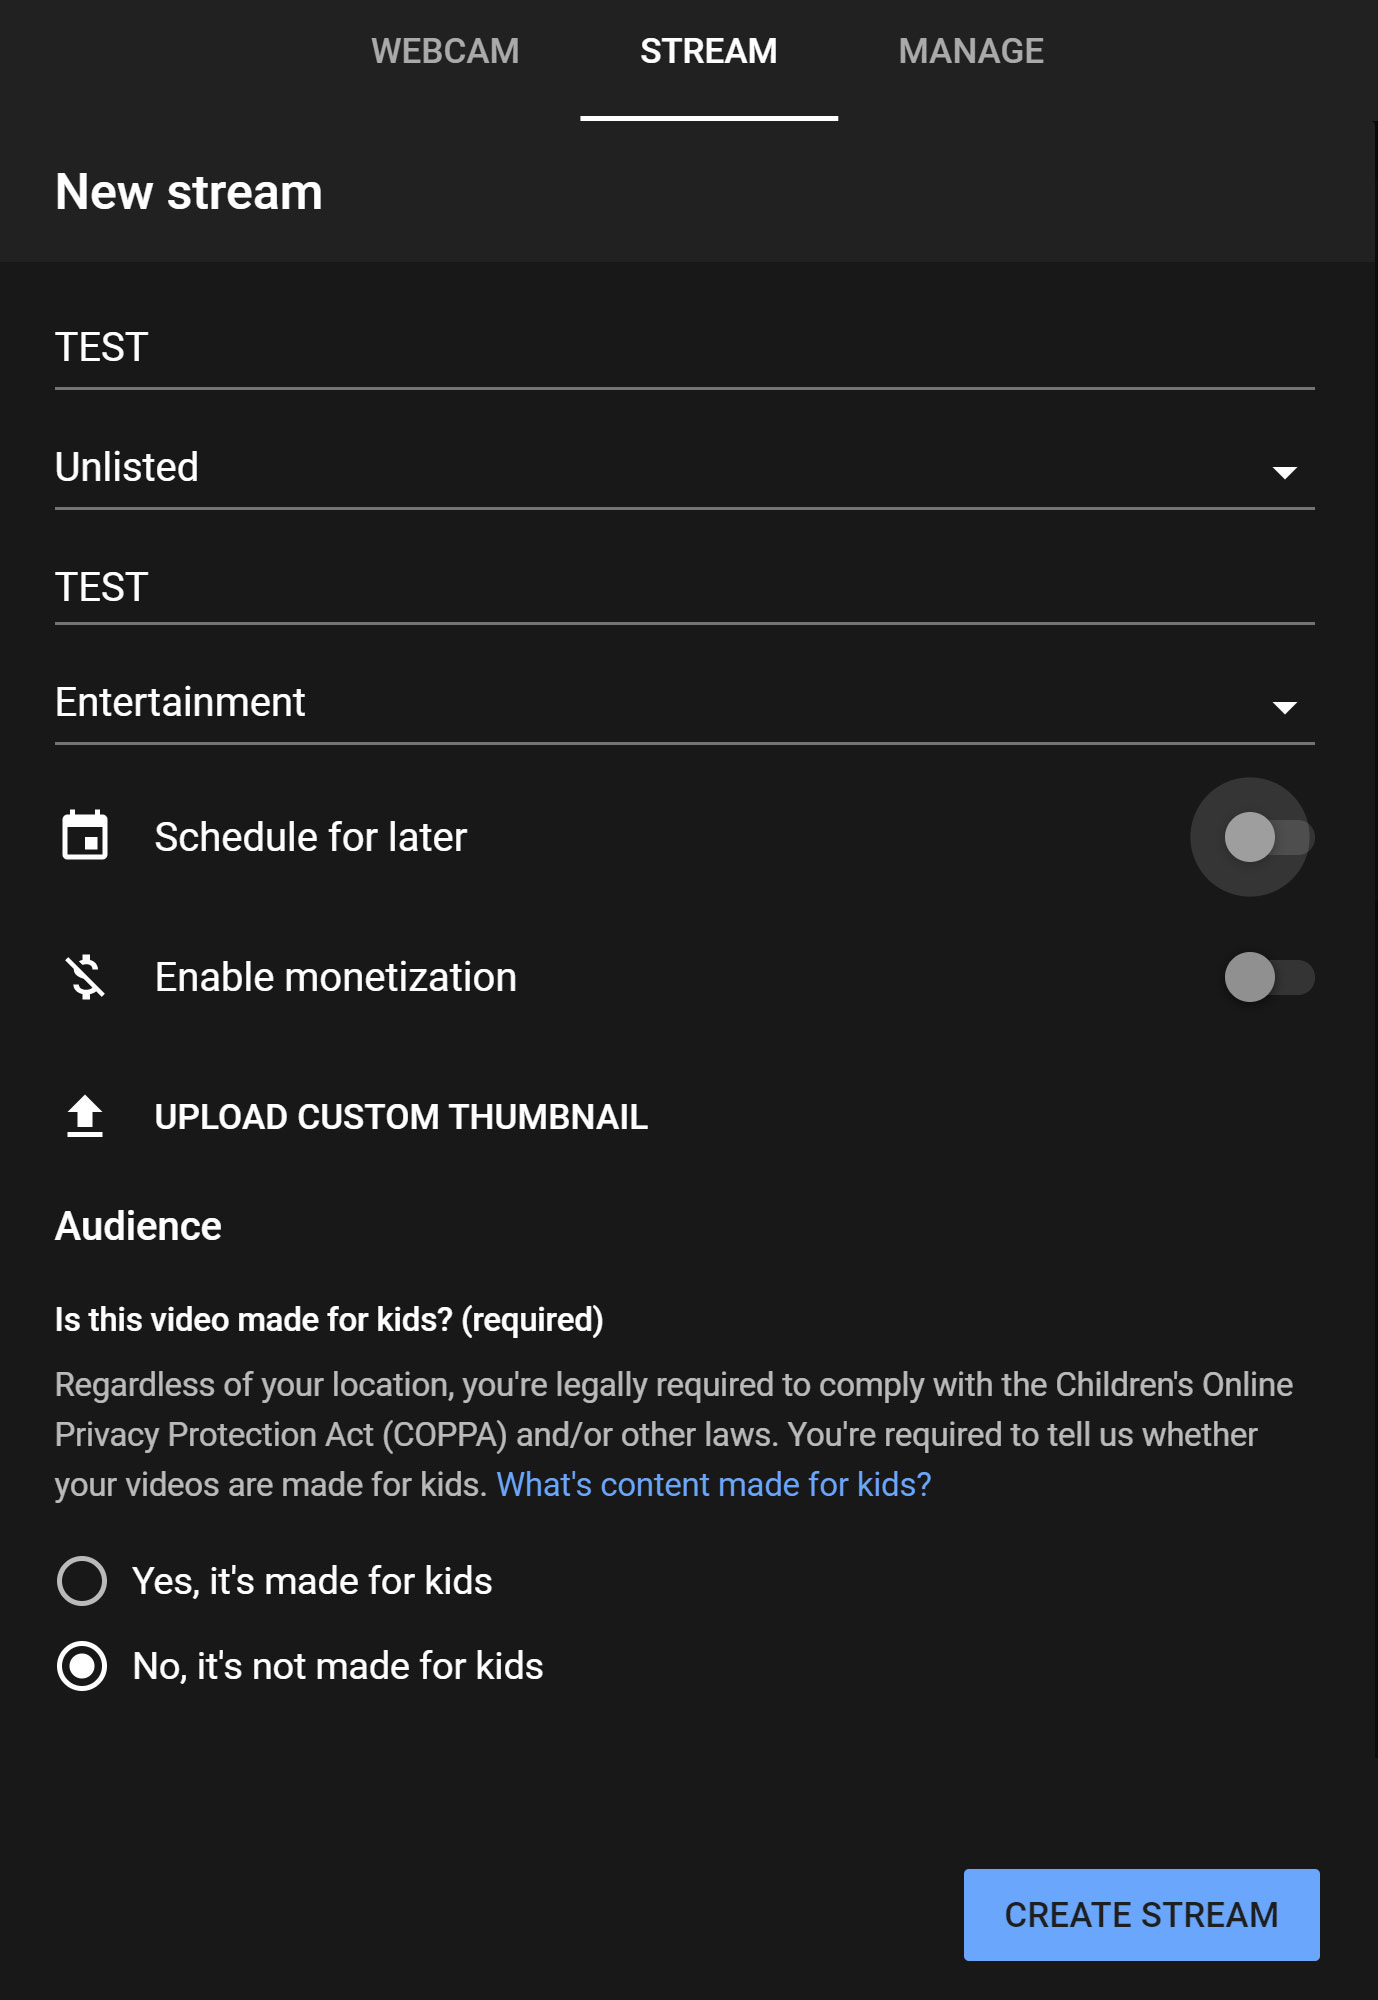
In my case, I want the test to be unlisted (so nobody sees it or gets notified about it). Press “Create Stream” when ready.
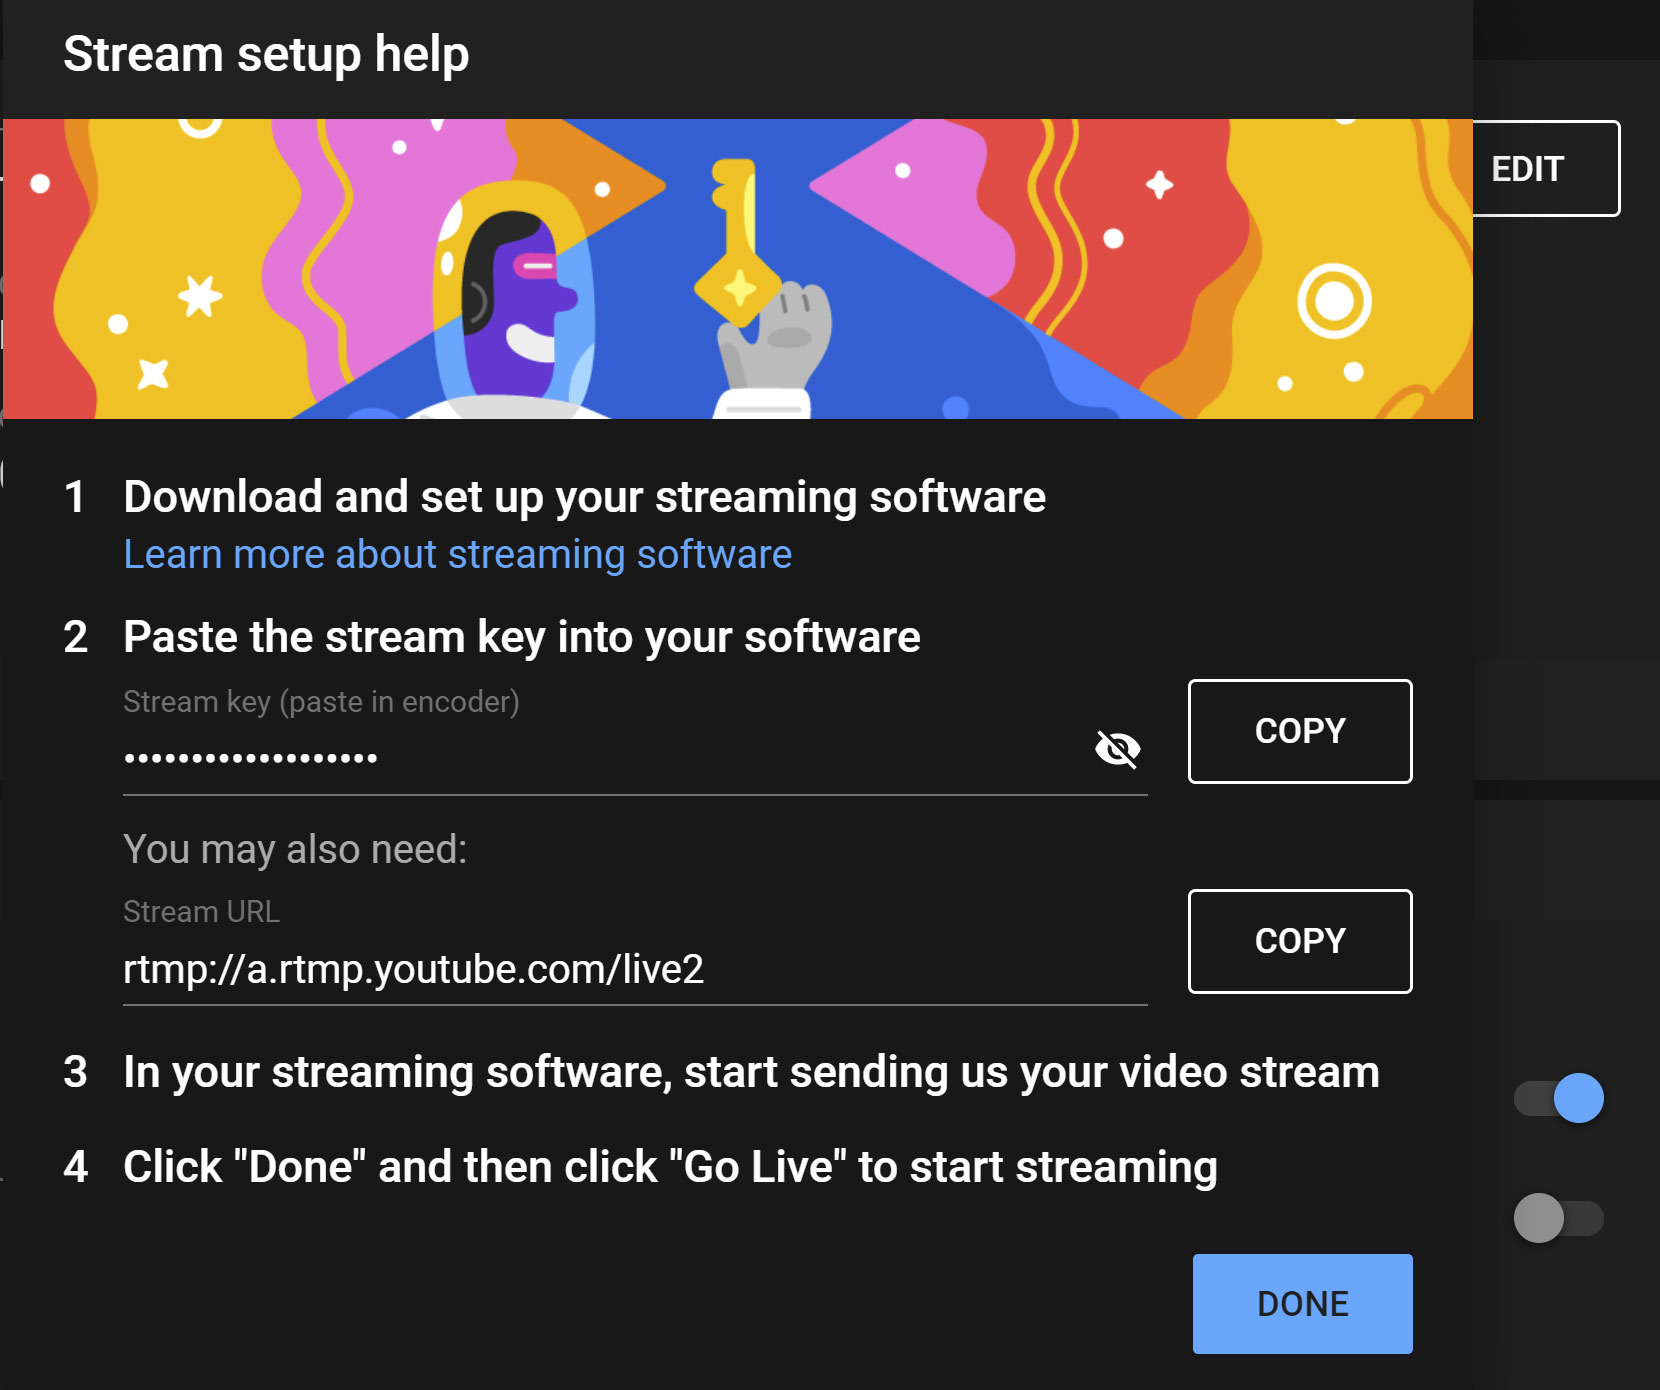
A new window will open in YouTube with the information that you’ll need to enter into OBS for this particular live stream event. Press the “Copy” button for the stream key, then go back into OBS.
In OBS, go back to File, then Settings (shown below).
Go to the “Stream” settings and paste your stream key in. Press the “OK” button.
Press the “Start Streaming” button in OBS (bottom right corner).
IMPORTANT: Just because OBS is streaming does not mean you are streaming live to the world on YouTube yet!
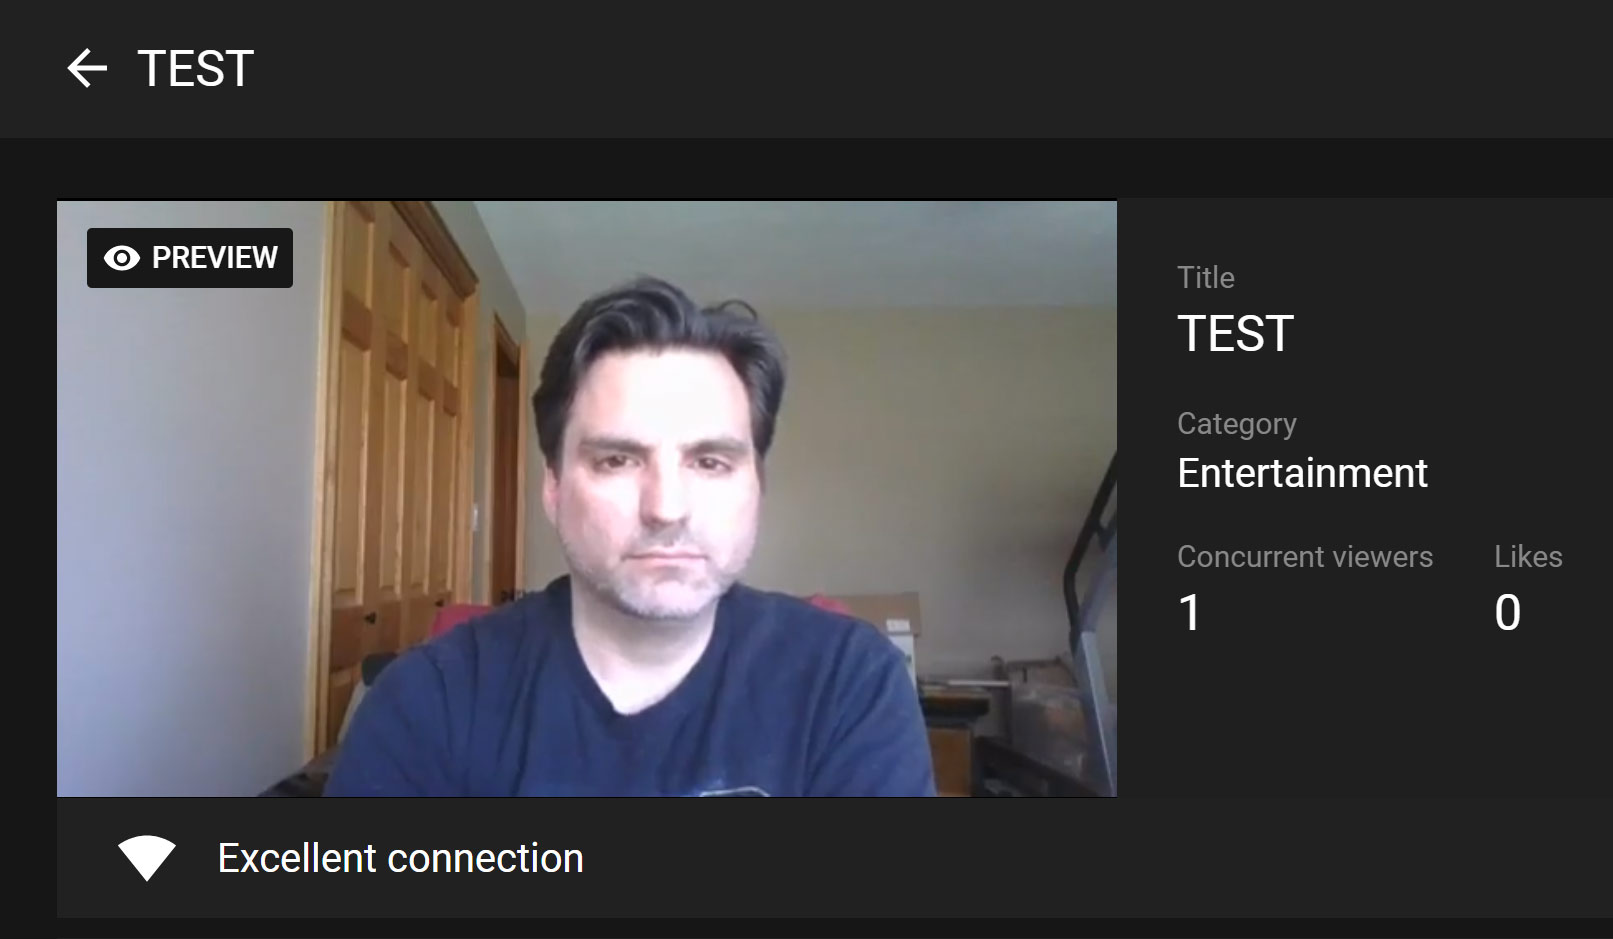
Go back to YouTube to verify that video and audio are being sent. You’ll want to wear headphones for this step if you are using a mic that’s nearby. If both video and audio are being received, your YouTube interface should look like the image below:
Now that you’ve verified that OBS is sending data correctly to YouTube, you are finally ready to go live. Press the “GO LIVE” button (upper right corner of the YouTube interface) and your video is now live!

Step 5 (Bonus): Using the “Studio” functions in OBS
OBS has the capability to work with several sources at once, transition between them, and even create what are called “Scenes”, which are individual collections of various sources that you can transition between interactively.
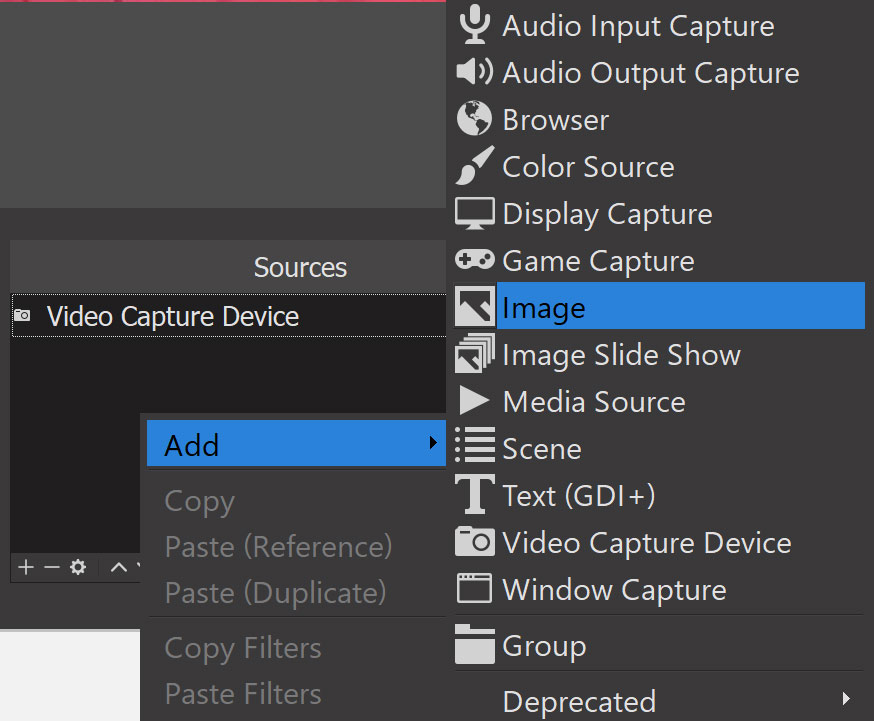
To add a source besides your camera, click the + icon in the Source window, or right click and choose “Add”, then in this case we’ll add an image source by clicking “Image.”
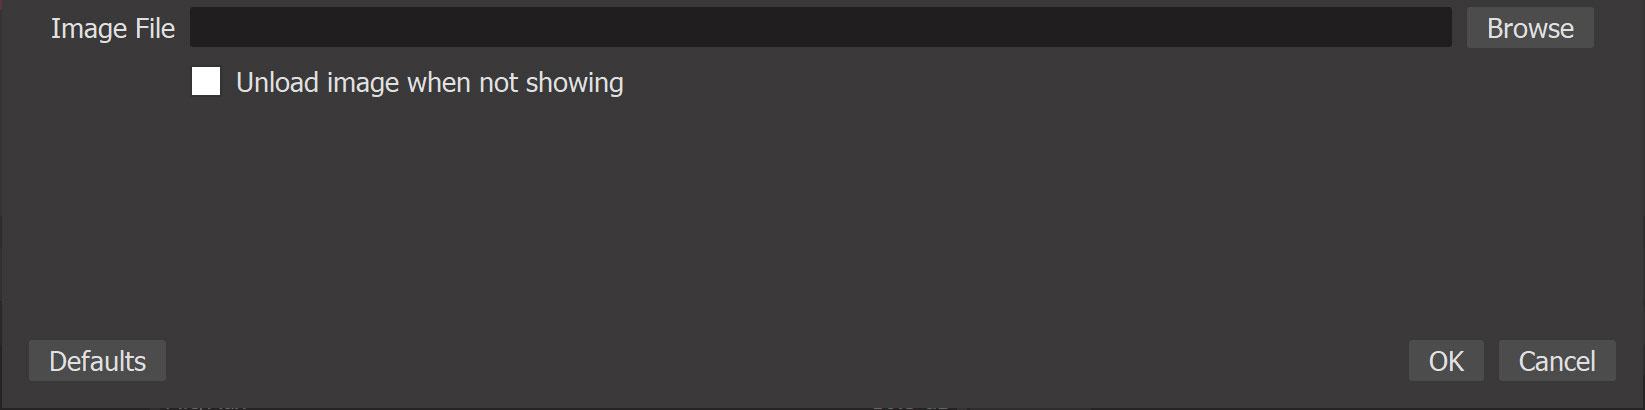
Hit the ‘Browse” button to find an image to use.
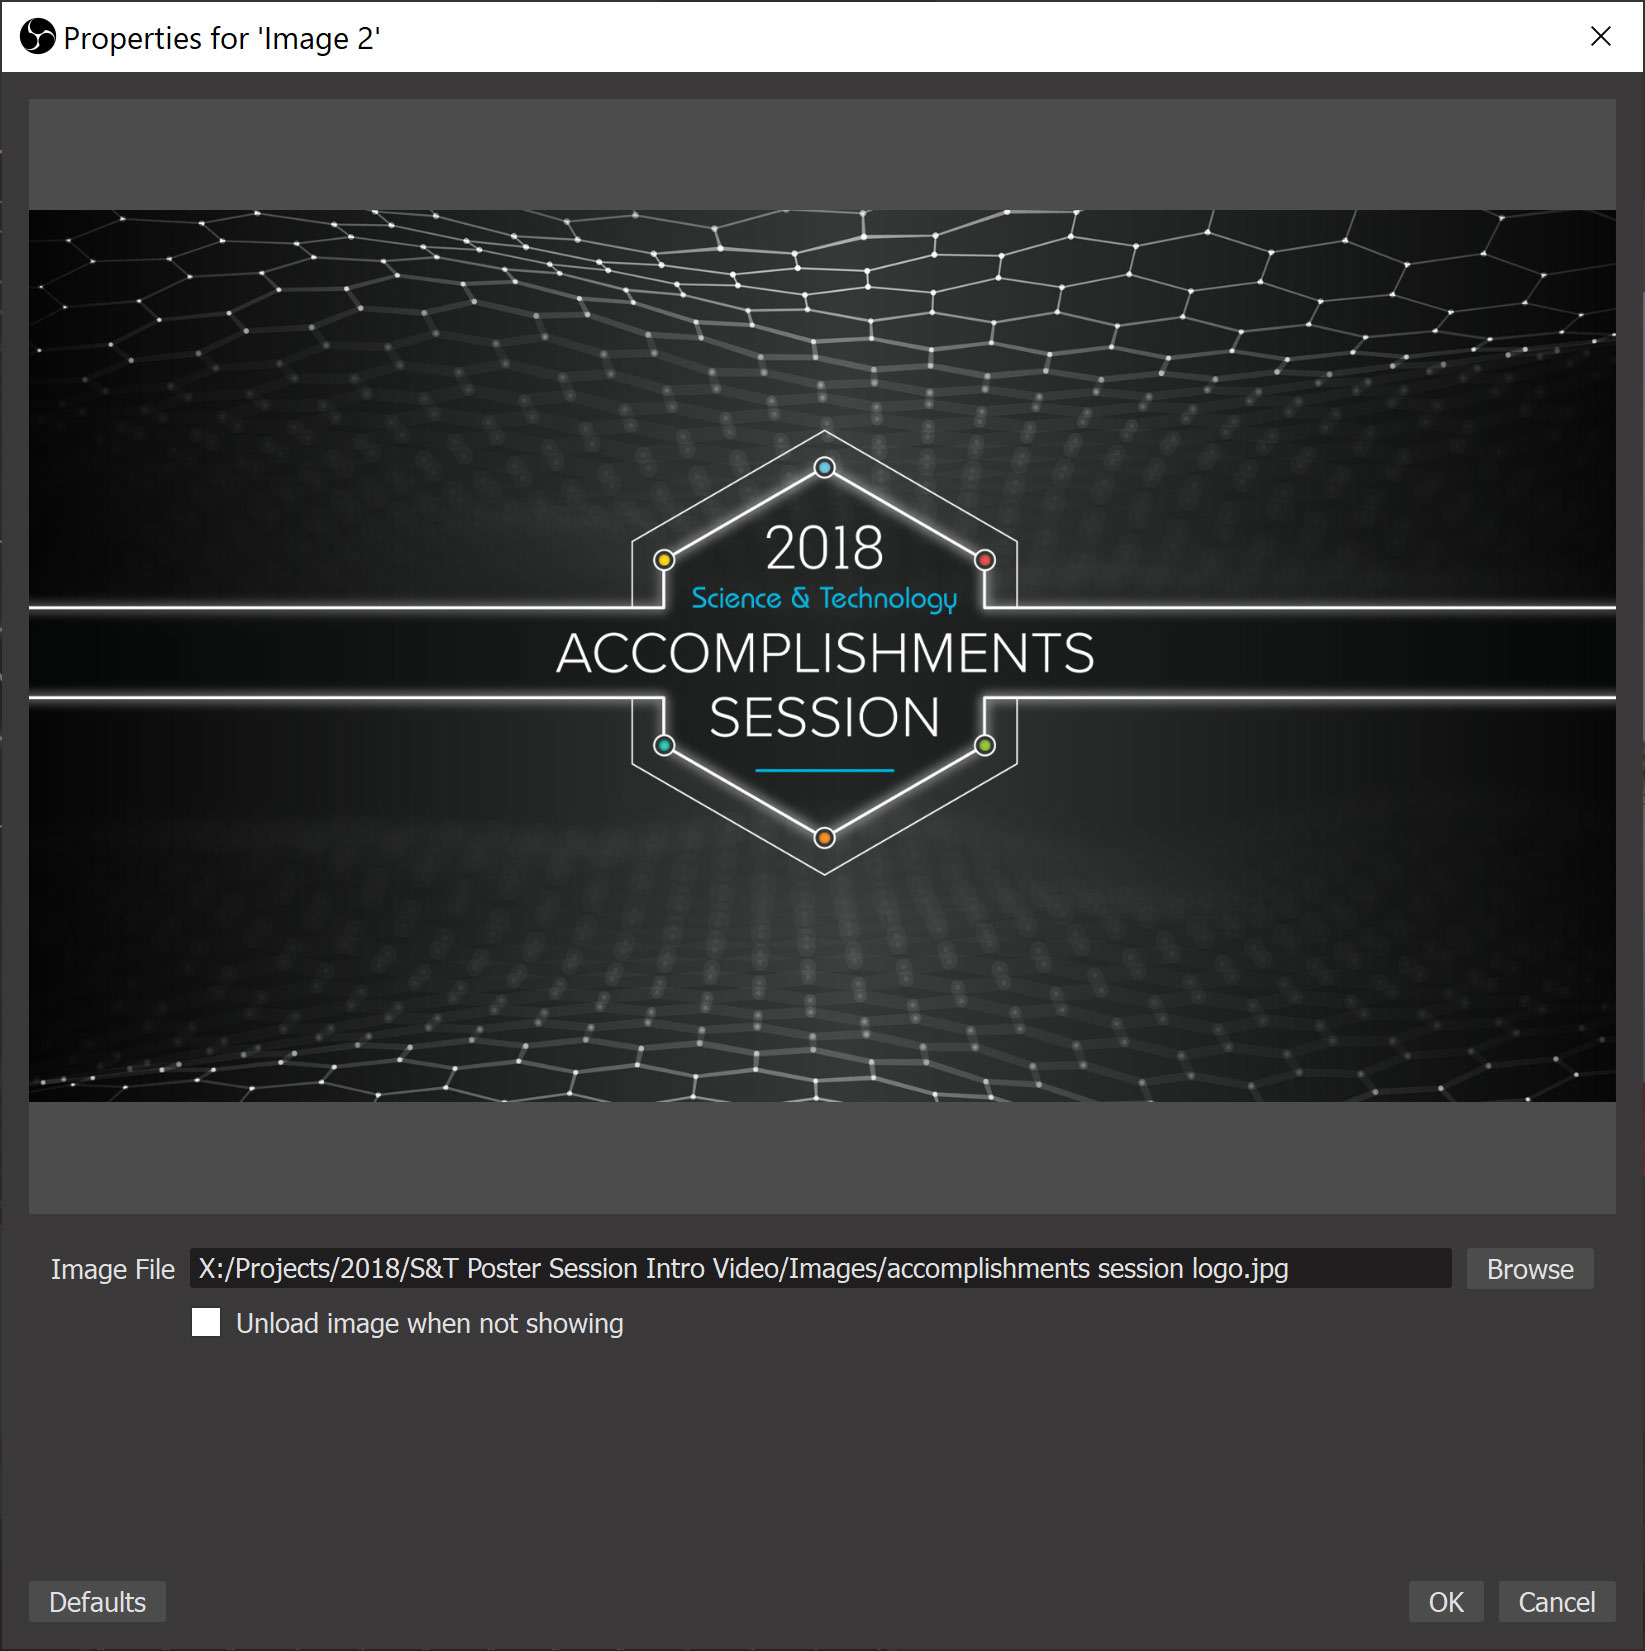
In my case, I’ll use an image that I used for a somewhat recent livestream. This image was used to transition between presenters. Once the image is selected, click the “OK” button.
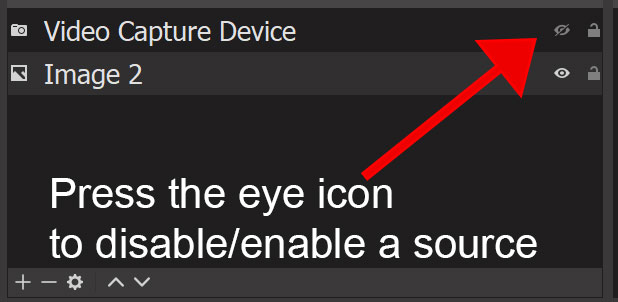
In order to enable the new source, you’ll need to disable your current video source. Do that by pressing the little eyeball icon in the Source window, as shown below.
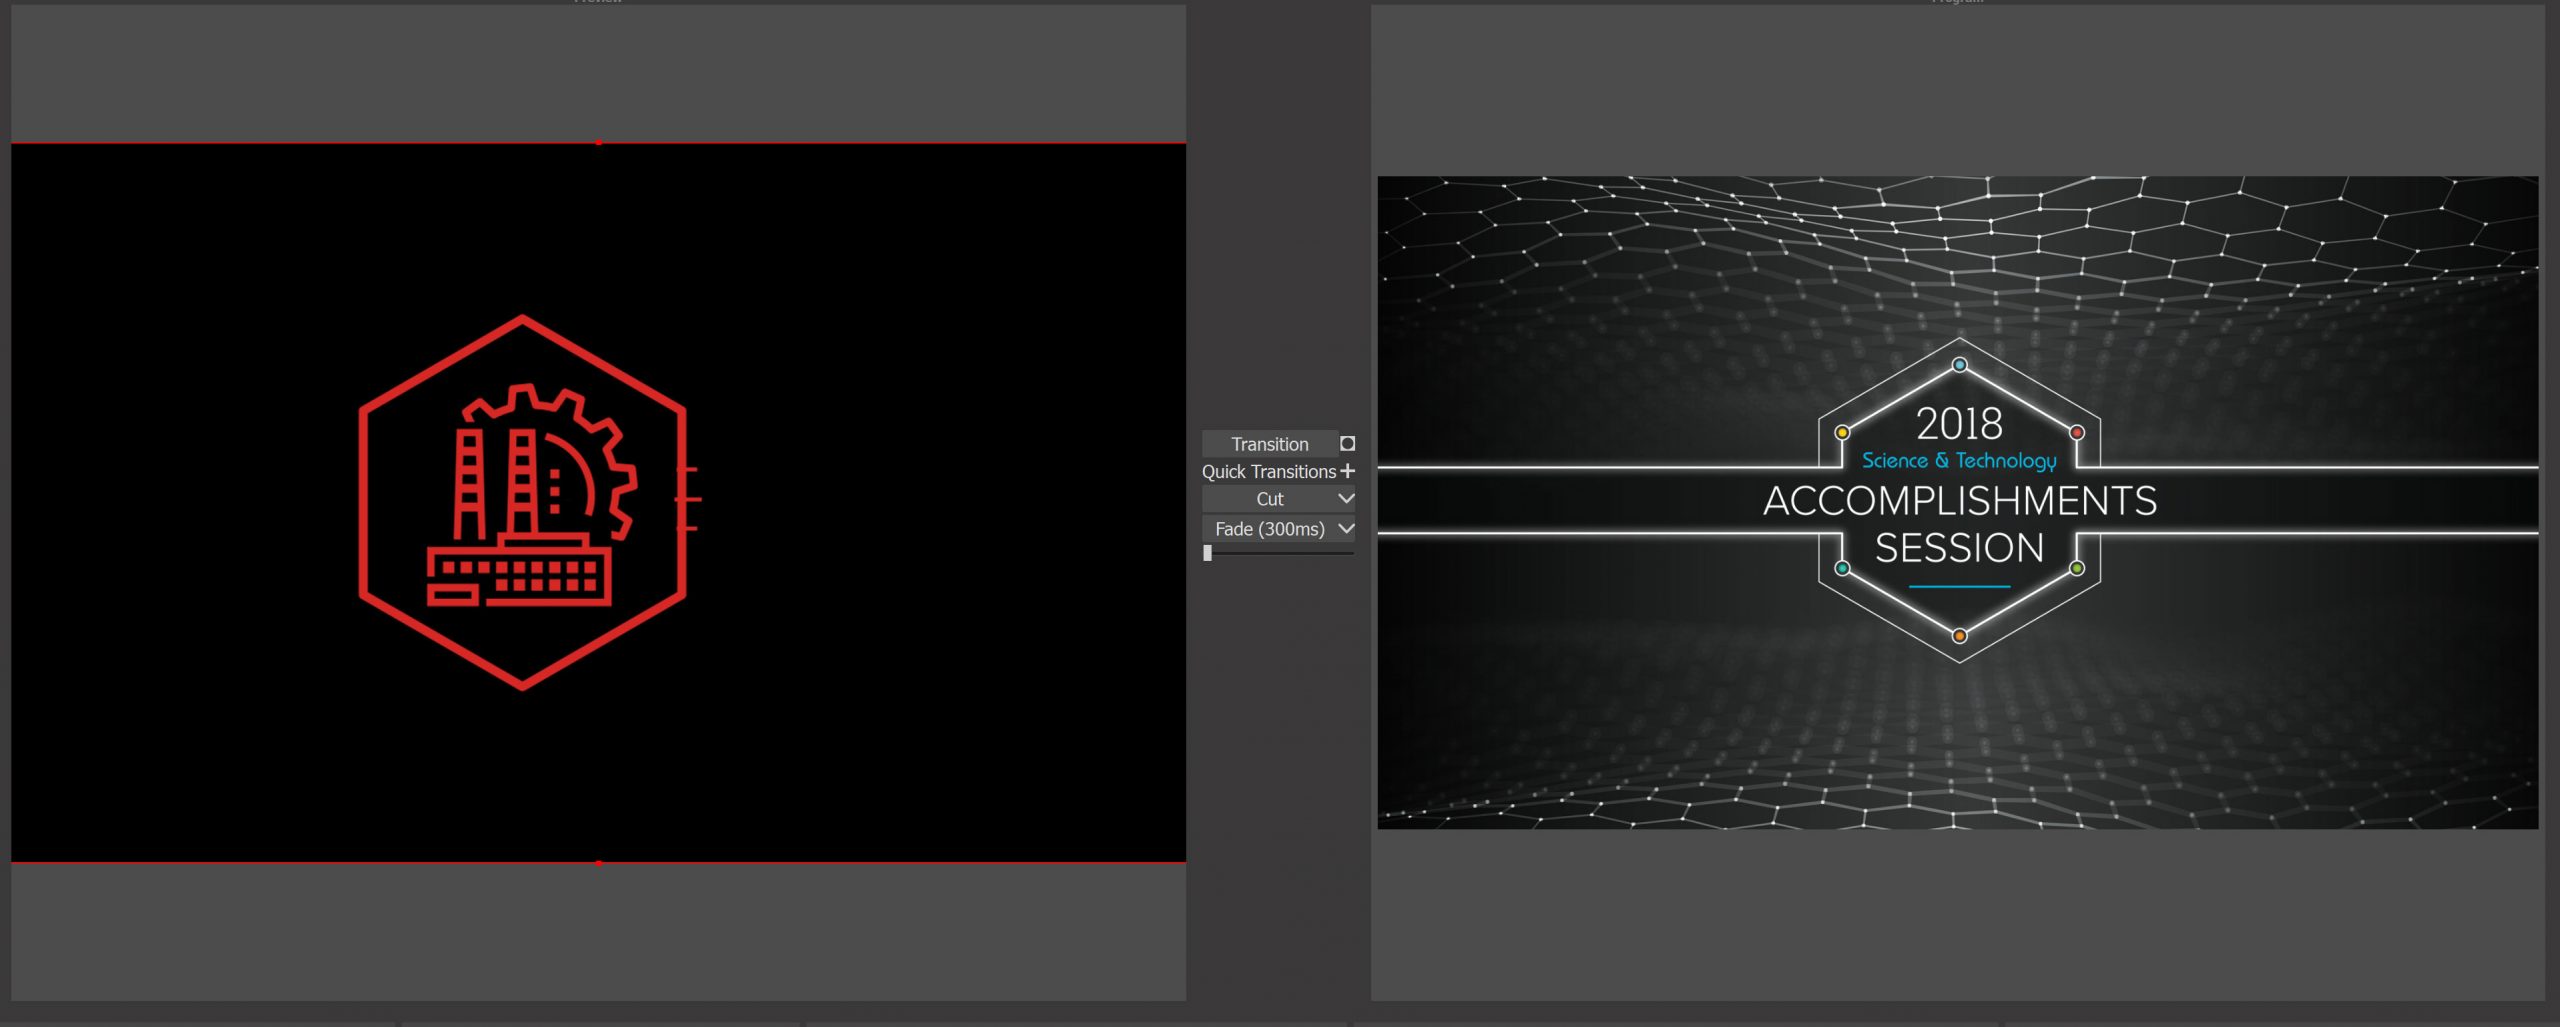
Turning off the camera source will enable the image source, but if you are Studio Mode you might have noticed that the screen on the right (the Program monitor) didn’t change. This is because you still need to click one more button in order to change the source on the live stream. That button is the “Transition” button, shown below.
![]()
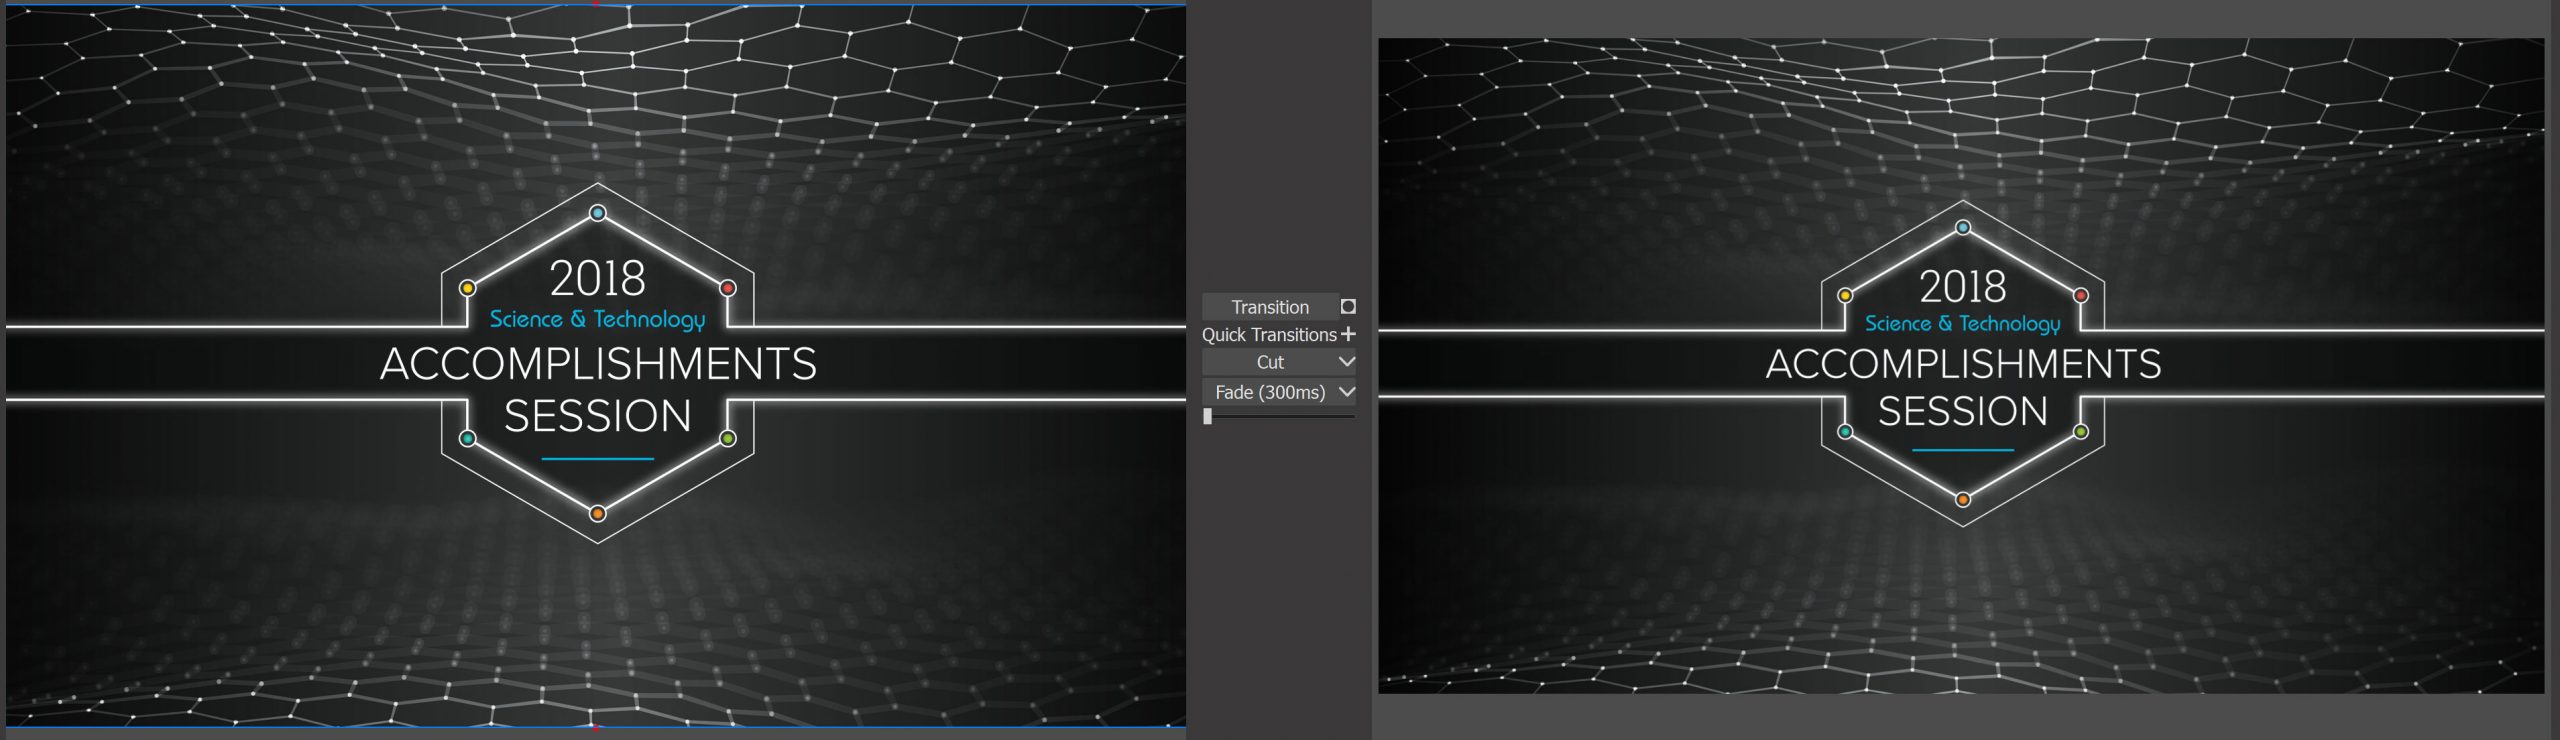
Once the “Transition” button is pressed, the Program monitor will show the image. This verifies that the image source is being streamed correctly. Shown below are the Preview and Program monitors populated with my image source.
In order to switch back to showing your camera, you just need to hit the eyeball icon again, then hit the “Transition” button to make it live.
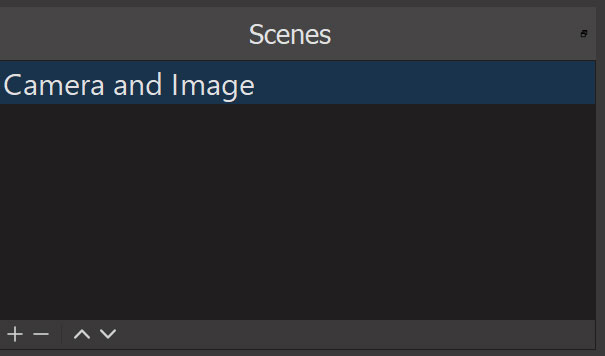
You can also create entirely new scenes, which can contain all new sources that can be instantly accessed. Let’s first rename our existing scene from “Scene” to “Camera and Image.” To do that, right click on the scene in the Scene panel and choose “Rename” as shown below.

Rename the scene to “Camera and Image.”
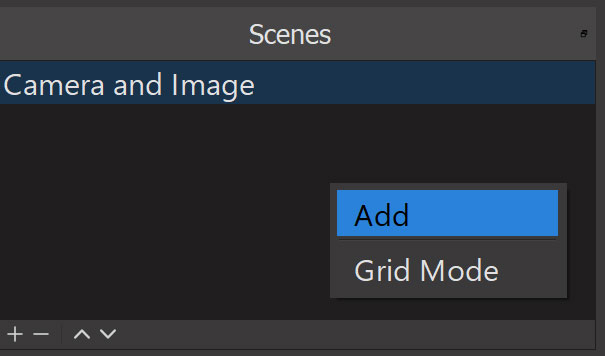
To add a new scene, click the + button or right click in the Scene window and choose “Add.”
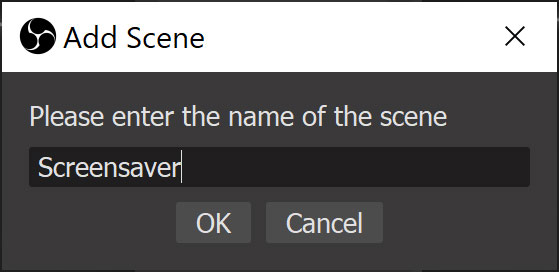
I’ll name this scene “Screensaver.” When I used a setup similar to this at a live event, I created a separate scene that I could transition to that played an ambient video when there were longer breaks. I’ll set that up again here, plus it will allow me to show you how to add an existing video as a source.
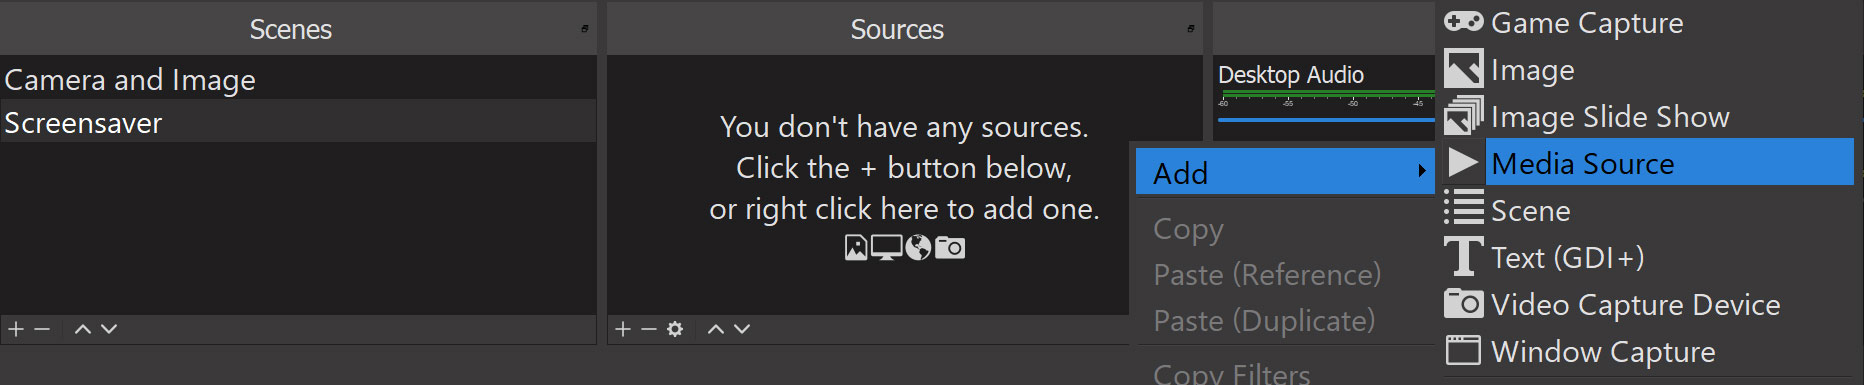
With the new scene created, we’ll need to add a new source. In this case we’ll be adding a “Media Source”, so right click in the “Sources” panel and select “Media Source.”
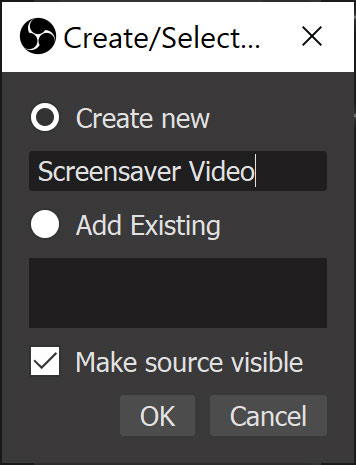
Name the source “Screensaver Video” and press “OK.”
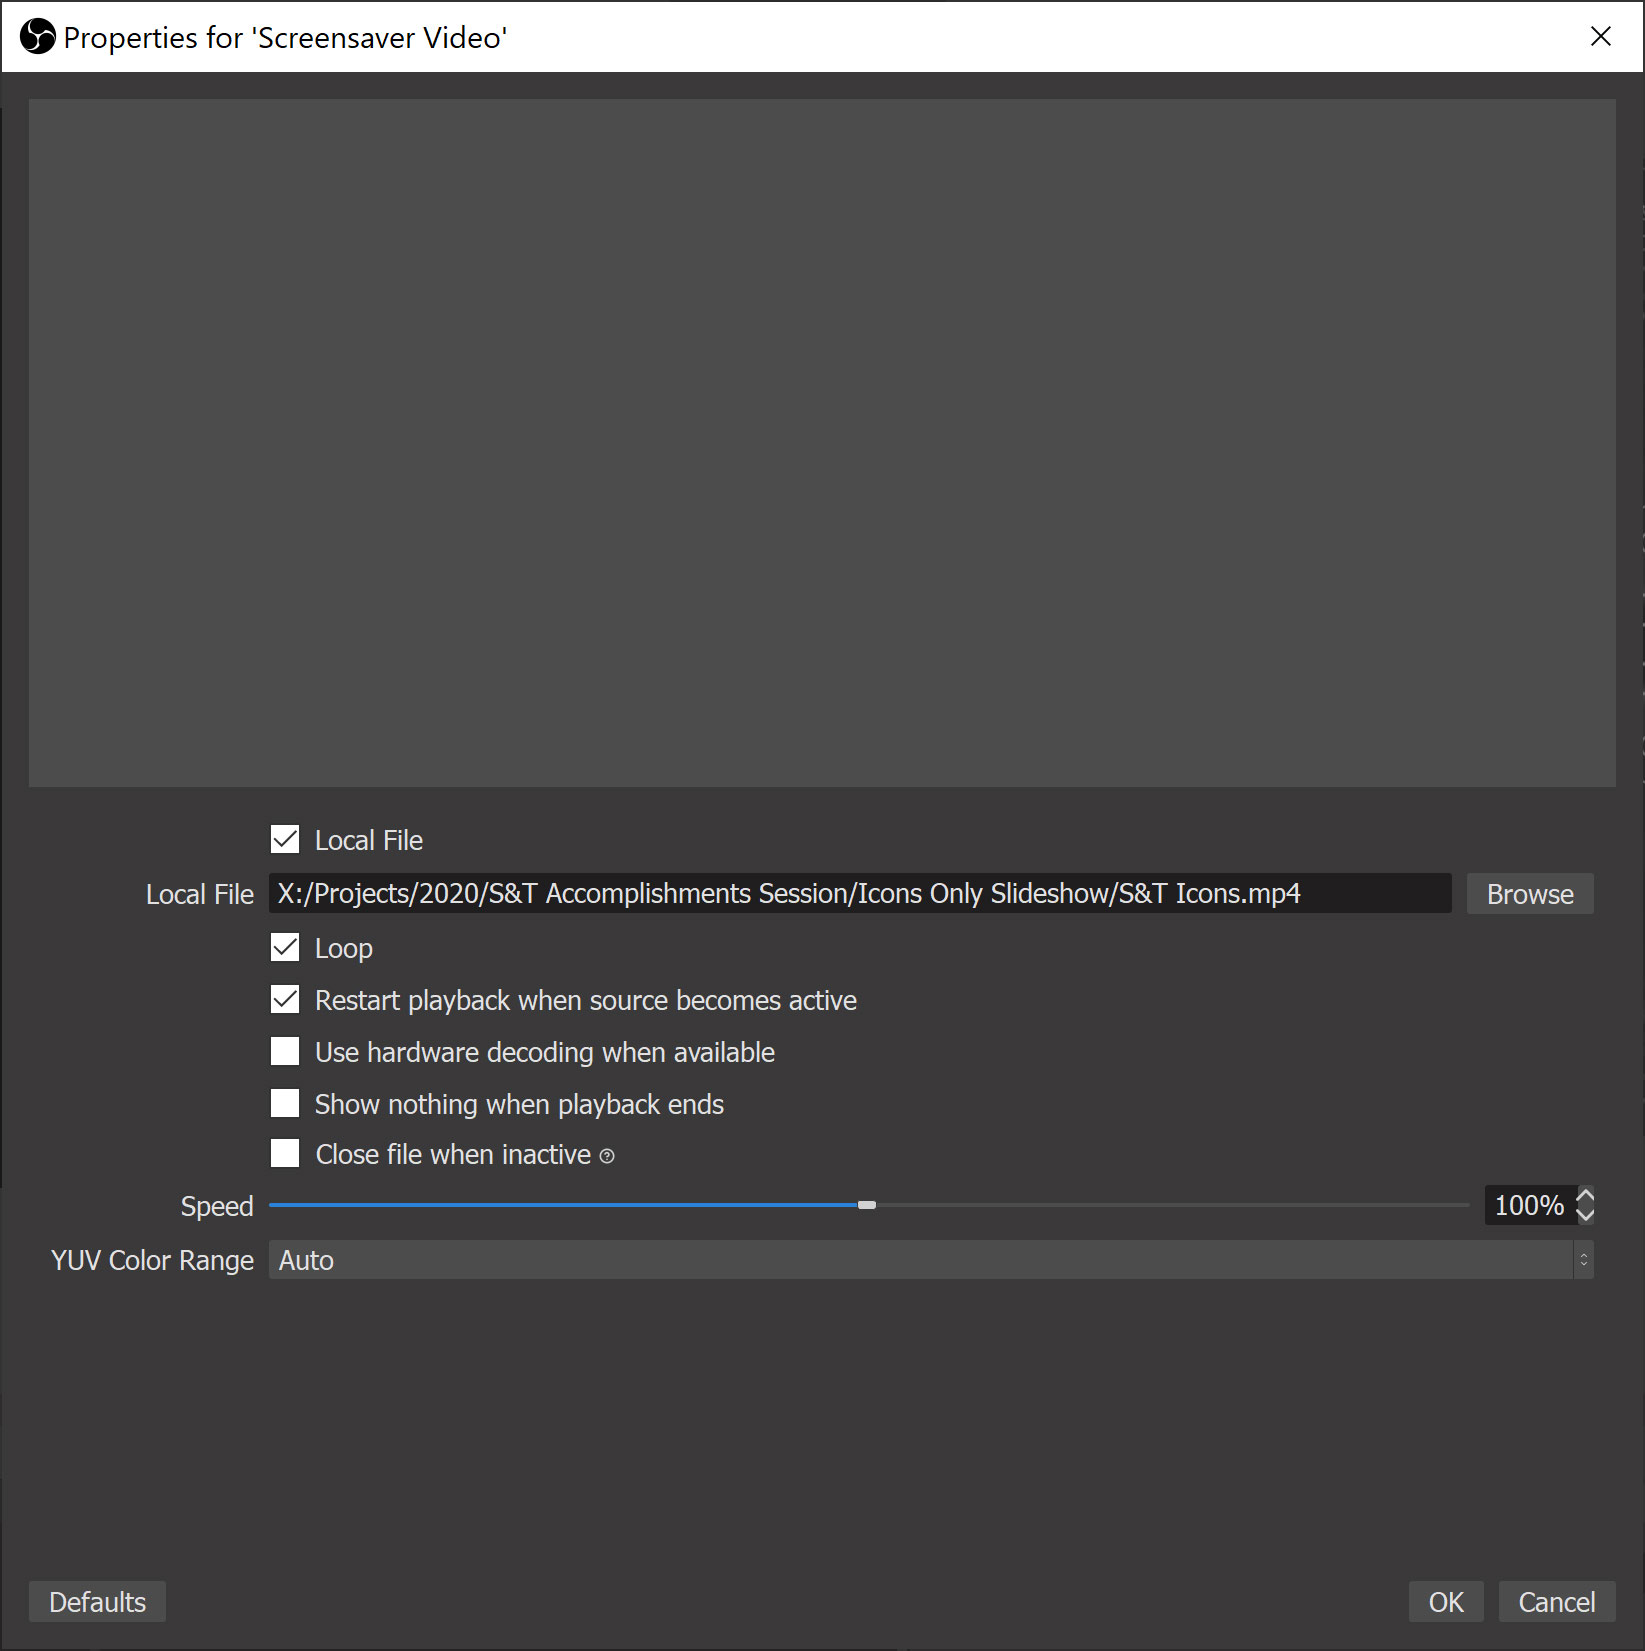
Browse to your video file, then select the appropriate settings. I chose to loop the file, restart playback when source becomes available (so it starts from the beginning each time the event went to a break), and I left the other settings unchecked.
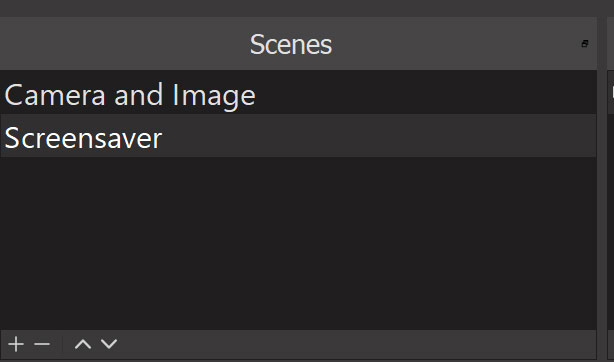
There are now two scenes showing in my Scenes panel.
If I click on either of the scenes, the sources for the chosen scene appear in my Preview window. Press the “Transition” button, and that source becomes the active stream. This is a much faster way to swap between sources than trying to turn them on and off in the Source panel.
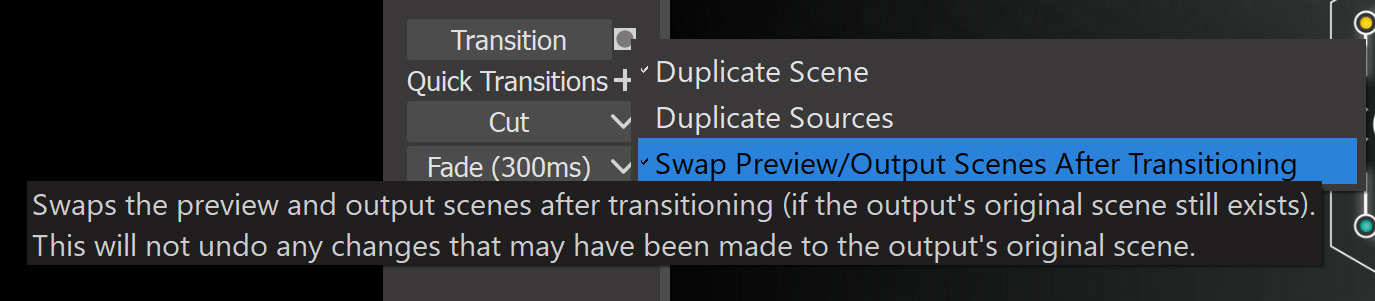
Another cool trick you can use when using Scenes is a somewhat hidden setting for the Transitions. Next to the Transitions button is a small box which, when pushed, opens up three options. The third option, “Swap Preview/Output Scenes After Transitioning” allows you to quickly and easily “bounce” between scenes. When one scene becomes active, the other is placed in the Preview window (and vice versa). It’s a very quick way to switch between your scenes, especially during a high-stress, live event.
Here’s what your Preview and Program windows look like when the “Swap Preview” option is enabled and you press the “Transition” button.
The next setting we will look at is the “Scene Collection” menu option. Scene Collection does what the name implies, and creates a “collection” for your various scenes. That means that for the example in this tutorial, we could put both of our scenes into a collection and recall them whenever we like. Here’s how.
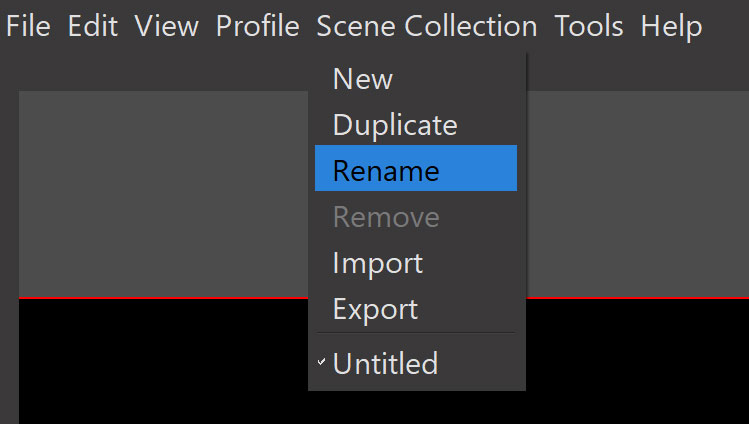
Click the “Scene Collection” menu option.
OBS has already created a collection for our current scenes, but it’s called “Untitled.” We’ll give it a better name by choosing “Rename.”
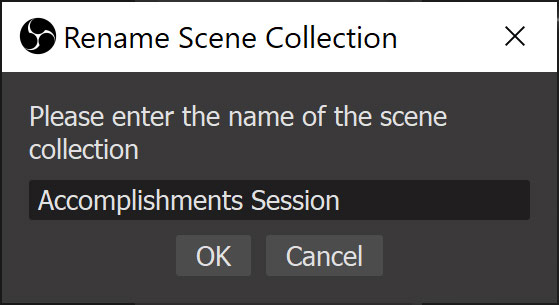
I’ll name this Scene Collection “Accomplishments Session.”
Now I can pull up everything that was used to create this particular setup anytime I want. Pretty sweet! If I create a new Scene Collection, our current Sources and Scenes will disappear, but if I easily recall them if necessary. I can also import/export my Scene Collections, or remove them altogether.
The last setting we’ll look at is the “Profile” menu option. Profiles allow you to quickly access different settings, although your Scenes do not change. This is especially useful if you need to do something like setting up profiles for different streaming services like Facebook and YouTube. In my case, that’s what I did – I have a “YouTube” profile as well as a “Facebook” profile. Each profile can have different base and output resolutions, different bitrates, different recording settings, etc. Basically, any setting involving the streaming aspect of the software can be different between profiles. Other settings, like software preferences or hardware options (like audio devices) remain the same between profiles.
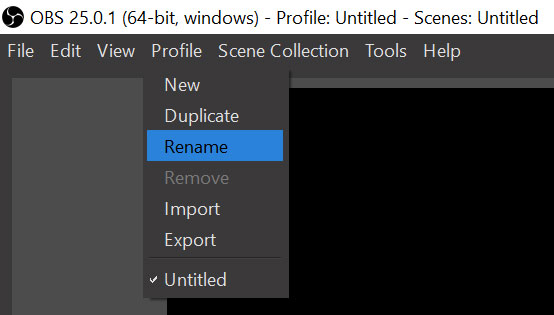
First you should save the work you’ve done in this tutorial by renaming the current profile from “Untitled” to something new. Under “Profile” choose “Rename.”
Rename your profile to something that makes sense to you. Mine is called ‘YouTube Tim.”
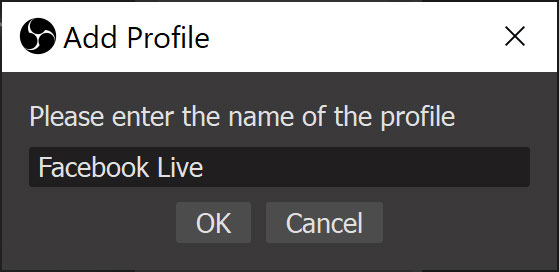
To create a new profile, click on the “Profile” menu option and choose “New”

Give your new profile a name. I’ll call mine “Facebook Live.”
Now when you go to your settings, you can enter in different credentials for your streaming service and those settings will be right at your fingertips whenever you need them. Here’s what my “Profiles” menu looks like after I’ve added a few:

That’s about all you’ll need to know to get going in OBS. If you have any questions, feel free to leave them in the comments!


